Amigurumi Plush Handbag Free Crochet Pattern
We share a new amigurumi bag pattern with you. You can browse our website for beautiful free crochet patterns.
Pattern: Anastasia Konovalova
This master class is for those who already know how to knit, since it does not contain the basics of knitting.
Legend:
CH – chain
SC – single crochet
İNC – increase
DEC – decrease
SL-ST – slip stitch
Materials:
-plush yarn “Dolphin Baby” “Himalayas” (you can use any other as you wish): on the bag itself – about half a skein (or a little more) of pale pink color 80303; on giraffe – a little yellow (80302 or 80313), on the hoof very little brown (80337);
-Yarn on the handle (I have a “Gazzal” “Baby Cotton” (consumption is less than half a hank, any color you like);
– Yarn “Vita” “Coco” for the eyes and horns of a giraffe (brown (4306), white (3851) and black (3852));
-hook number 4 for the handbag, number 2 for the handle, 1.25 for the eye and horns of the giraffe;
– 2 carbines for attaching handles;
– Button for closing the handbag (I have a diameter of 2 cm).
The size of the handbag subject to crocheting number 4 is 15 cm in height, 18 cm in width, yarn consumption is about half of the hank.
The amigurumi ring on plush yarn is not made in the same way as on ordinary one, since the yarn is voluminous, we do it this way: Dial 2 CH, and into 6 loop from the hook we make 6 SC, connect sl-st to the first loop, the ring is ready =)
I knit “crosses” in the way, so the fabric turns out denser, and plush yarn seems even more beautiful =)
We start to knit =)
First, we knit the bag itself.

Bag bottom: (see diagram)
We dial 20 CH, knit from the second loop:
1) inc, 17 sc, in the extreme loop we knit 4 sc, turn the knitting we knit on the second side of the chain 17 sc, inc (42)
2) 2 inc, 17 sc, 4 inc, 17 sc, 2 inc (50)
3) (1 sc, inc) * 2, 17 sc, (1 sc, inc) * 4, 17 sc, (1 sc, inc) * 2 (58)
The bottom is ready, now we knit the bag itself:
4) we knit for the back half loop 58 sc (58)
Next, we knit 14-15 rows up (if desired, you can knit more rows)
5) – 19) 58 sc
Next, we will knit the cover of the bag. To do this, we need to knit several sc to the edge (I knitted 2 more sc).
Then we make ch lifting, turn the knitting and knit to the other edge of the bag (I got 29 sc).
Now we knit in rotary rows, with ch lifting at the beginning of each row. In this and in each subsequent row we will make decreases from 2 sides, that is, in the next row we get 27 sc, then 25, 23, 21 … .. etc. So we knit until we have 3 sc left.
Next, make a hole for the button. To do this, dial 4 CH and connect to the other edge, fasten the thread, cut, hide.
Now we need to tie the entire handbag along the top edge.
For contrast, I took a different color, if desired, can be tied with the same color.
Sew the button on the 7th row from the bottom of the bag.
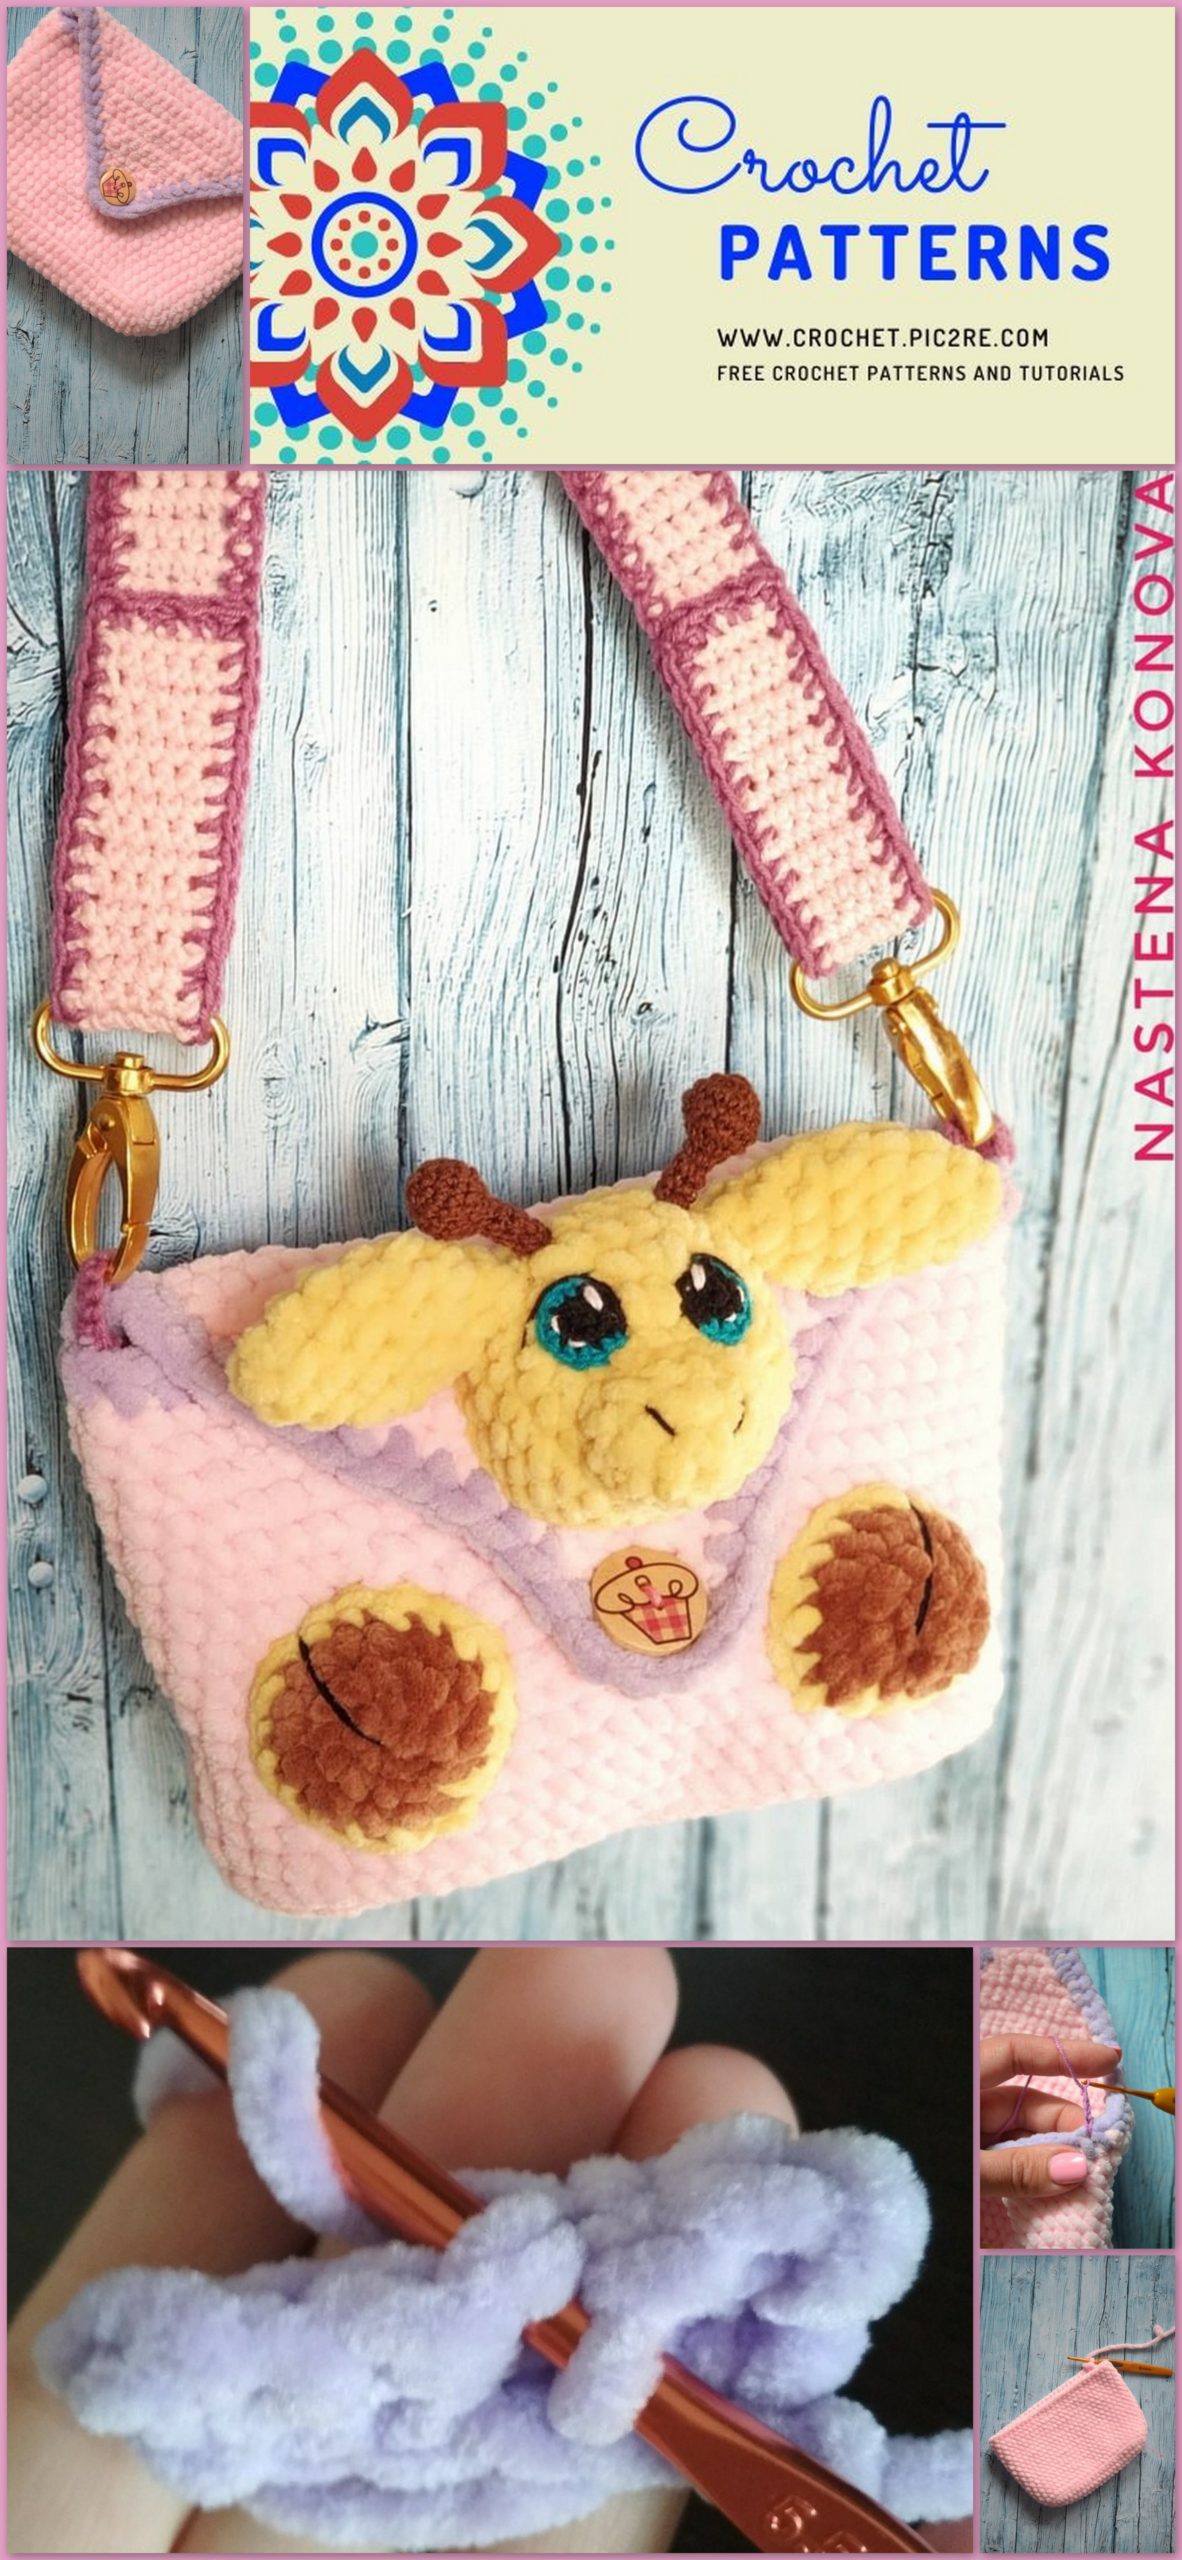
The handbag is ready.
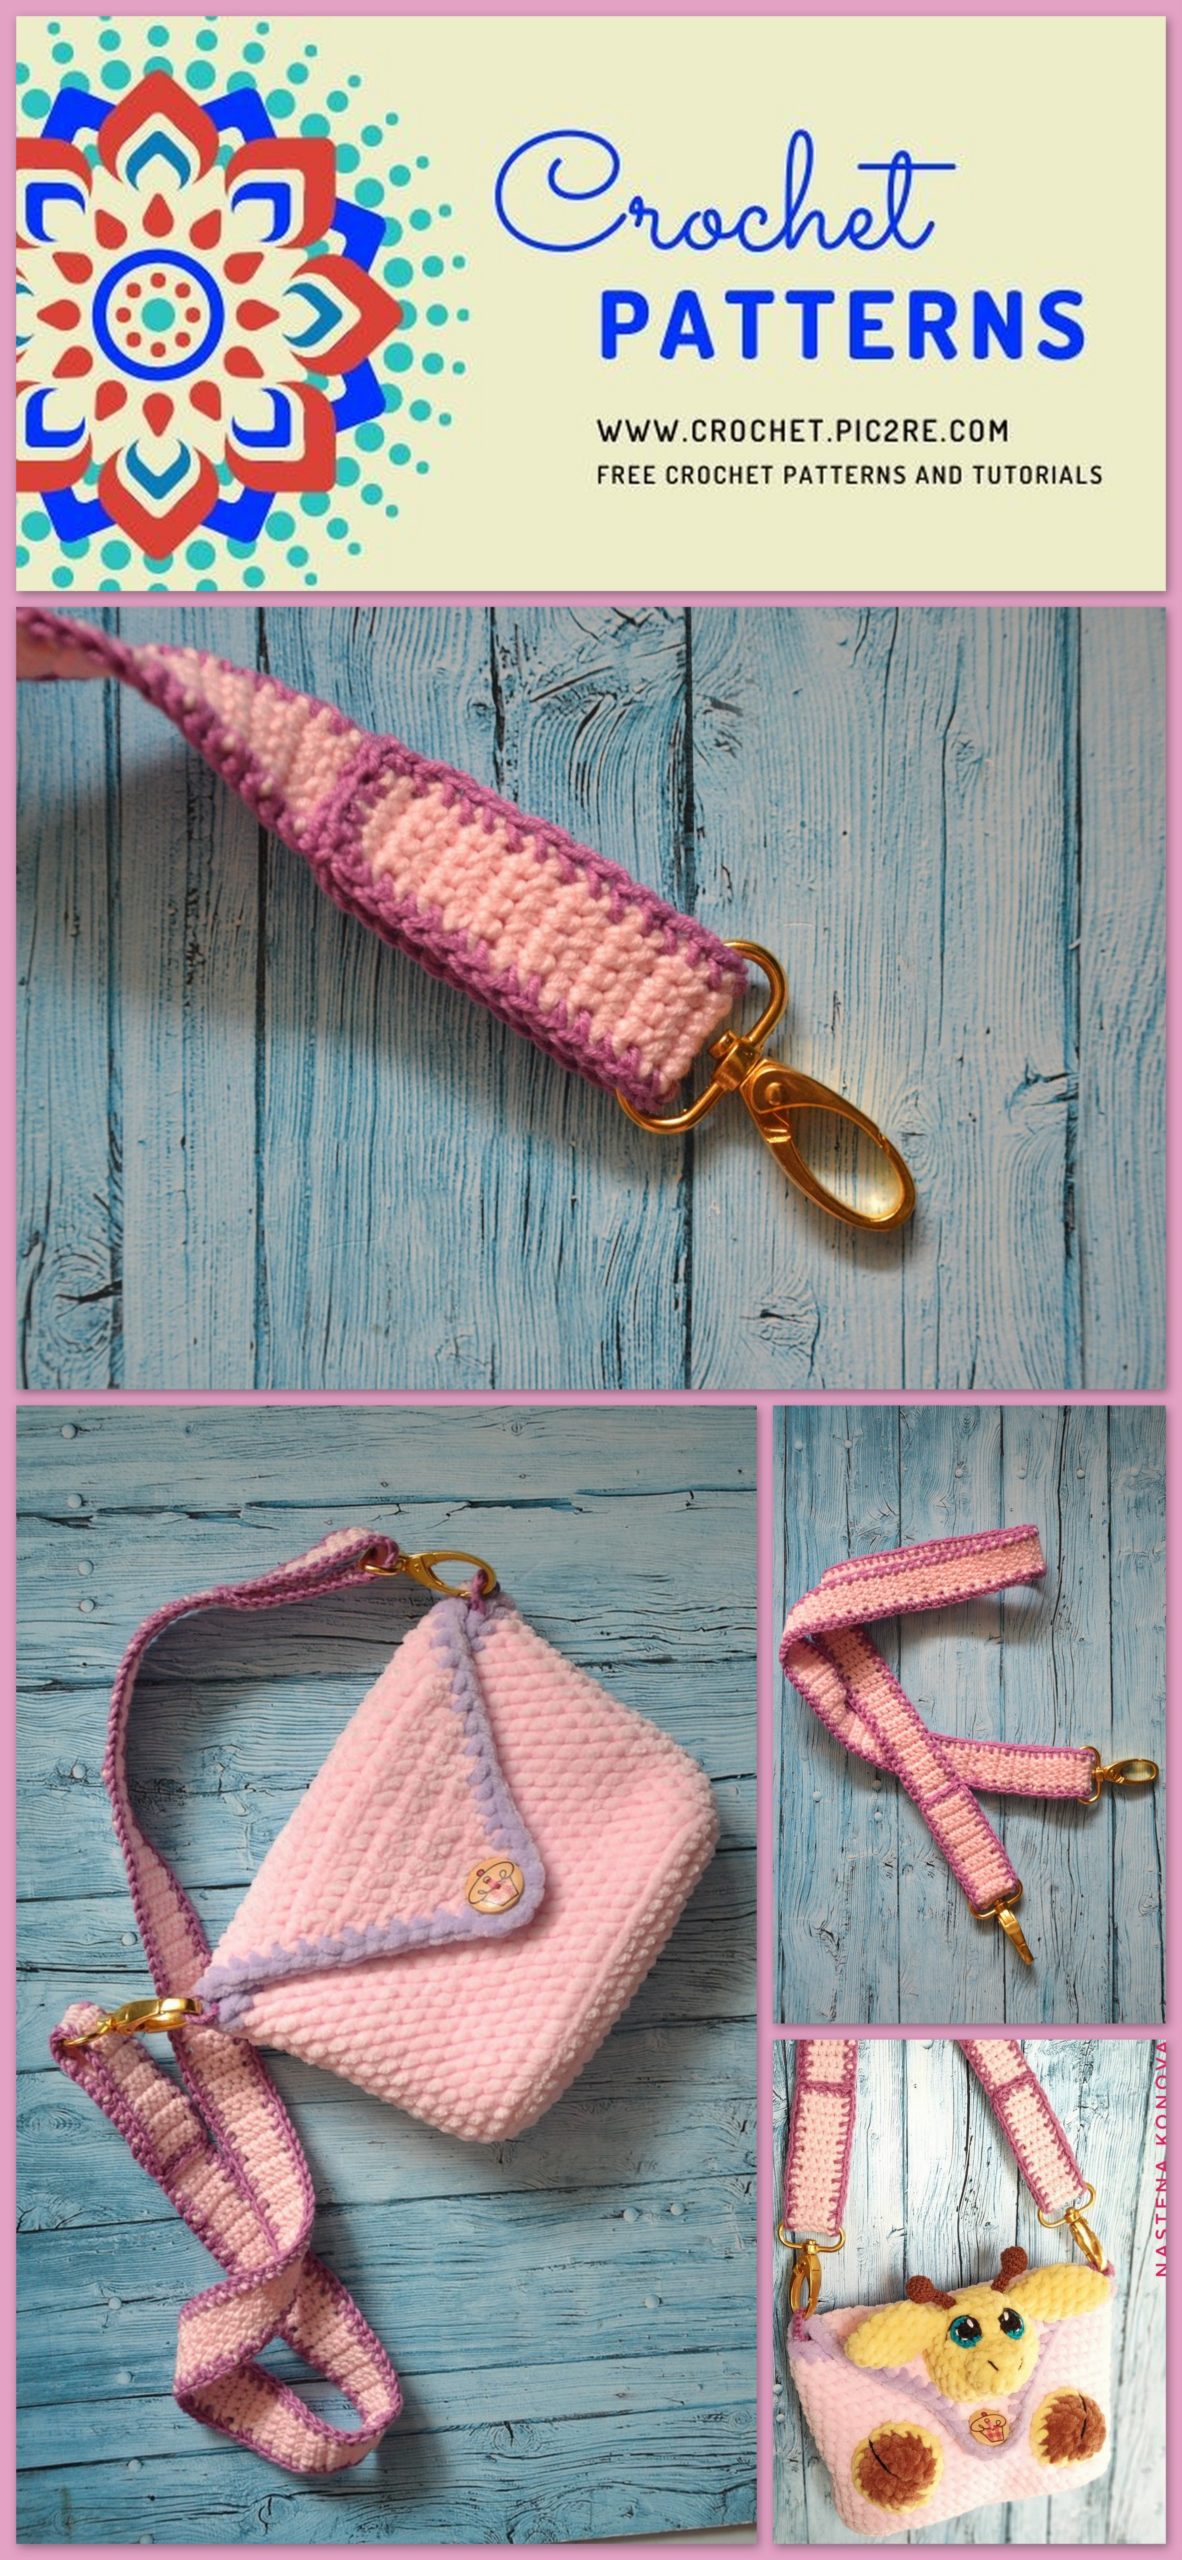
Now we knit the handle for the bag.
I scored 6 CH, from the second loop 5 sc, and then we knit our strap in height (I knitted 82 cm in height (per 3-year-old child)).
Then I completely tied the strap in a different color, knitting 3 sc in the corners.
We fix the thread. Now we need to insert the carabiners.
I inserted a carbine, bent the edge on about 15-16 rows and sewed it.
The same thing on the other hand (see photo).
It remains to tie the loops so that you can fasten the carabiners.
To do this, we fasten the thread under the very edge of the bag’s lid, knit 5 ch, step back 1 loop from the bottom of the bag’s base, fasten the thread in this loop, then turn the knitting and knit another row along the chain 4 sc connected by us, and the 5th sc I knit directly into the same loop where I connected the thread, I cut the thread, fasten and tie the ends to a knot, I cut the remaining threads too.
We knit such loops on both sides.
Our handbag is ready!
Now we knit a giraffe to design a handbag.
Head:
1) 6 sc into magic ring
2) 6 inc (12)
3) (1 sc, inc) * 6 (18)
4) 1 sc, inc, (2 sc, inc) * 5, 1 sc (24)
5) (3 sc, inc) * 6 (30)
6) -7) 30 sc (2 rows), 2 sl-st, cut the thread, fix it.
Muzzle:
1) 6 sc into magic ring
2) 6 inc (12)
3) 12 sc, 2 sl-st, cut the thread, fasten.
Ears (2 pcs):
1) 4 sc into magic ring
2) (1 sc, inc) * 2 (6)
3) (2 sc, inc) * 2 (8)
4) (3 sc, inc) * 2 (10)
5) 10 sc
6) (3 sc, dec) * 2 (8)
7) (2 sc, inc) * 2 (6)
8) (1 sc, inc) * 2 (4), cut the thread, fix it.
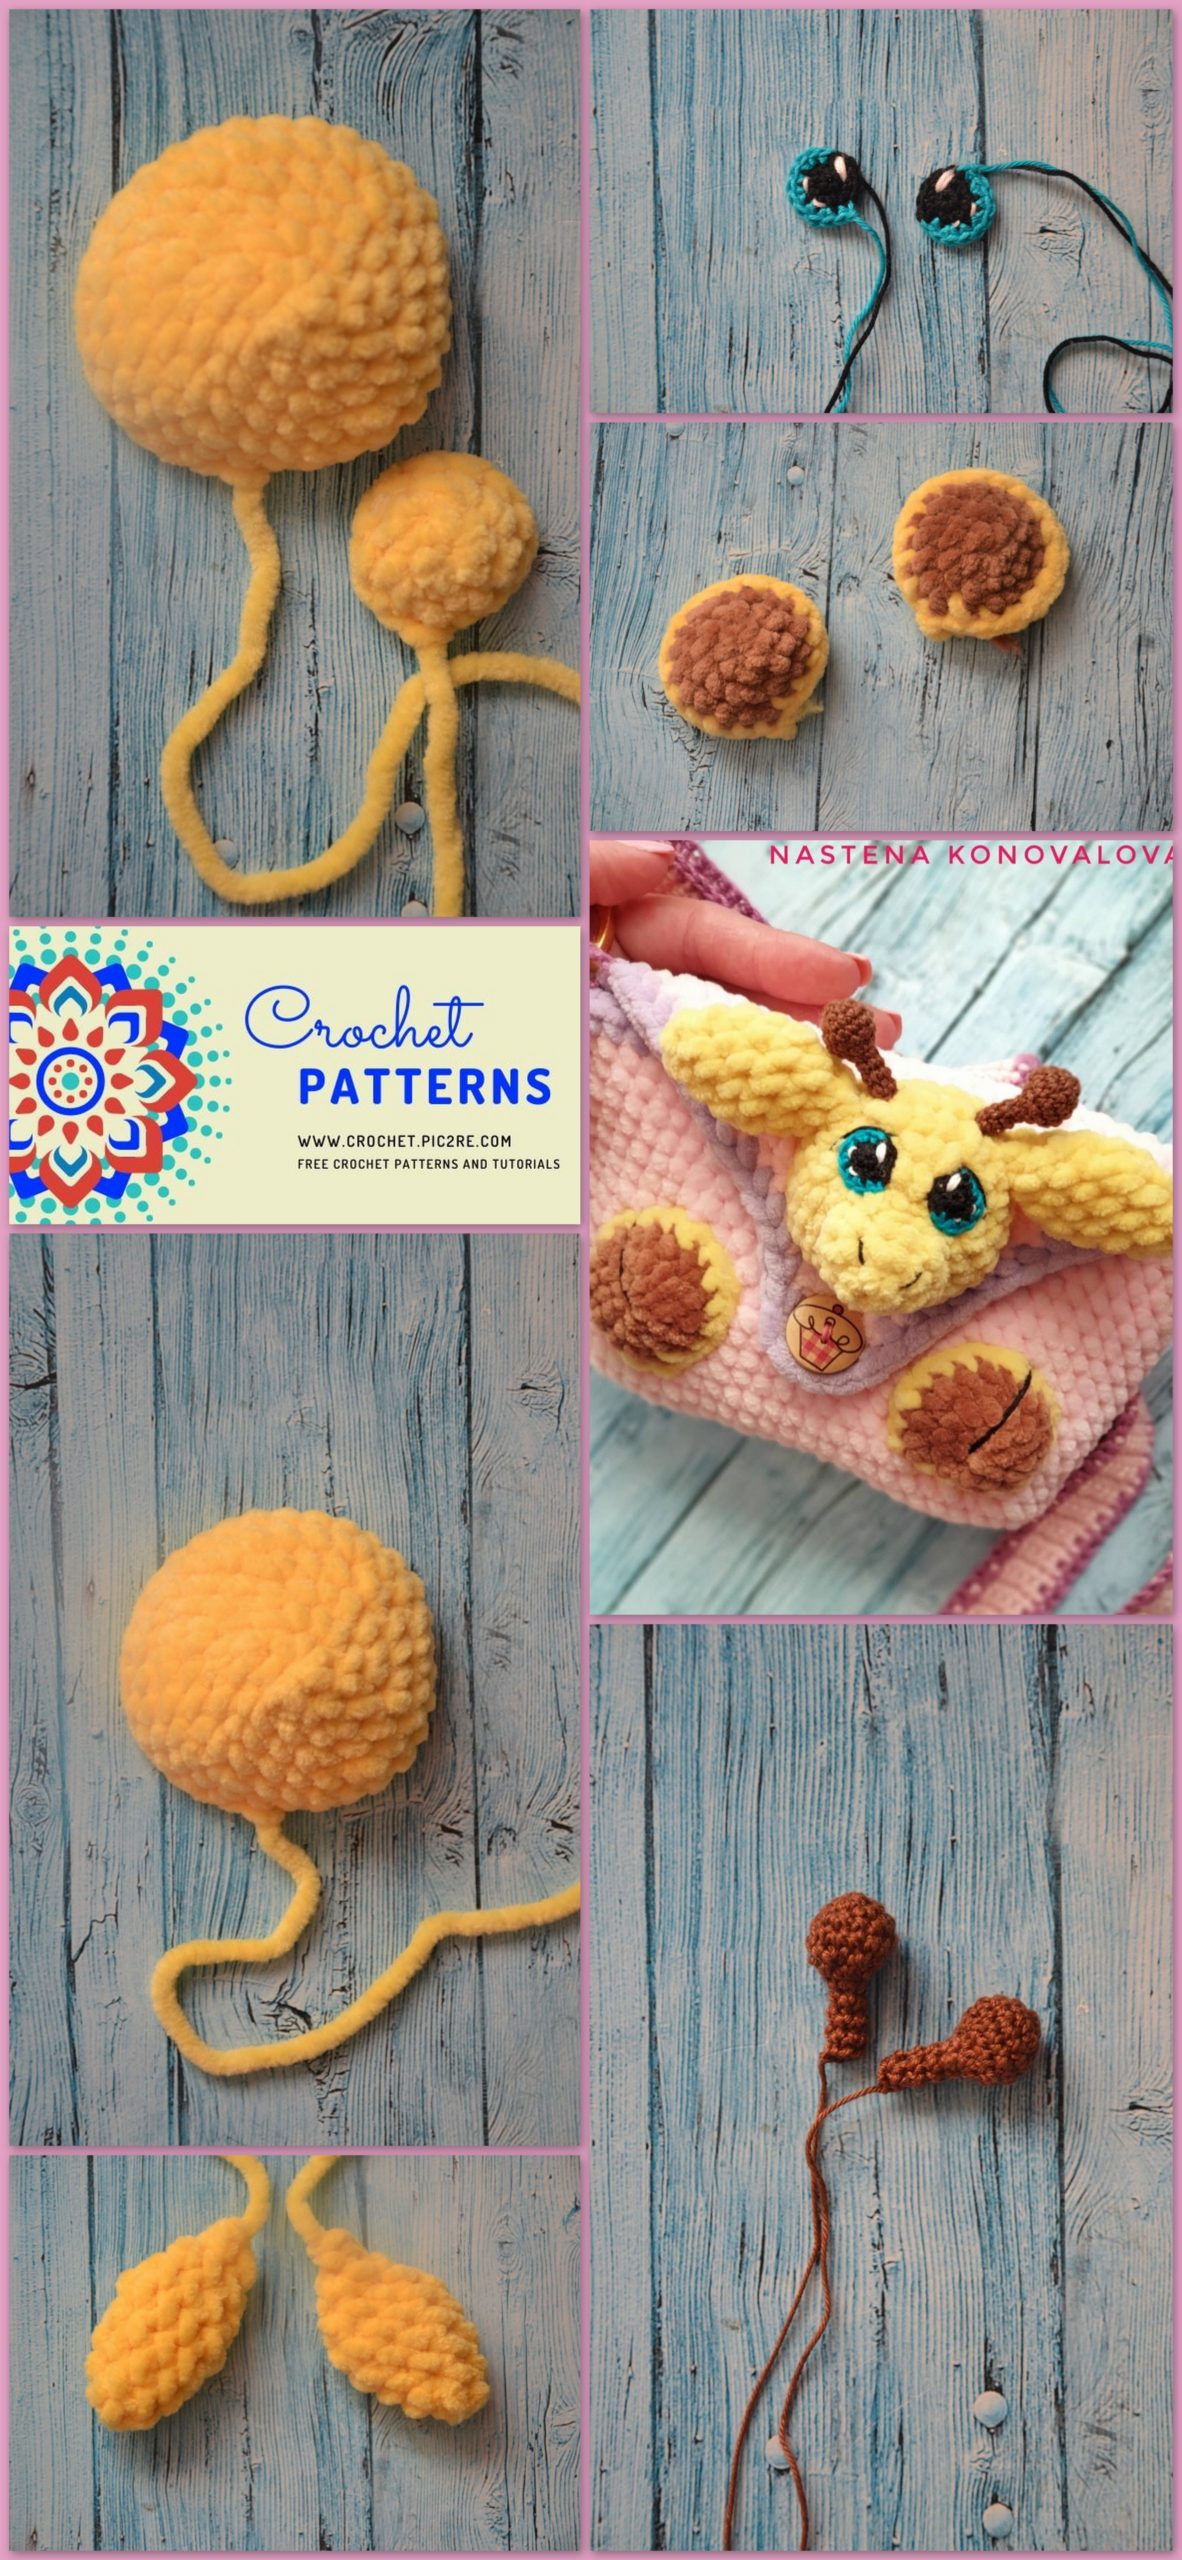
Horns (2 pcs.):
1) 6 sc into magic ring
2) 6 inc (12)
3) (1 sc, inc) * 6 (18)
4) 18 sc
5) (1 sc, dec) * 6 (12), fill a little.
6) 6 dec (6)
7) -10) 6 sc (4 rows), cut the thread, leaving the end for sewing, fasten.
Eyes (2 pcs):
We start with black yarn:
1) 6 sc into magic ring
2) 6 inc (12), change the thread to blue:
3) (1 sc, inc) * 3, 1 sc, sl-st.
Now we take a white thread and embroider the glare.
Feet giraffe (2 pcs.):
We start knitting with brown yarn:
1) 6 sc into magic ring
2) 6 inc (12)
3) (1 sc, inc) * 6 (18), change the thread the main color is yellow:
4) 18 sc
Now we sew all the related details to our handbag: first, the head (do not forget to fill it!). It should be located exactly in the middle of our triangle.
Now we sew the muzzle of the giraffe under 6 next to it (do not forget to fill it as well), then we sew the ears on the sides of the head, then the horns next to the ears.
Sew our eyes exactly above the muzzle, embroider cilia and nostrils.
It remains to sew only the legs. To do this, we deviate from the bottom of the bag about 2
row up, then cover the bag with a lid and put the paws so that they
were exactly on the sides. Do not forget to fill them a little.
We embroider a hoof of thread.
The handbag is ready!