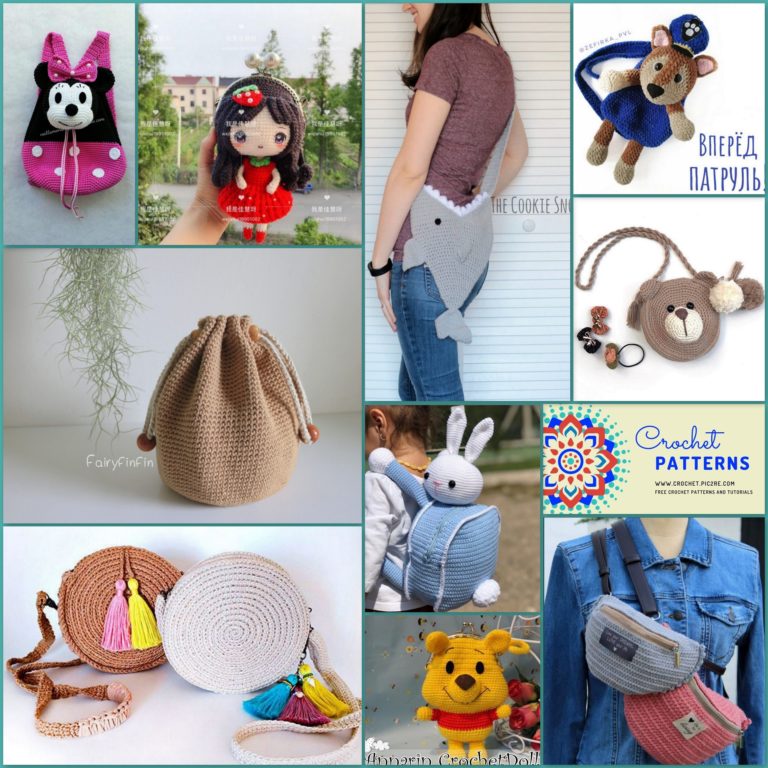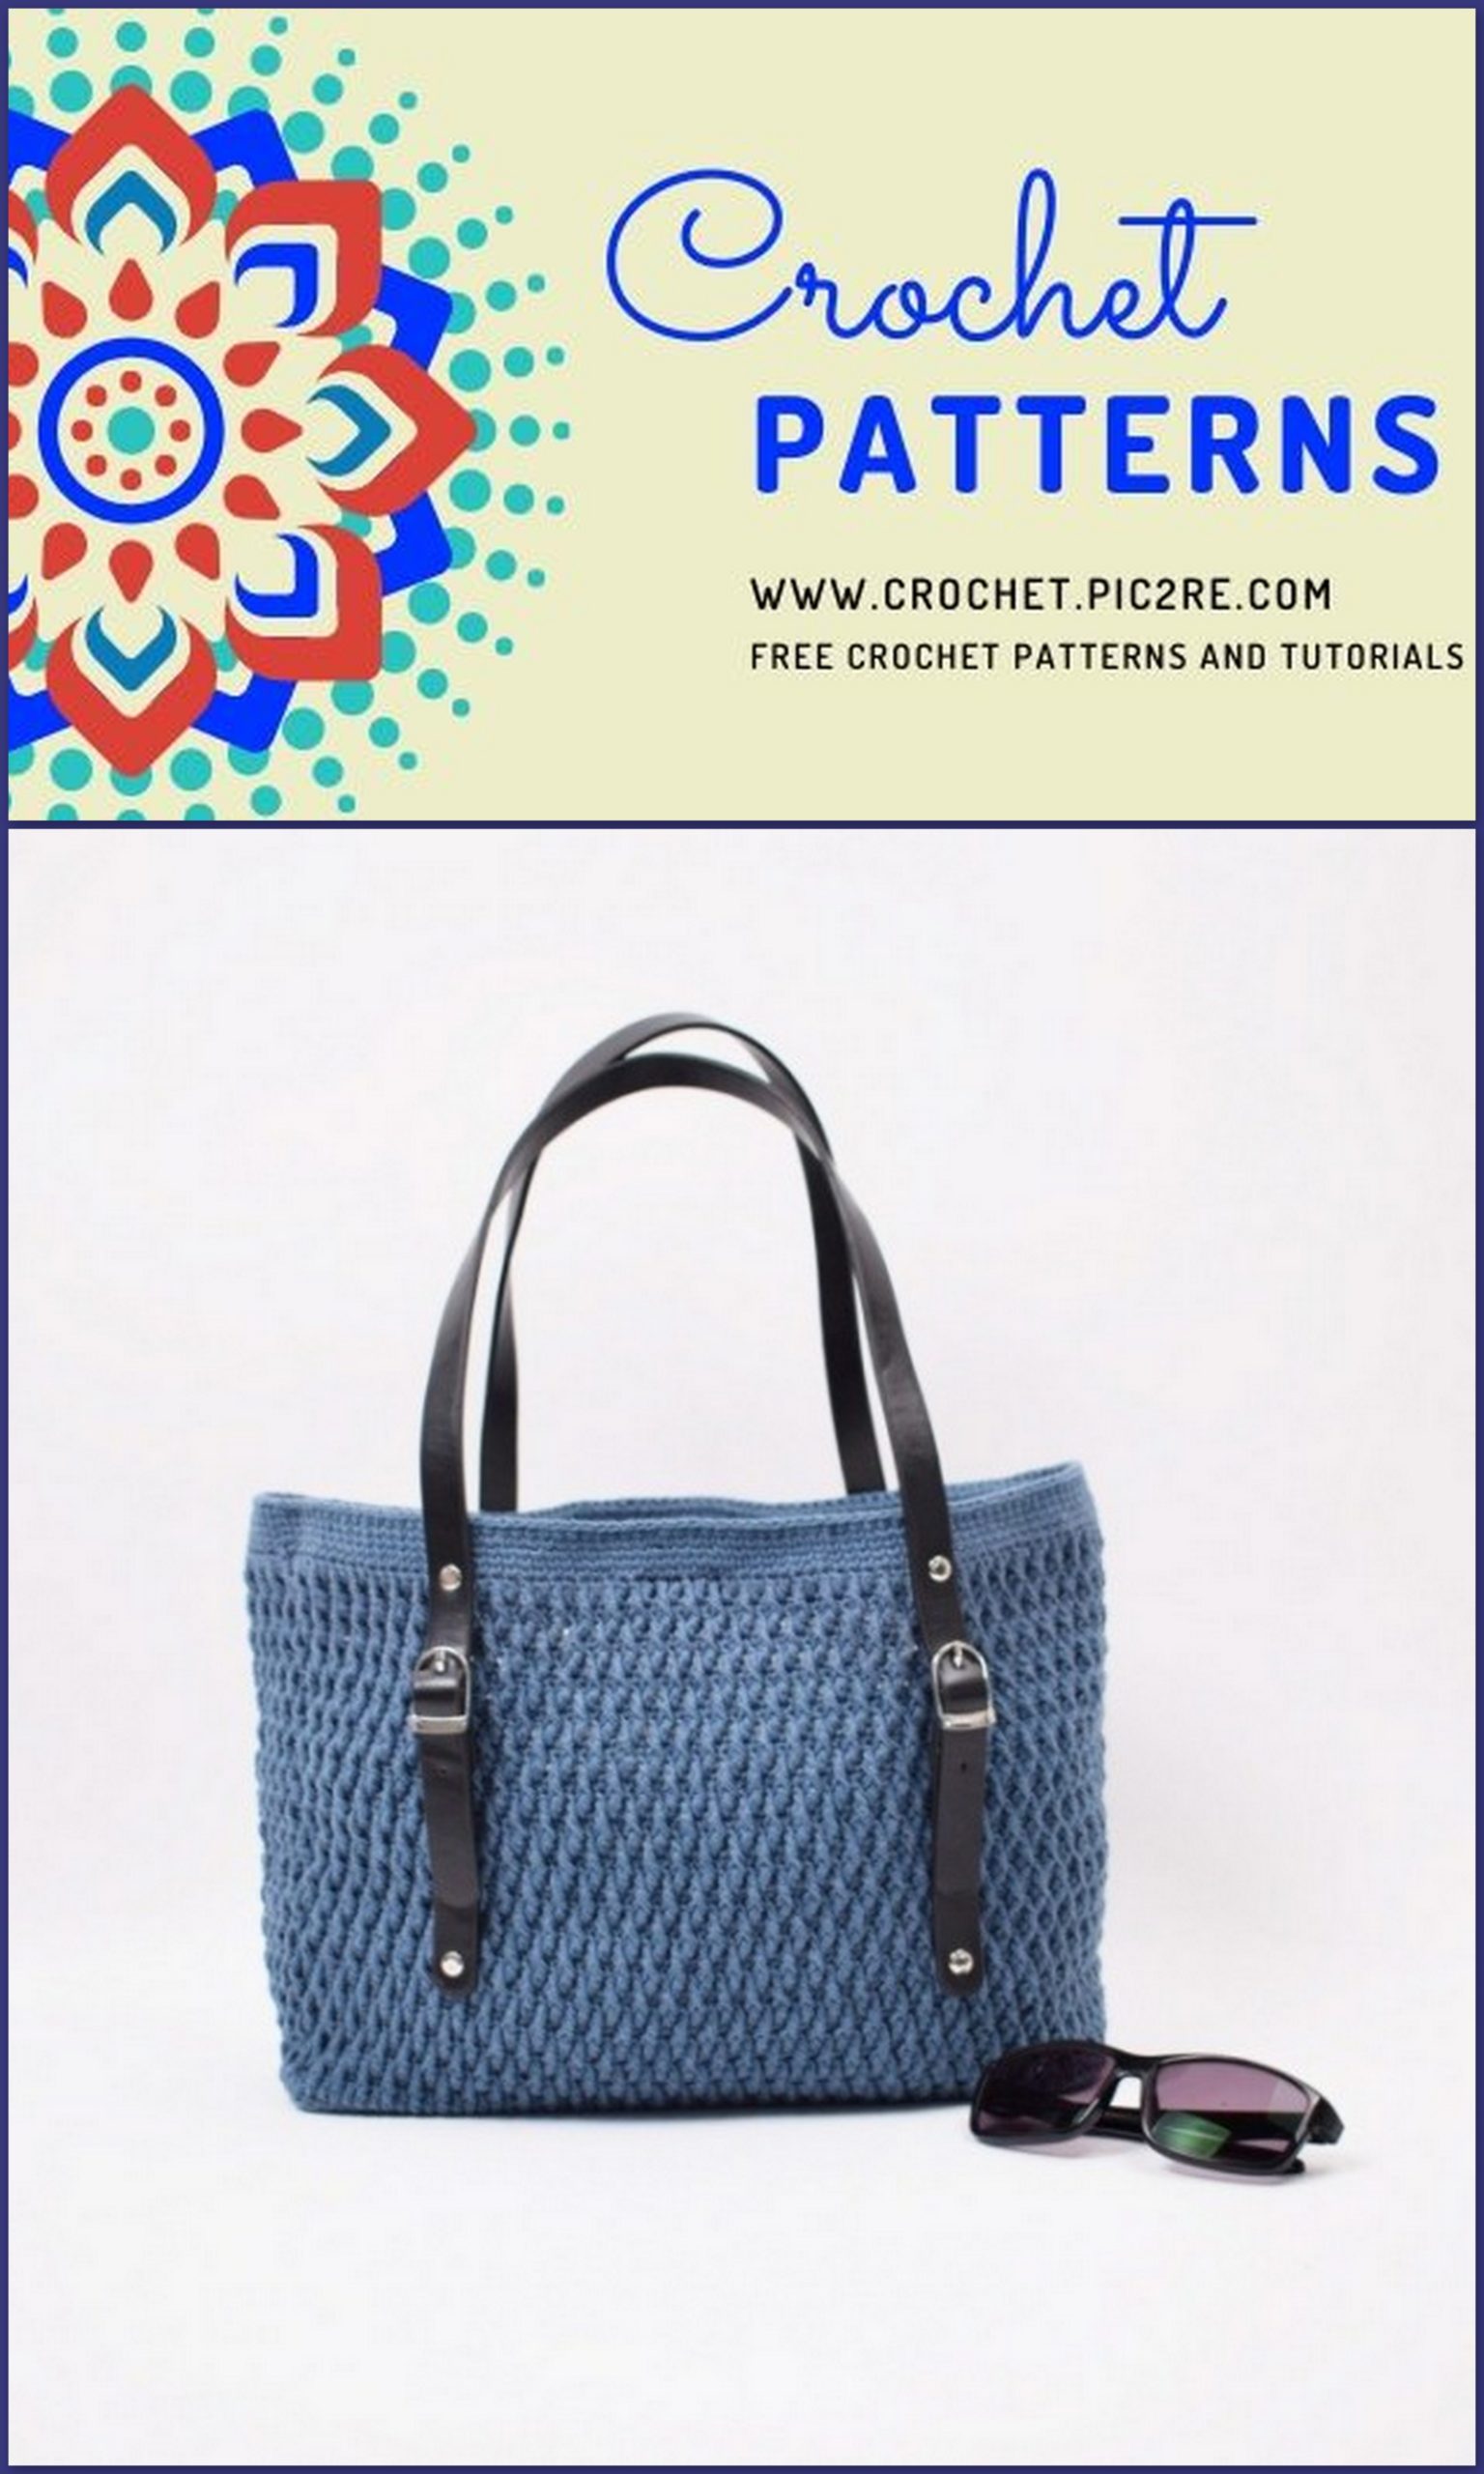
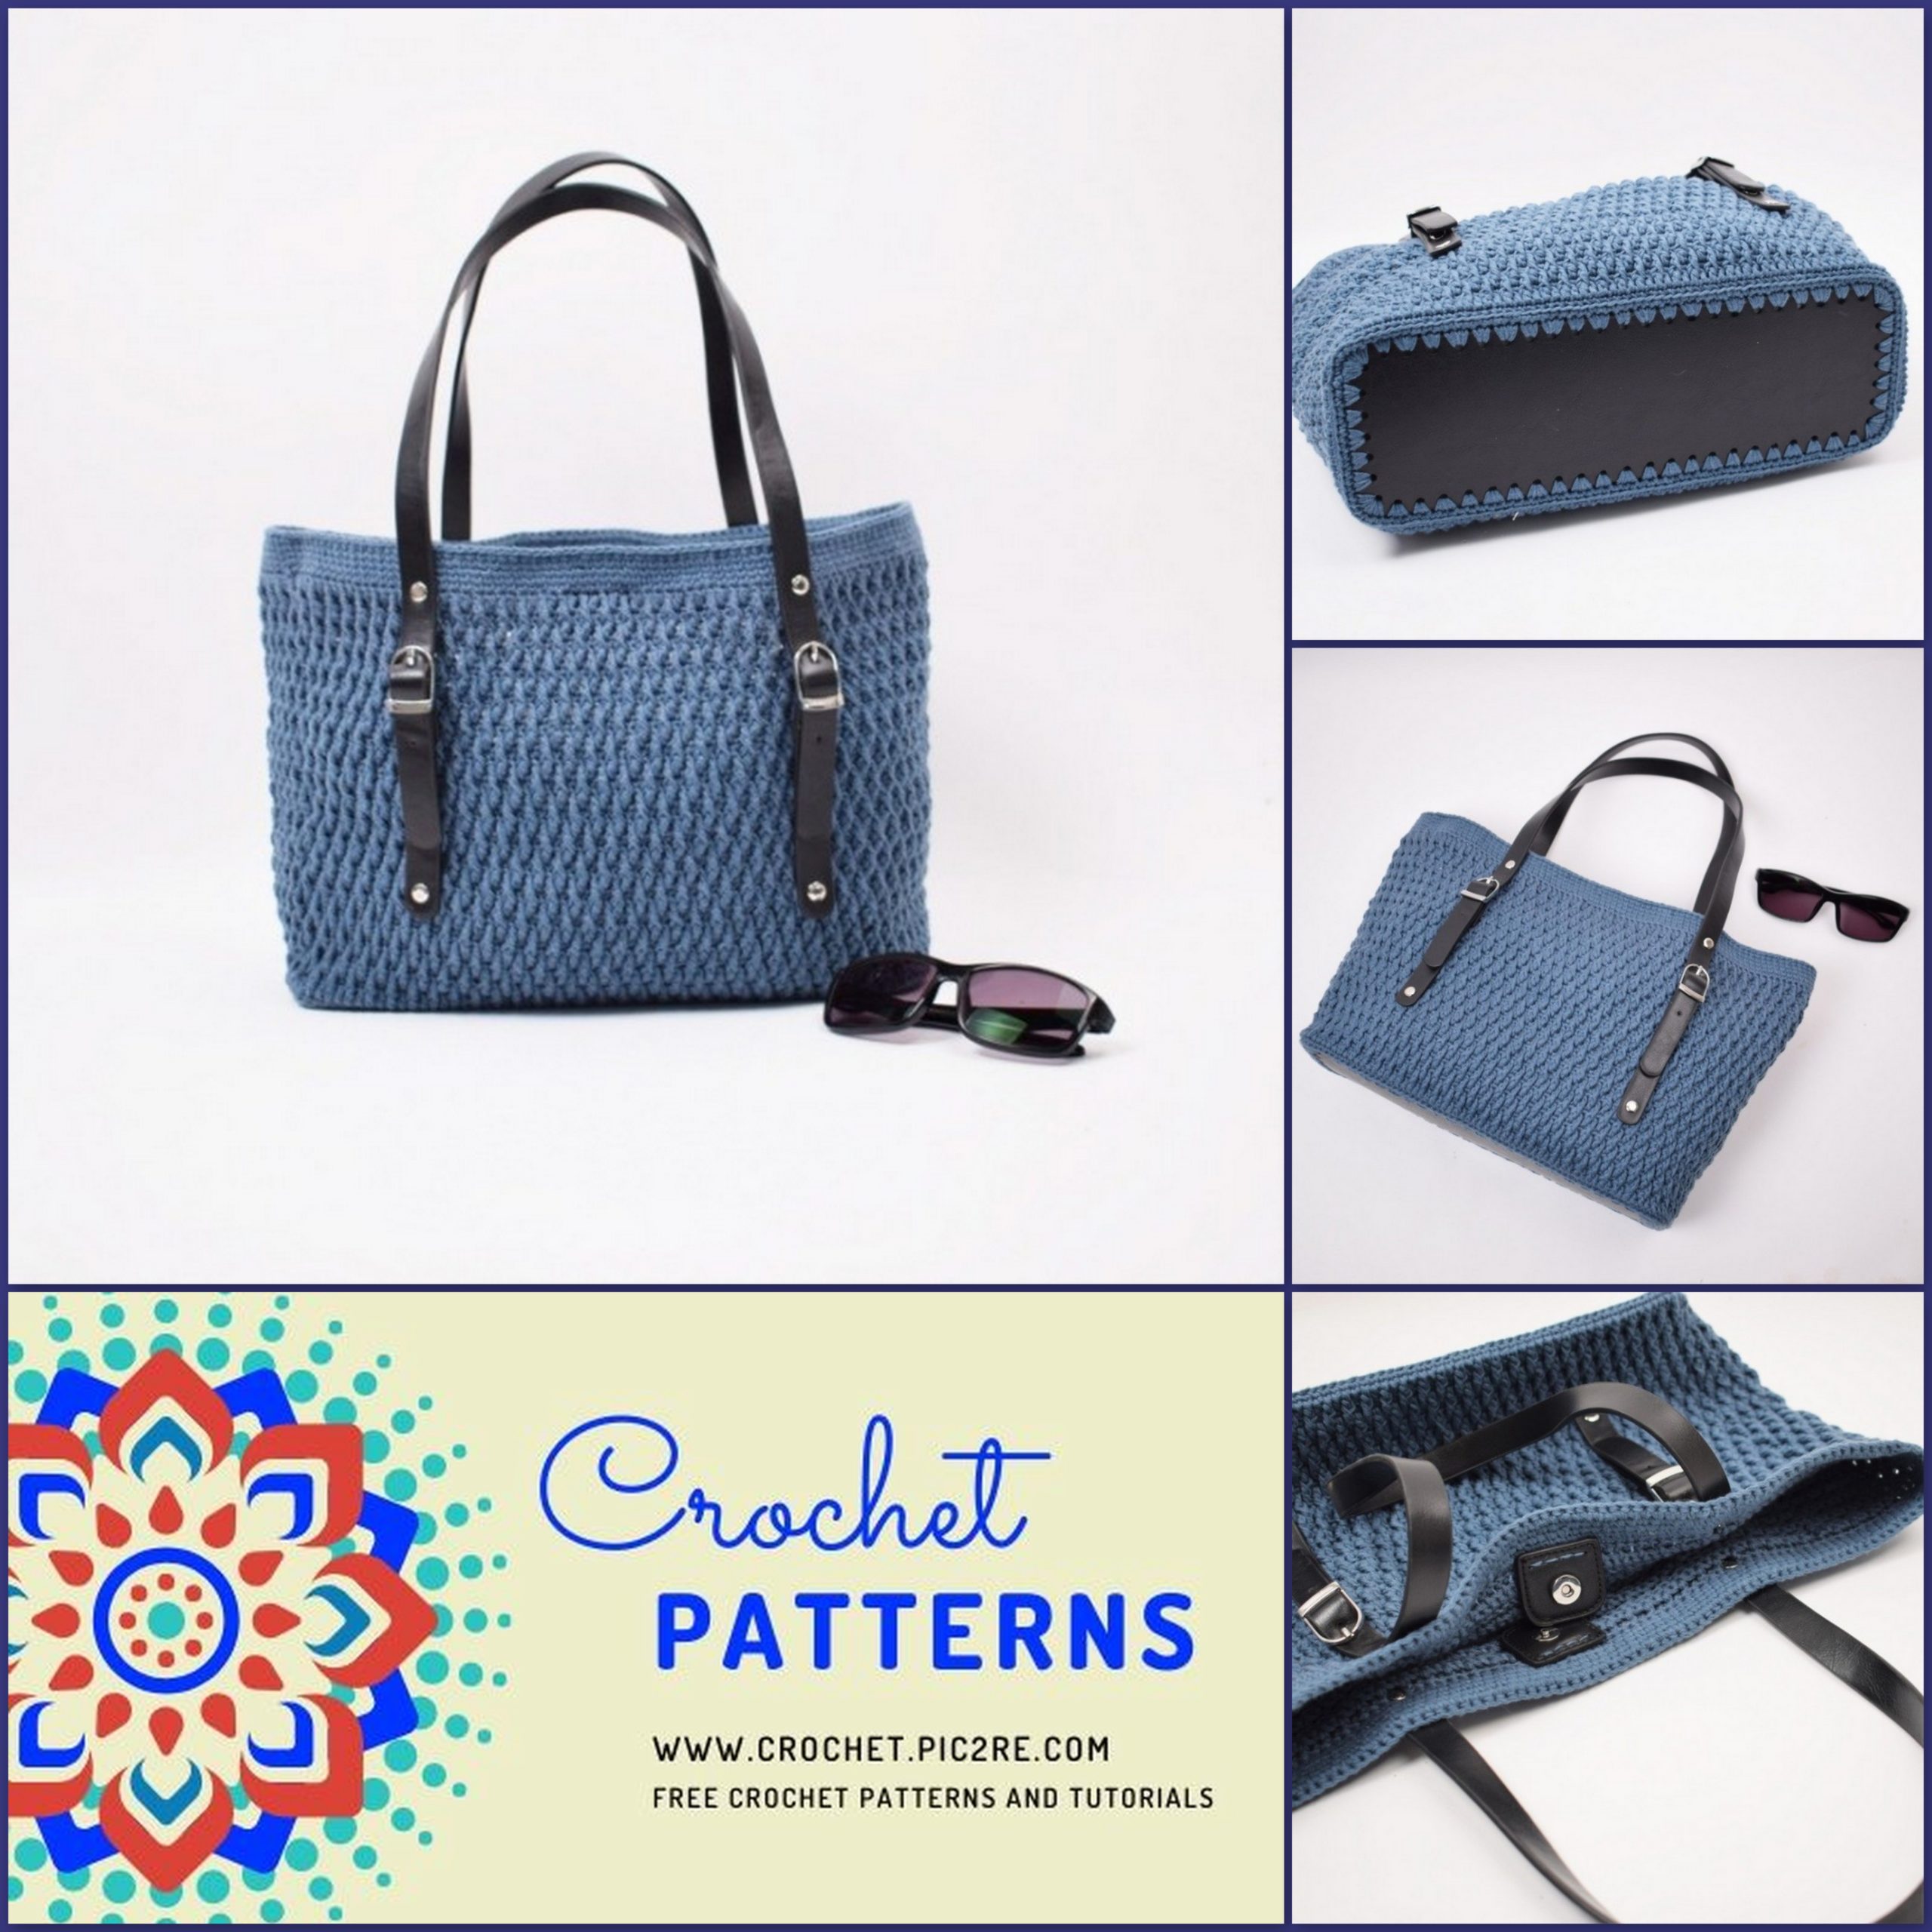
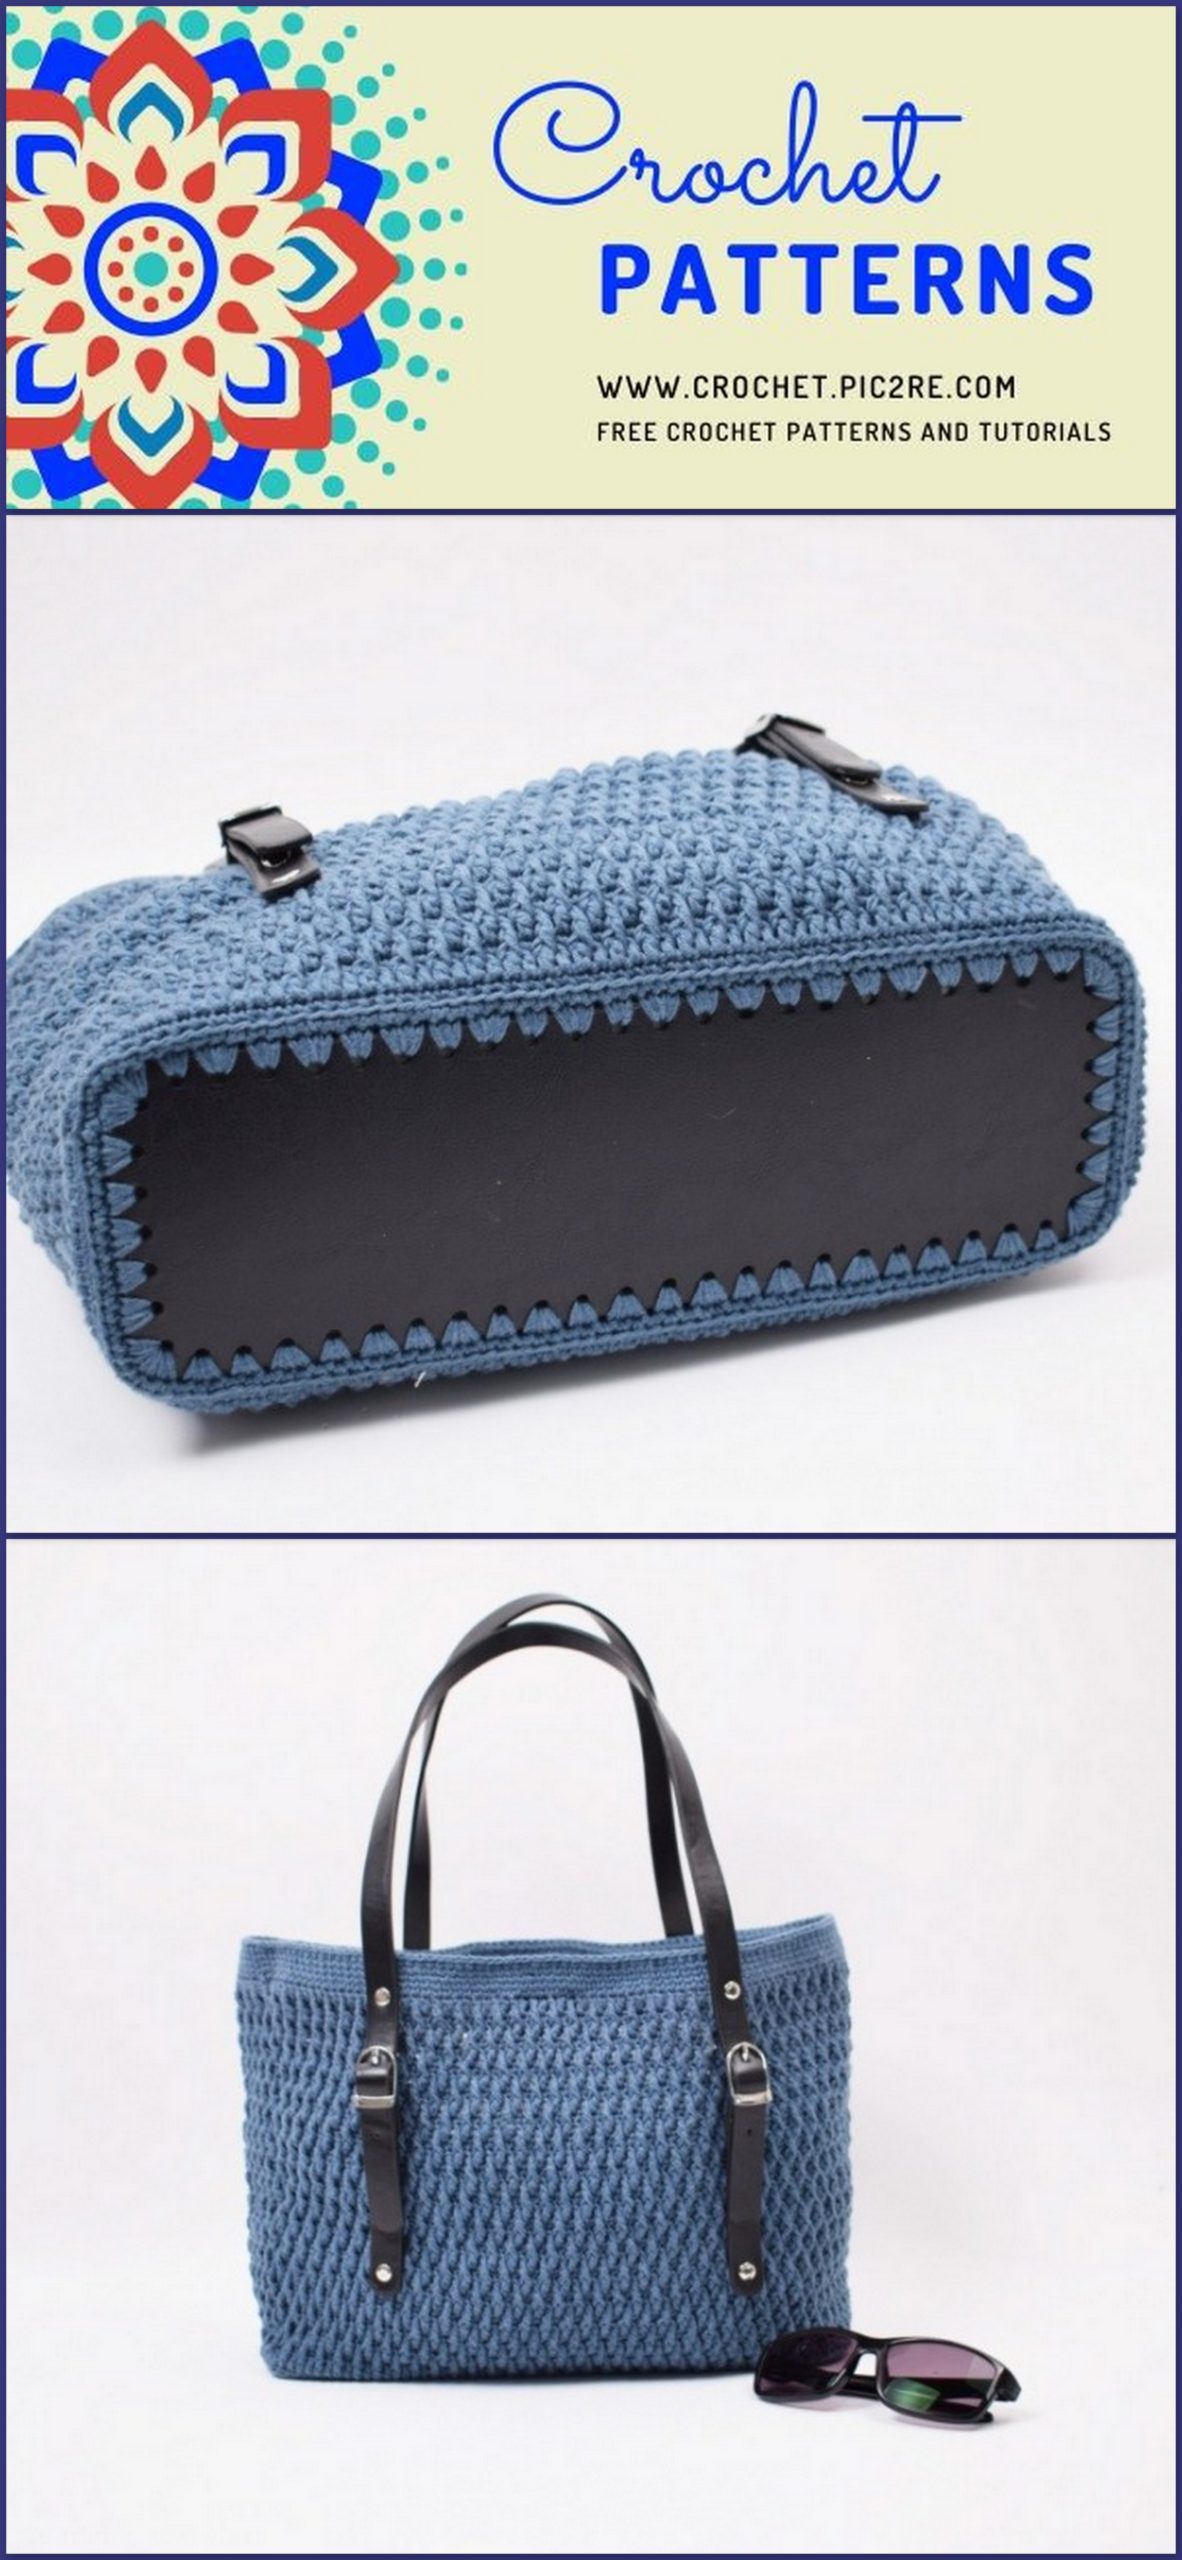
Crochet Woman Bag Free Pattern
Materials:
– Rainbow 8/4 – Double Strand
– Crochet Hook C/D (3.0mm)
– PU leather base 12” x4” (31×10 cm)
– Handbag Handles 80 cm
– Magnetic button w/ Flap – 4 cm
– 8 x Rivets 6-9 mm
Finished Size: 13”x5”x10”/ 33x12x26 cm
Yarn Requirement: Approx. 315g (7 skeins)
Abbreviations:
ch: chain
st: stitch
sc: single crochet
sl st: slip stitch
BL: Back loop
dc: double crochet
fpdc: front post double crochet
Ks: Knit stitch
Pattern – Photo tutorial can be found following the written pattern
1. Begin by working in the holes around the leather base. Start in the 2nd hold from the corner on
a short end. Work 3 sc in the first hole. Work *2 sc in the next hole. 3 sc in the following hole*
Repeat * to * 2 times. Work 6 sc in the corner hole.
Now work along the long side. Work *3 sc in the next hole, 2 sc in the following hole* Repeat
*to* 11 times. Work 6 sc in the corner hole.
For the 2nd short side. Work 3 sc in the first hole. Work *2 sc in the next hole, 3 sc in the
following hole* Repeat * to * 2 times. Work 6 sc in the corner hole.
Now work along the last long side. Work *3 sc in the next hole, 2 sc in the following hole*
Repeat *to* 11 times. Work 6 sc in the corner hole. End with a sl st. (160)
2. Ch 1. Work sc in each st to the end of the rnd. End with a sl st. (160)
3. Ch 1. Work sc in the BL of each st to the end of the rnd. End with a sl st. (160)
4. Ch 3 (counts as 1 dc). Work dc in each st to the end of the rnd. End with a sl st in the 3rd ch of the starting ch. (160)
5. Ch 1. Work sc in each st to the end of the rnd. End with a sl st. (160)
6. Ch 3 (counts as 1 dc). Work 1 fpdc around the next dc from the rnd below where you would
normal work. Work *1 dc in the next st, 1 fpdc around the next dc in the row below* Repeat * to
* to the end of the rnd. End with a sl st in the 3rd ch of the starting ch. (160)
7. Ch 1. Work sc in each st to the end of the rnd. End with a sl st. (160)
8. Ch 1. Work 1 fpdc around the next dc from the rnd below where you would normal work. Work
1 dc in the next st. Work *1 fpdc around the next dc in the row below, 1 dc in the next st*
Repeat * to * to the end of the rnd. End with a sl st in the 3rd ch of the starting ch. (160)
Continue in this manner, repeating rnds 5-8 a total of 8 times.
37. Ch 1. Work sc in each st to the end of the rnd. End with a sl st. (160)
38. -41. Ch 1. Work ks in each st to the end of the rnd. End with a sl st. (160)
Cut the yarn and weave in the ends.
Assembly of accessories:
Attach the handles with rivets using a hammer.
Sew the magnetic button with flap securely to the inside of the purse on either side of the opening.
Photo Tutorial:
Rnd 1
1. Begin by working in the holes around the leather base. Start in the 2nd hold from the corner on a short end.
2. Work 3 sc in the first hole. Work *2 sc in the next hole. 3 sc in the following hole* Repeat * to * 2 times.
3. Work 6 sc in the corner hole. 4. Now work along the long side.
5. Work *3 sc in the next hole, 2 sc in the following hole*
6. Repeat *to* 11 times. Work 6 sc in the corner hole.
7. Now work along the 2nd short side. 8. Work 3 sc in the first hole. Work *2 sc in the next hole, 3 sc in the following hole* Repeat * to * 2 times.
9. Work 6 sc in the corner hole. 10. Now work along the last long side.
11. Work *3 sc in the next hole, 2 sc in the following hole* Repeat *to* 11 times.
12. Work 6 sc in the corner hole.
13. End with a sl st. (160)
Rnd 2
1. Ch 1. Work sc in each st to the end of the rnd.
End with a sl st. (160)
Rnd 3
1. Ch 1. Work sc in the BL of each st to the end of the rnd. The needle indicates where to insert the hook.
2. Like this. Now there is 1 sc in the BL.
3. Work sc in the BL of the next st. The needle indicates where to insert the hook.
4. Like this.
5. Continue to the end of the rnd. 6. End with a sl st.

Rnd 4
1. Ch 3 (counts as 1 dc). 2. Work dc in each st to the end of the rnd.
3. End with a sl st in the 3rd ch of the starting ch.
(160)
Rnd 5
1. Ch 1. Work sc in each st to the end of the rnd.
End with a sl st. (160)
2. Like this.
Rnd 6
1. Ch 3 (counts as 1 dc). 2. Work 1 fpdc around the next dc from the rnd
below where you would normal work. A fpdc is worked the same as a regular dc, but inserting the hook around the post of the st indicated from front to back. The needle indicates where to insert the hook.
3. Like this. There is now 1 fpdc. 4. Work 1 dc in the next st.
5. Work 1 fpdc around the ne xt dc in the row below.
6. Like this.
7. Work *1 dc in the next st, 1 fpdc around the next dc in the row below*
8. Repeat * to * to the end of the rnd. End with a sl st in the 3rd ch of the starting ch. (160)
Rnd 7
1. Ch 1. Work sc in each st to the end of the rnd.
End with a sl st. (160)
2. Like this.
Rnd 8
1. Ch 1.
2. Work 1 fpdc around the next dc from the rnd below where you would normal work. The needle indicates where to insert the hook.
3. Like this. 4. Work 1 dc in the next st.
5. Work 1 fpdc around the next dc in the row below.
6. Like this.
7. Work 1 dc in the next st 8. Work *1 fpdc around the next dc in the row
below, 1 dc in the next st*
9. Repeat * to * to the end of the rnd. End with a sl st in the 3rd ch of the starting ch. (160)
Rnds 9 – 36
Continue in this manner, repeating rnds 5-8 a total of 8 times.
Rnd 37
1. Ch 1. Work sc in each st to the end of the rnd 2. End with a sl st. (160)
Rnds 38-41
1. Ch 1. 2. Work ks in the next st. A ks is worked the
same way as a regular sc, but worked in the
“v” instead for the normal placement. The
needle indicates where to insert the hook.
3. Like this. Now there is 1 ks worked. 4. Work 1 ks in the next st.
5. Like this. 6. Continue to the end of the rnd. End with a sl st.
Repeat this rnd a total of 4 times. Cut the yarn
and weave in the ends.
Sew the accessoires as described in the written
pattern.
Enjoy!
Best Wishes