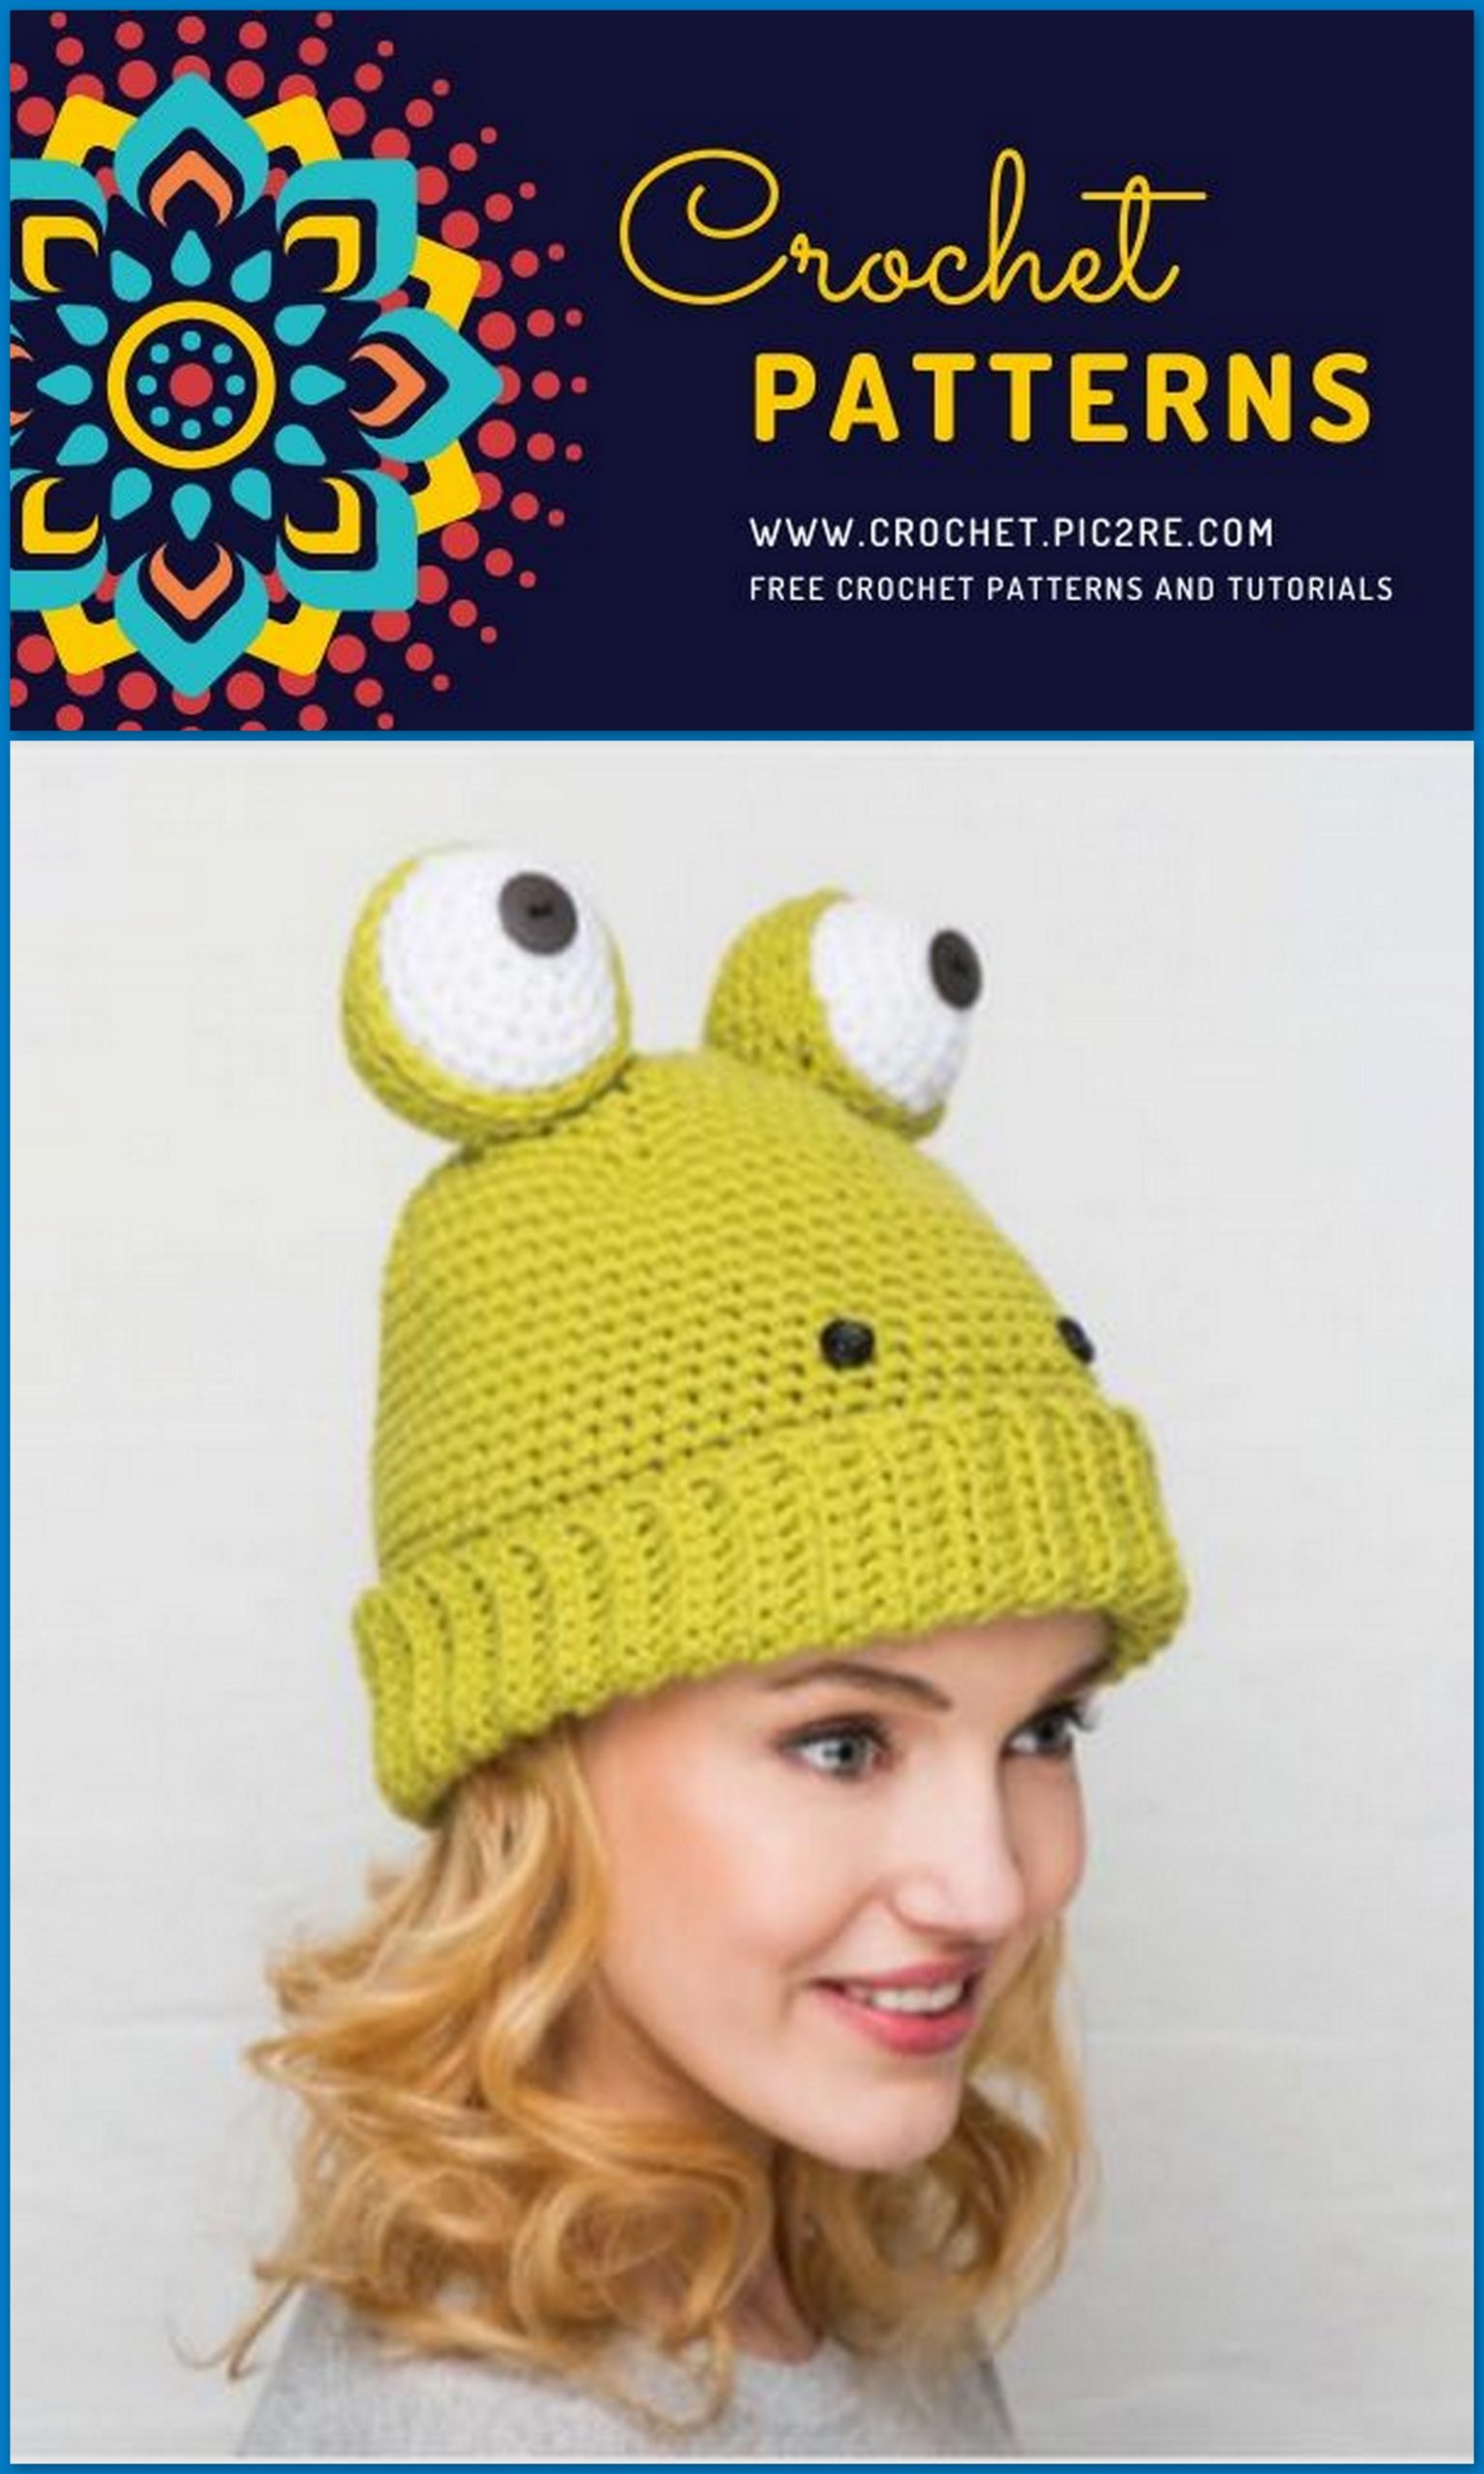
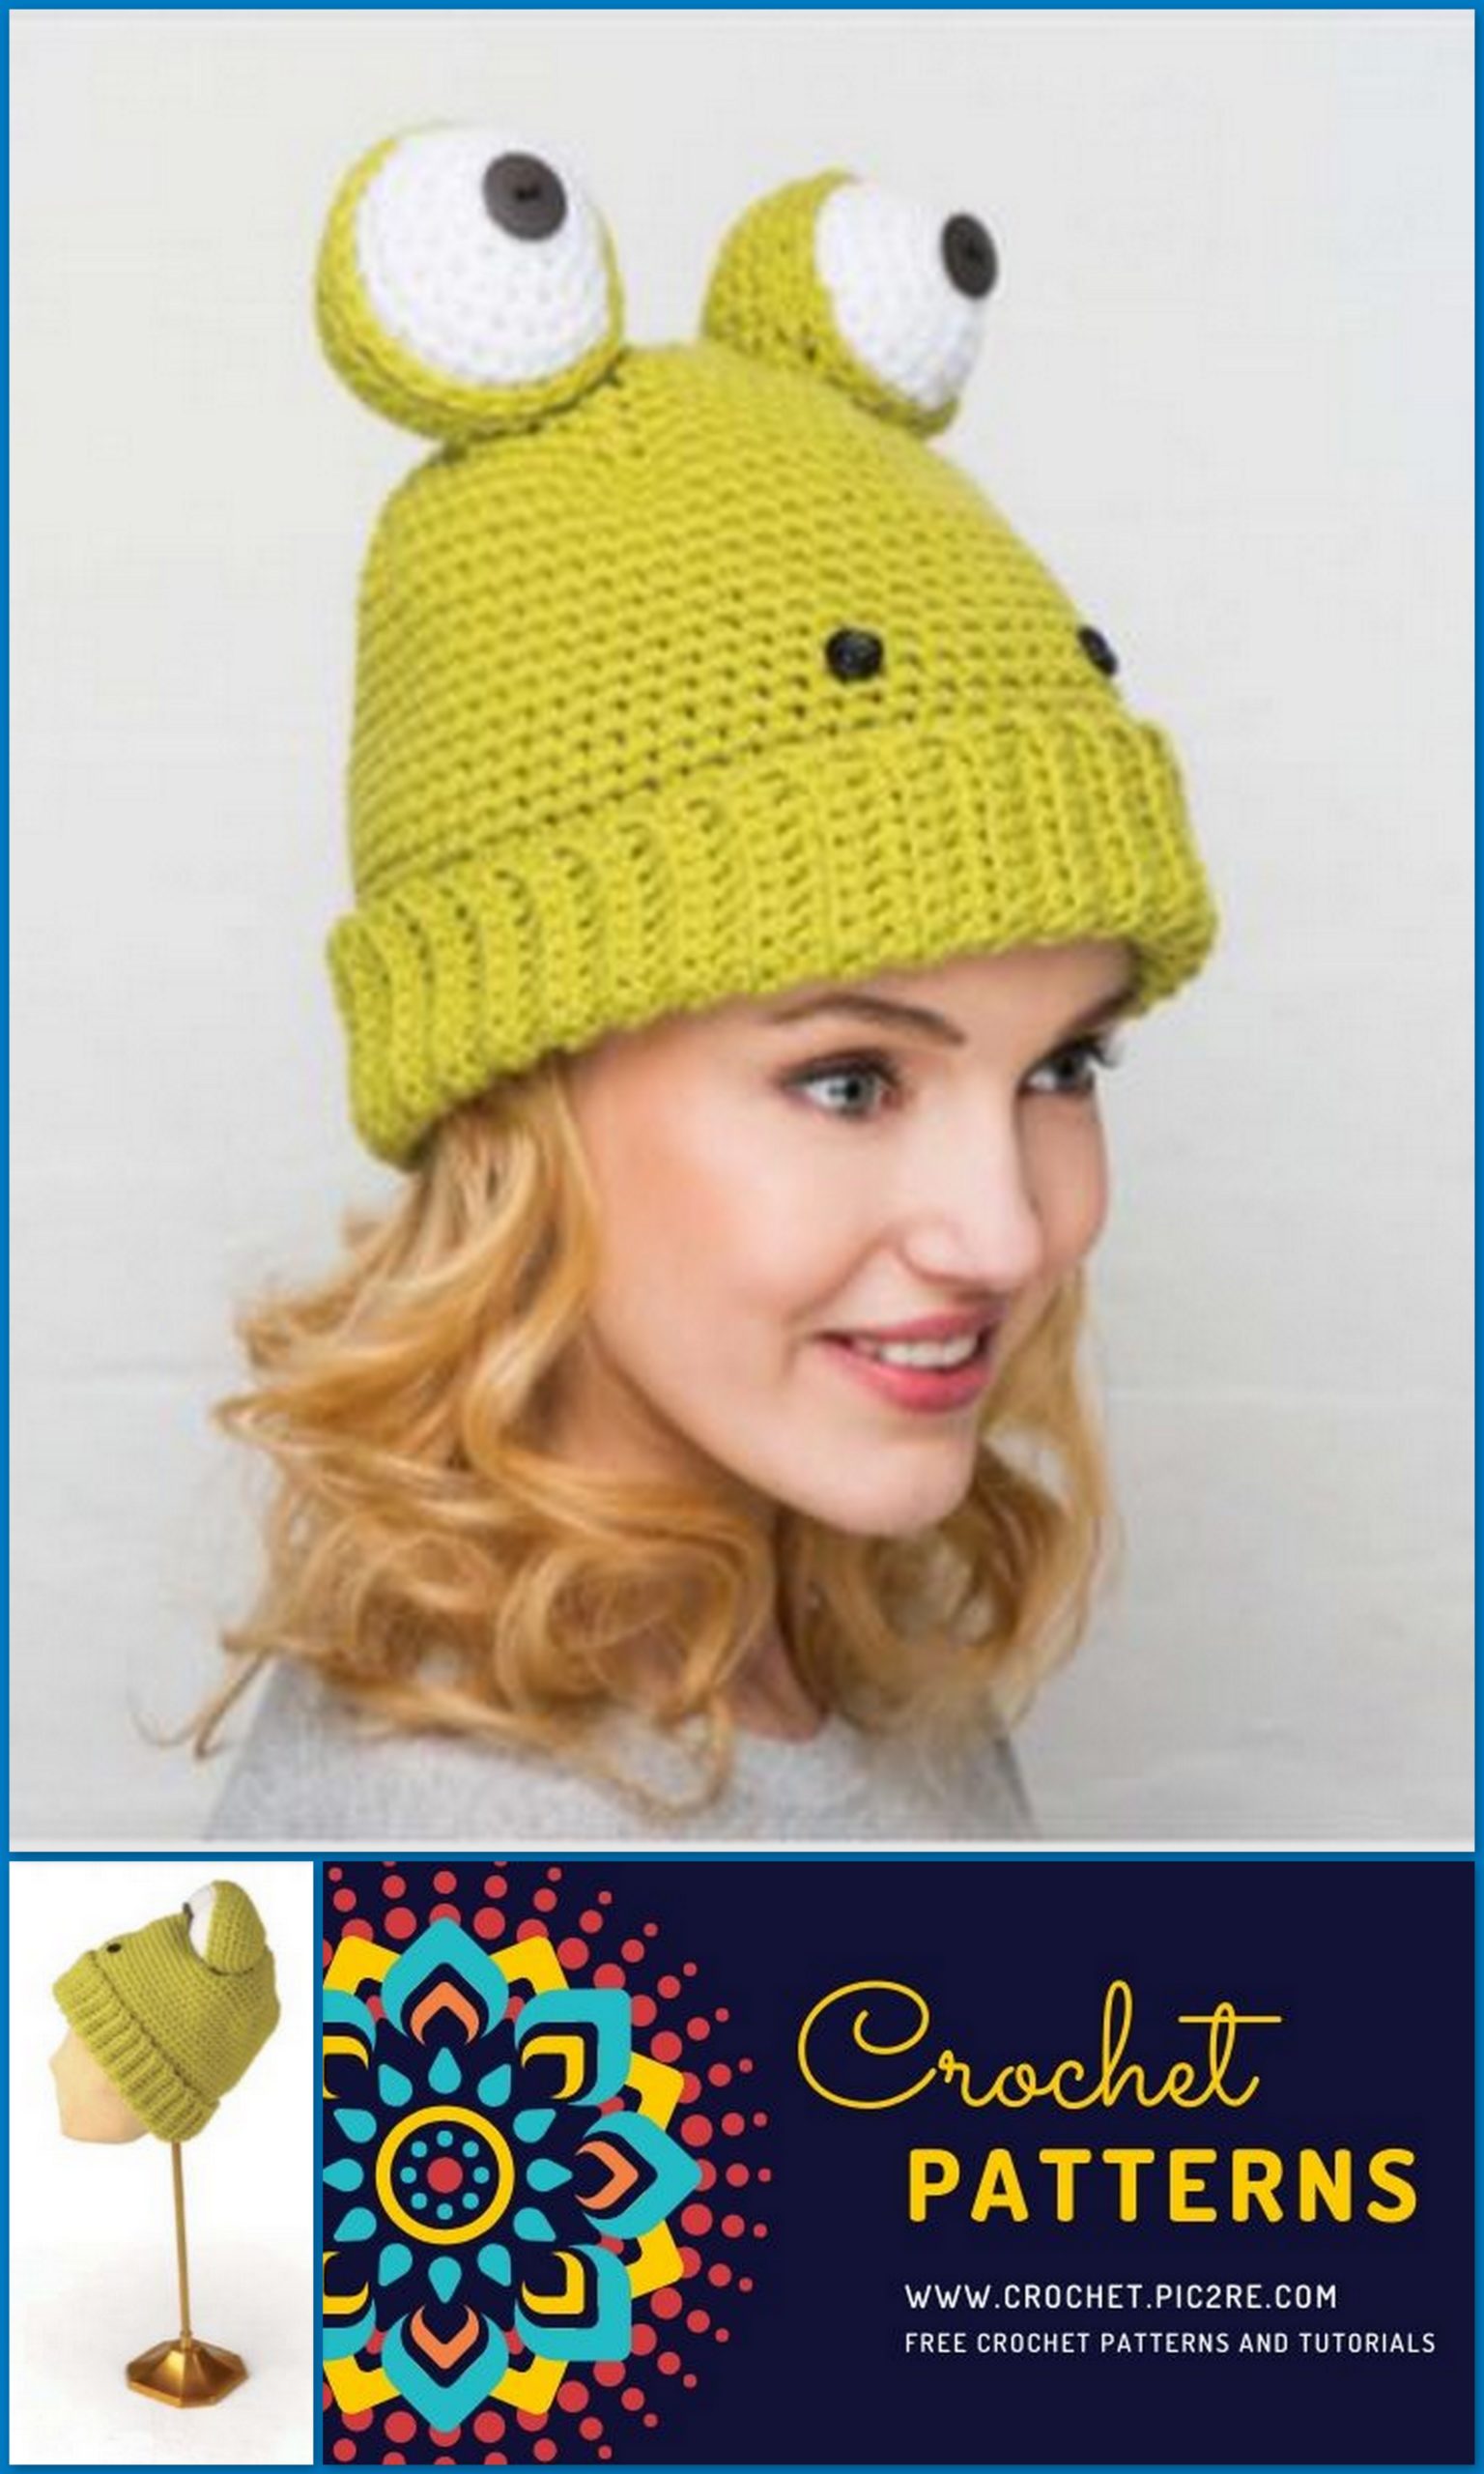
Amigurumi Frog Beret Free Crochet Pattern
We share a beautiful beret pattern for both adults and children. It will protect your head and ears from the cold in winter. Follow us for Amigurumi leopard beret pattern and more patterns.
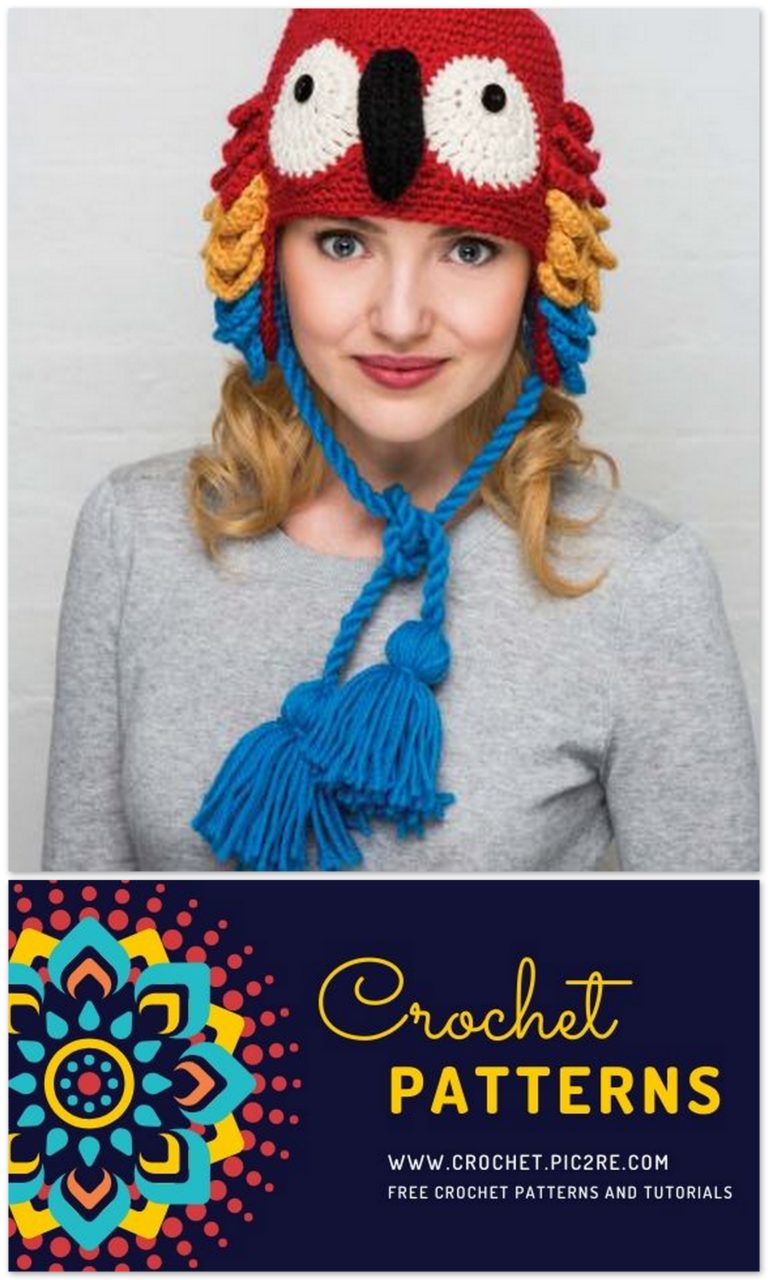
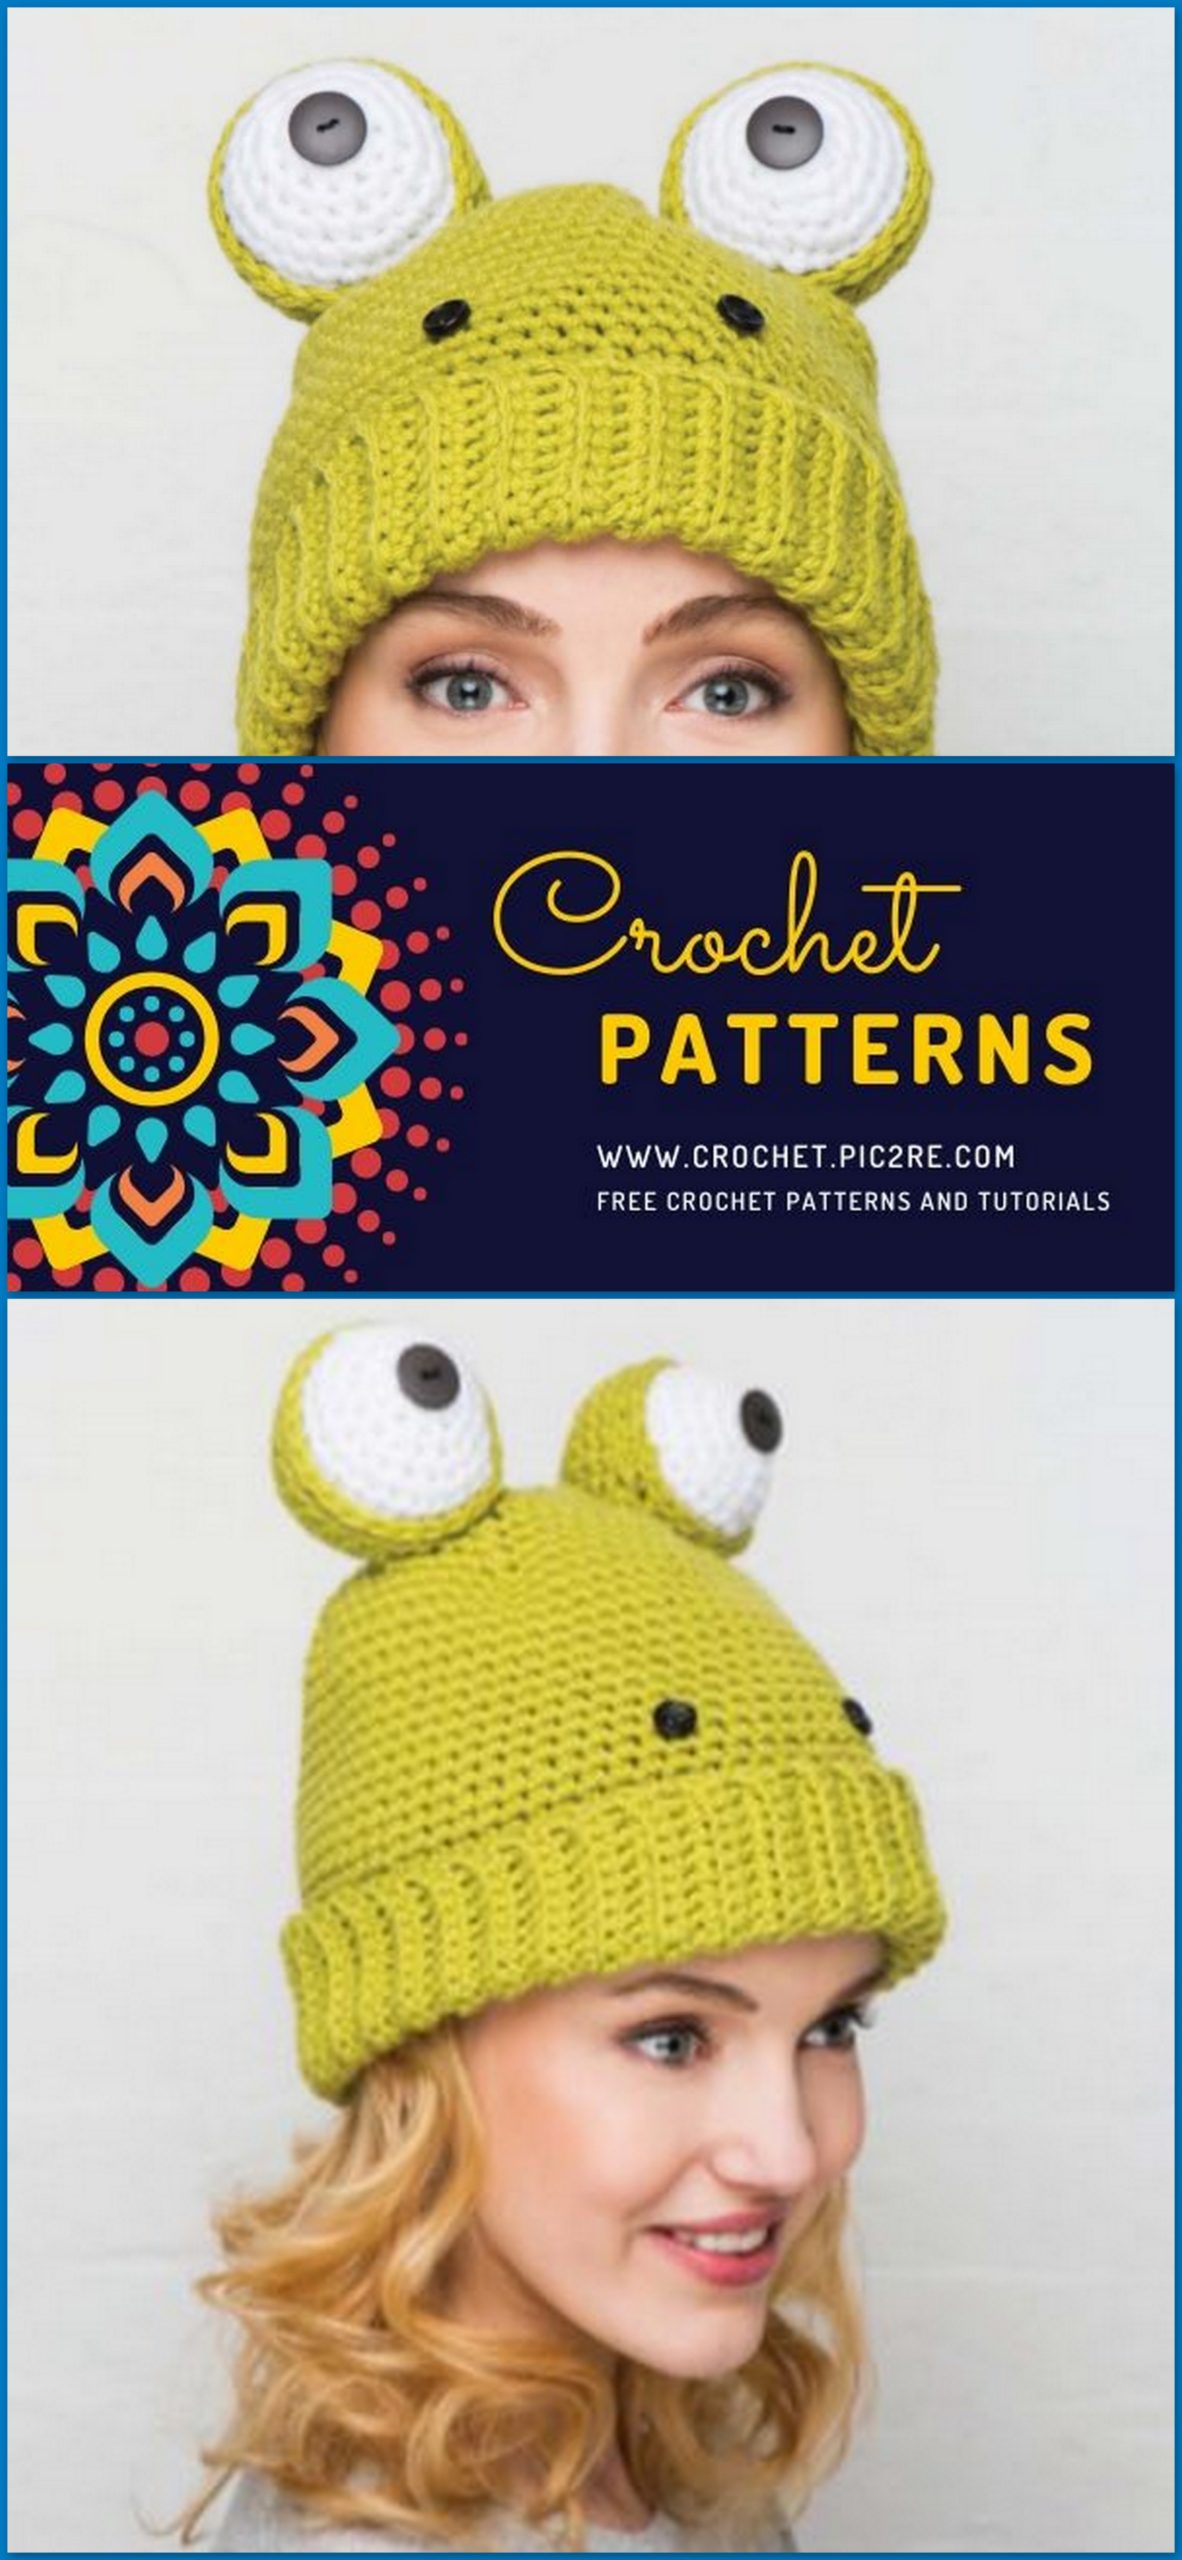
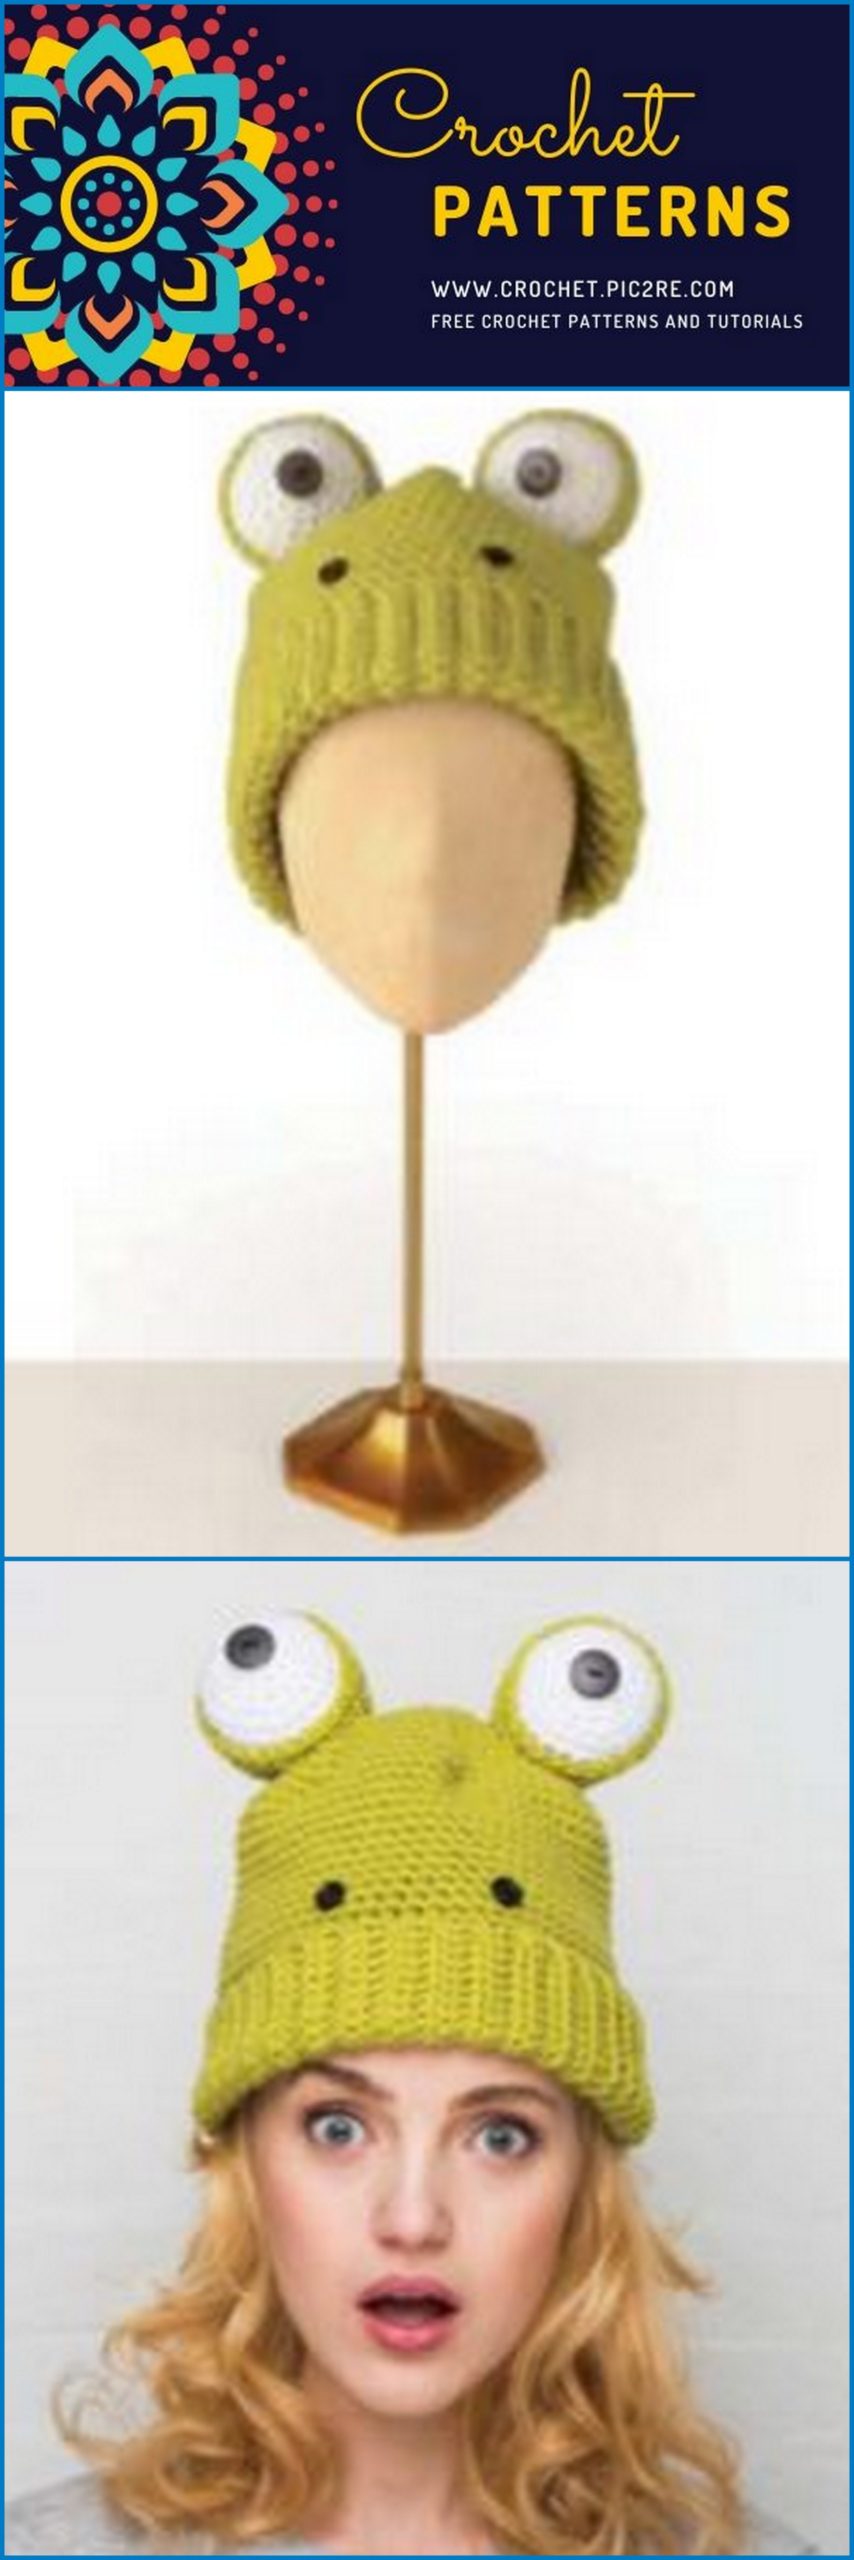
This beanie-style hat features a turned-back brim in a ribbed-effect pattern, and is topped by a huge pair of bulbous eyes. It’s the perfect hat if you want to stand out from the crowd!
MATERIALS
Hayfi eld Baby Chunky, 70% acrylic, 30% nylon
(170yd/155m per 100g ball)
2[2] x 100g balls in 405 Applebob (A)
1[1] x 100g ball in 400 White (B)
5.5mm (UK5:USI/9) crochet hook
2 x black ¾[⅞]in (2[2.25]cm) diameter buttons for the eyes
2 x black ½in (1.25cm) diameter buttons for the nostrils
Darning needle
Sewing needle
Black thread
Small amount of toy stuffing
SIZES To fi t: child, up to 20in (51cm) head circumference [adult, up to 22in (56cm) head circumference]
TENSION 13 sts and 14 rows to 4in (10cm) over double crochet on 5.5mm hook. Use larger or smaller hook if necessary to obtain correct tension.
METHOD
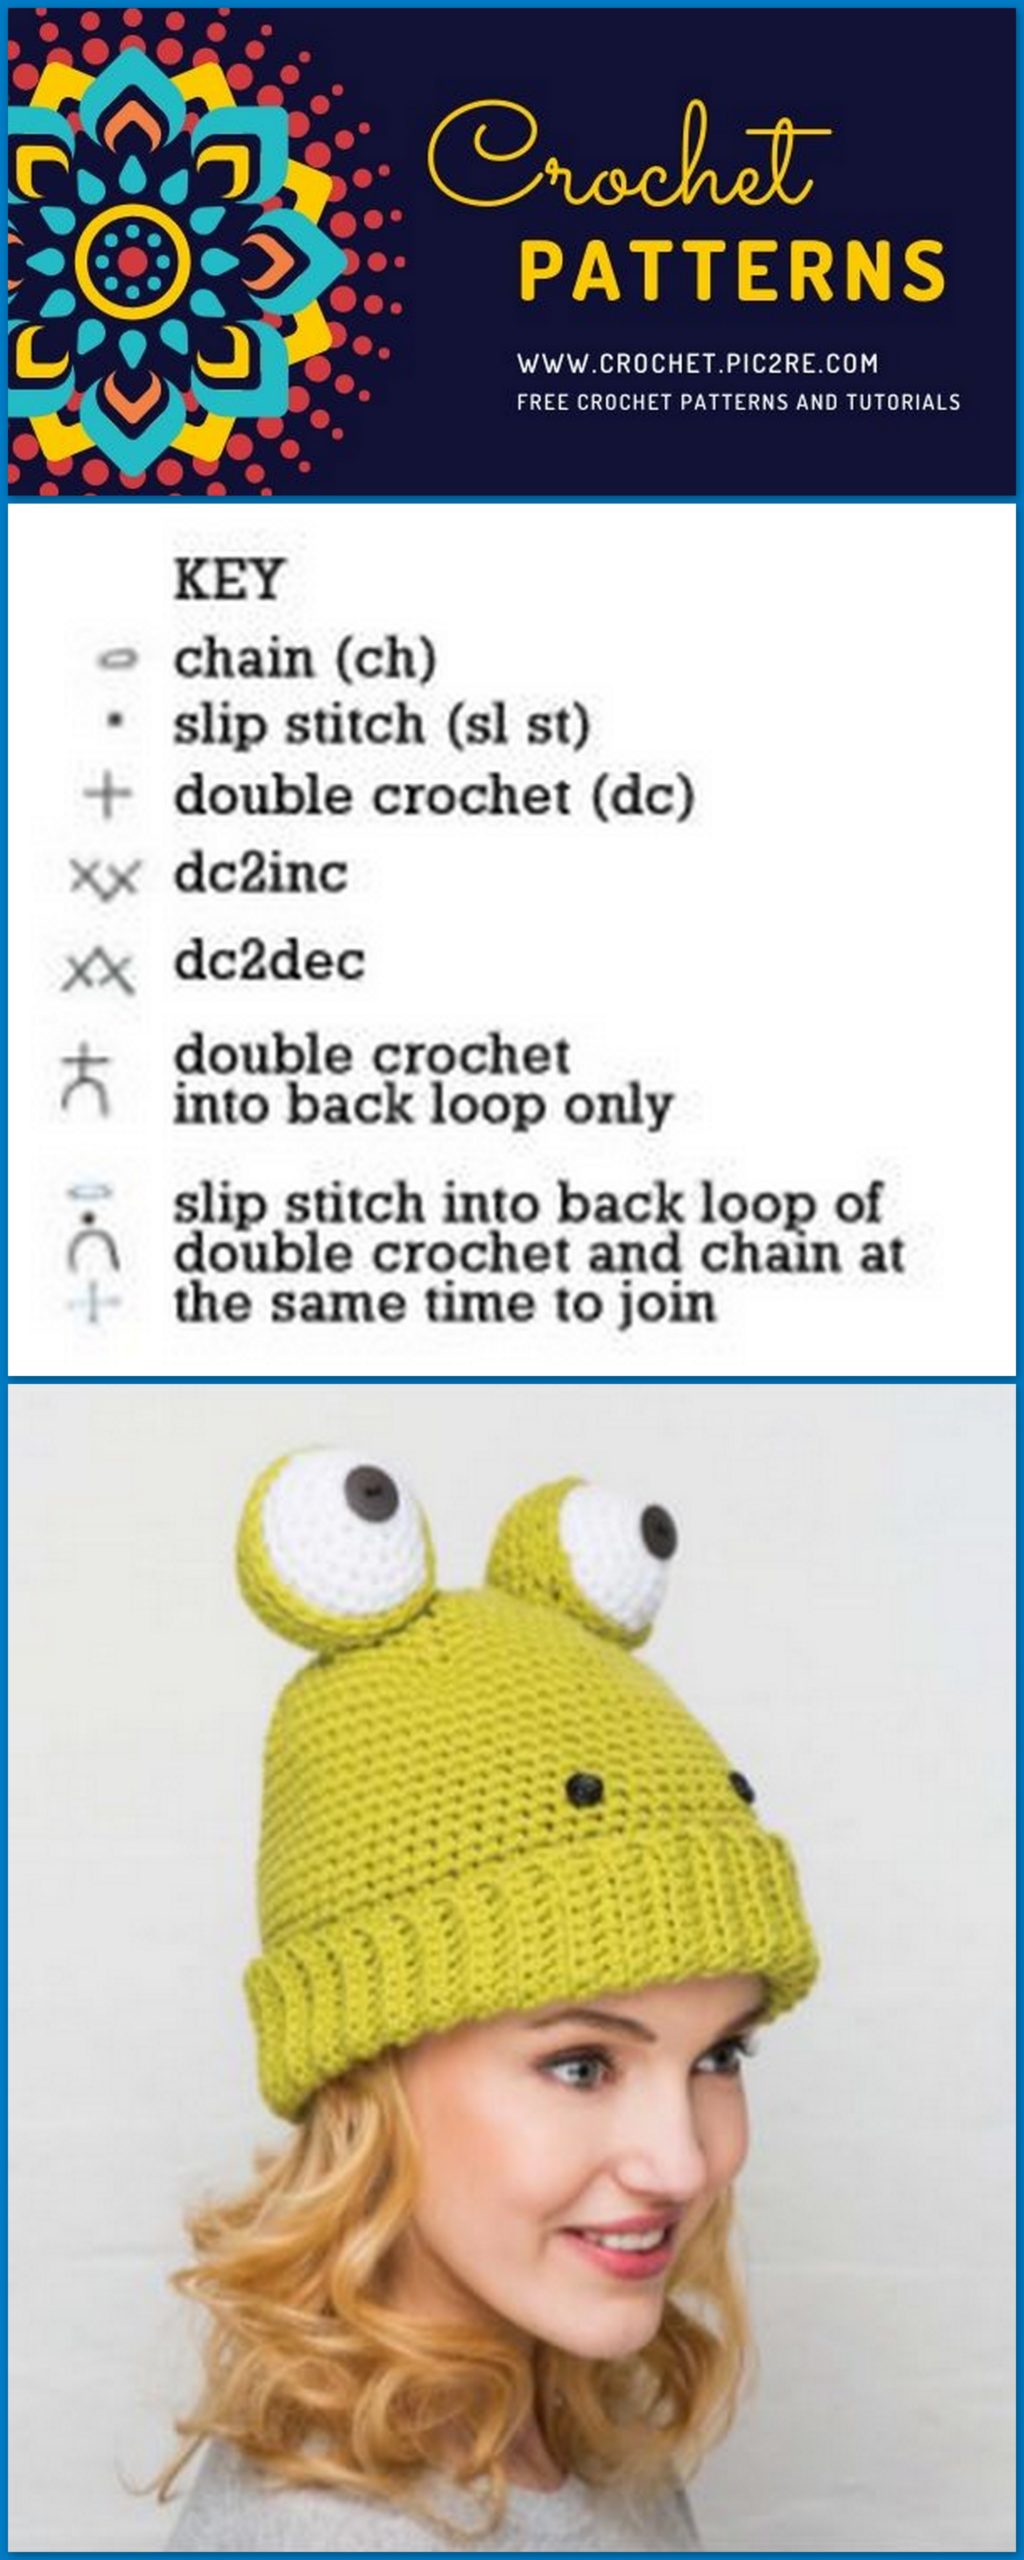
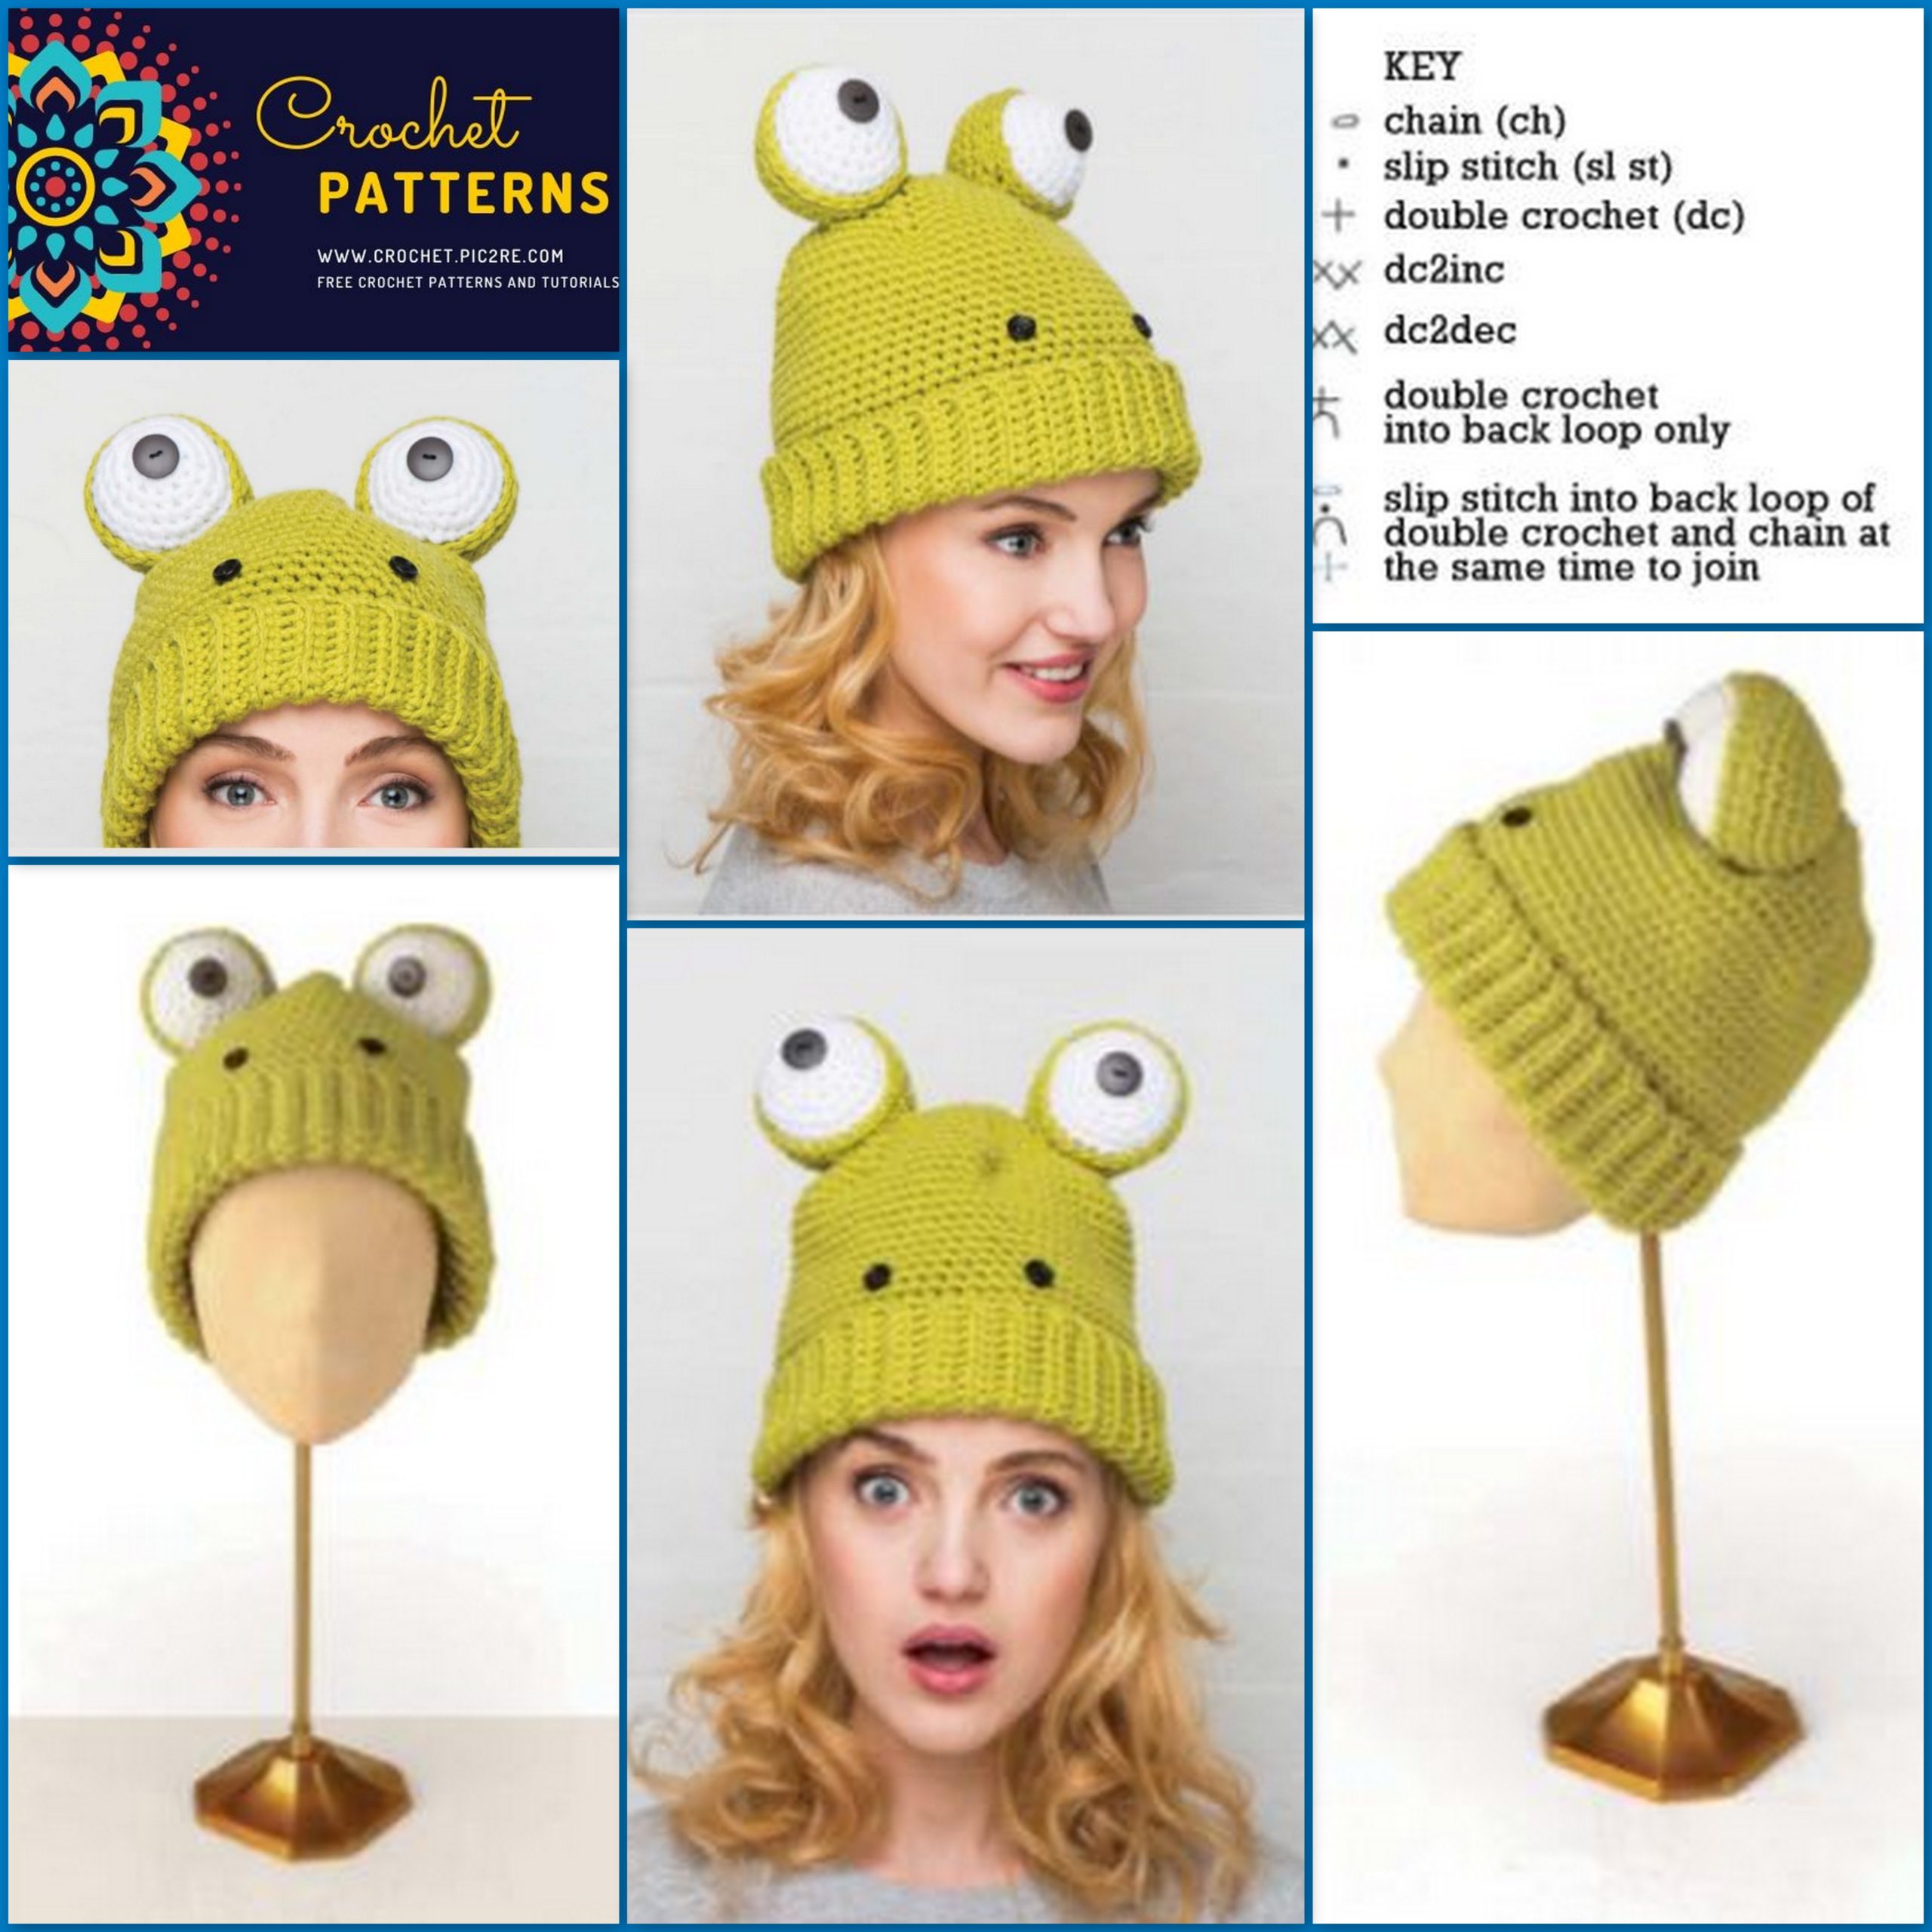
This pattern starts with the brim, which is worked in rows of double crochet, inserting the hook into the back loop only of each stitch to produce the rib eff ect. The short edges are joined to form a ring, and the piece is turned on its side to fi nish the band of ribbing. The main part of the hat is in rounds of double crochet, with the fi rst round of stitches worked evenly around the edge of the ribbing. The shaping of the crown is formed by decreasing the stitches. The eyes are in rounds of double crochet and are stitched to the top of the hat. The brim is turned up and buttons are sewn in place to fi nish the eyes and nostrils
RIB
Both sizes Starting at the side of the rib, with 5.5mm hook and A, make 16[18] ch.
Row 1: Work 1 dc in second ch from hook, 1 dc into the next 14[16] ch, turn (15[17] sts).
Row 2: 1 ch (does not count as a st), work 1 dc into the back loop only of each dc, turn.
The last row forms the rib pattern. Rep row 2 until work measures 18[20]in (46[51]cm), turn.
Join short edges
Next: With the short edges together, make 1 ch, sl st into the back loop of the fi rst dc and the reverse side of the fi rst chain stitch at the same time to join. Continue working a sl st into both stitches at the same time to the end of the row to join the seam. This will create a ridge at the centre back of the hat, which will form part of the rib when the brim is turned up. Turn the work to continue.
The following is worked in rounds:
Crown
Round 1 (RS): 1 ch (does not count as a st), work 60[66] dc evenly around the edge of the ribbed brim, sl st to the fi rst dc (60[66] sts).
Round 2: 1 ch (does not count as a st), work 1 dc in each dc, sl st to fi rst dc.
Next: Rep the last round 9[12] more times.
Shape crown
Adult size only
Next (dec): 1 ch (does not count as a st), (dc2dec, 9 dc) 6 times, sl st into fi rst dc (60 sts).
Both sizes
Next (dec): 1 ch (does not count as a st), (dc2dec, 8 dc) 6 times, sl st into fi rst dc (54 sts).
Next (dec): 1 ch (does not count as a st), (dc2dec, 7 dc) 6 times, sl st into fi rst dc (48 sts).
Next (dec): 1 ch (does not count as a st), (dc2dec, 6 dc) 6 times, sl st into fi rst dc (42 sts).
Next (dec): 1 ch (does not count as a st), (dc2dec, 5 dc) 6 times, sl st into fi rst dc (36 sts).
Next (dec): 1 ch (does not count as a st), (dc2dec, 4 dc) 6 times, sl st into fi rst dc (30 sts).
Next (dec): 1 ch (does not count as a st), (dc2dec, 3 dc) 6 times, sl st into fi rst dc (24 sts).
Next (dec): 1 ch (does not count as a st), (dc2dec, 2 dc) 6 times, sl st into fi rst dc (18 sts).
Next (dec): 1 ch (does not count as a st), (dc2dec, 1 dc) 6 times, sl st into fi rst dc (12 sts).
Next (dec): 1 ch (does not count as a st), (dc2dec) 6 times, sl st into fi rst dc (6 sts).
Fasten off and weave in the end.
EYEBALLS (MAKE 2)
Both sizes
Starting at the centre of the front of the eyeball, with 5.5mm hook and B, make 4 ch and sl st to first ch to form a ring.
*Round 1: 1 ch (does not count as a st), work 5 dc into ring, sl st into fi rst dc (5 sts).
Round 2 (inc): 1 ch (does not count as a st), (dc2inc) 5 times, sl st into fi rst dc (10 sts).
Round 3 (inc): 1 ch (does not count as a st), (dc2inc, 1 dc) 5 times, sl st into fi rst dc (15 sts).
Round 4 (inc): 1 ch (does not count as a st), (dc2inc, 2 dc) 5 times, sl st into fi rst dc (20 sts).
Adult size only
Next (inc): 1 ch (does not count as a st), (dc2inc, 3 dc) 5 times, sl st into fi rst dc (25 sts).
Both sizes
Next: 1 ch (does not count as a st), work 1 dc in each dc, sl st to fi rst dc.
Rep last round twice more.* Adult size only
Next (dec): 1 ch (does not count as a st), (dc2dec, 3 dc) 5 times, sl st into fi rst dc (20 sts).
Both sizes
Next (dec): 1 ch (does not count as a st), (dc2dec, 2 dc) 5 times, sl st into fi rst dc (15 sts).
Next (dec): 1 ch (does not count as a st), (dc2dec, 1 dc) 5 times, sl st into fi rst dc (10 sts).
Fasten off , leaving a long length of yarn at the end.
EYE SOCKETS (MAKE 2)
Both sizes
Starting at the centre of the back of the eye socket, with 5.5mm hook and A, make 4 ch and sl st to fi rst ch to form a ring. Work from * to * of the eyeball.
Next: 1 ch (does not count as a st), work 1 dc into the back loop only of each dc, sl st to fi rst dc. Fasten off , leaving a long length of yarn at the end.
MAKING UP
Eyes Stuff the eyeballs, weave the remaining length of yarn through the last round of stitches and draw up tight before fastening off . Slip the eyeball inside the eye socket and use the long length of yarn left at the end of the socket to sew it in place. Attach the eyes to the top of the hat. Sew the large black buttons to the centre of the eyeballs.
Finishing touches
Weave in all the ends. Sew the small buttons in place on the front of the hat for the nostrils.
LINING
See pages 142–5 for how to make and attach a cosy fl eece or crocheted lining.