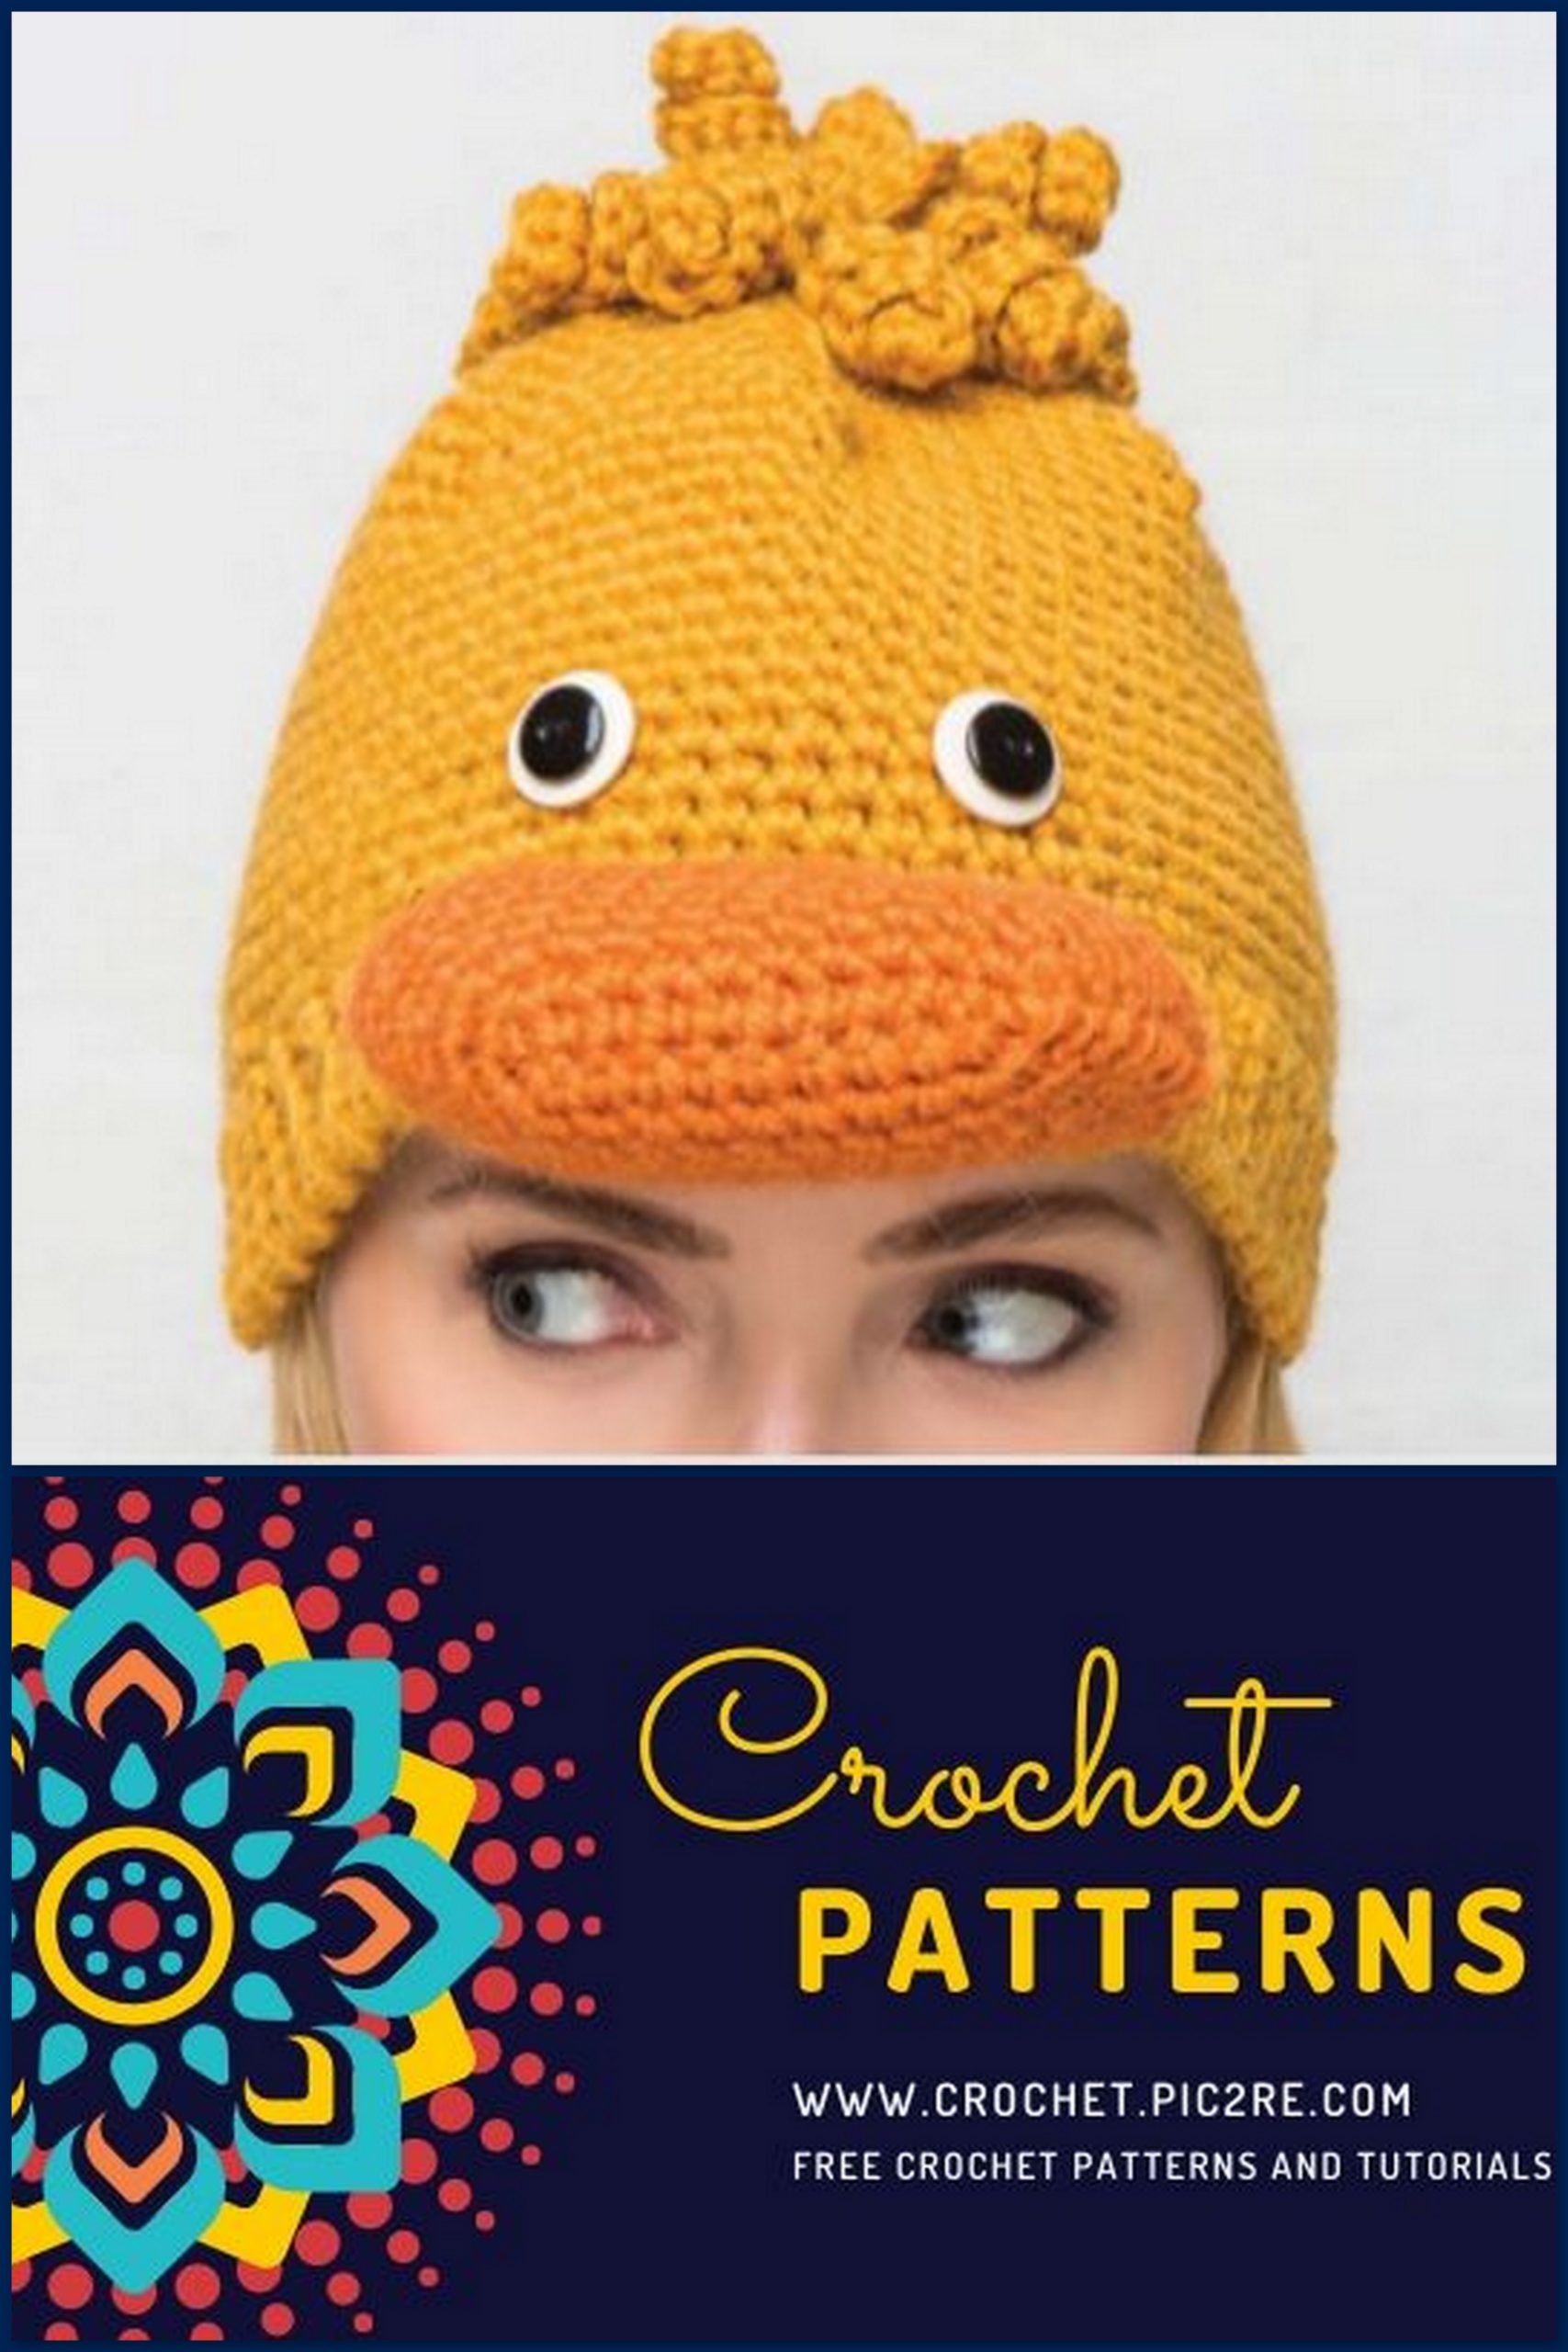
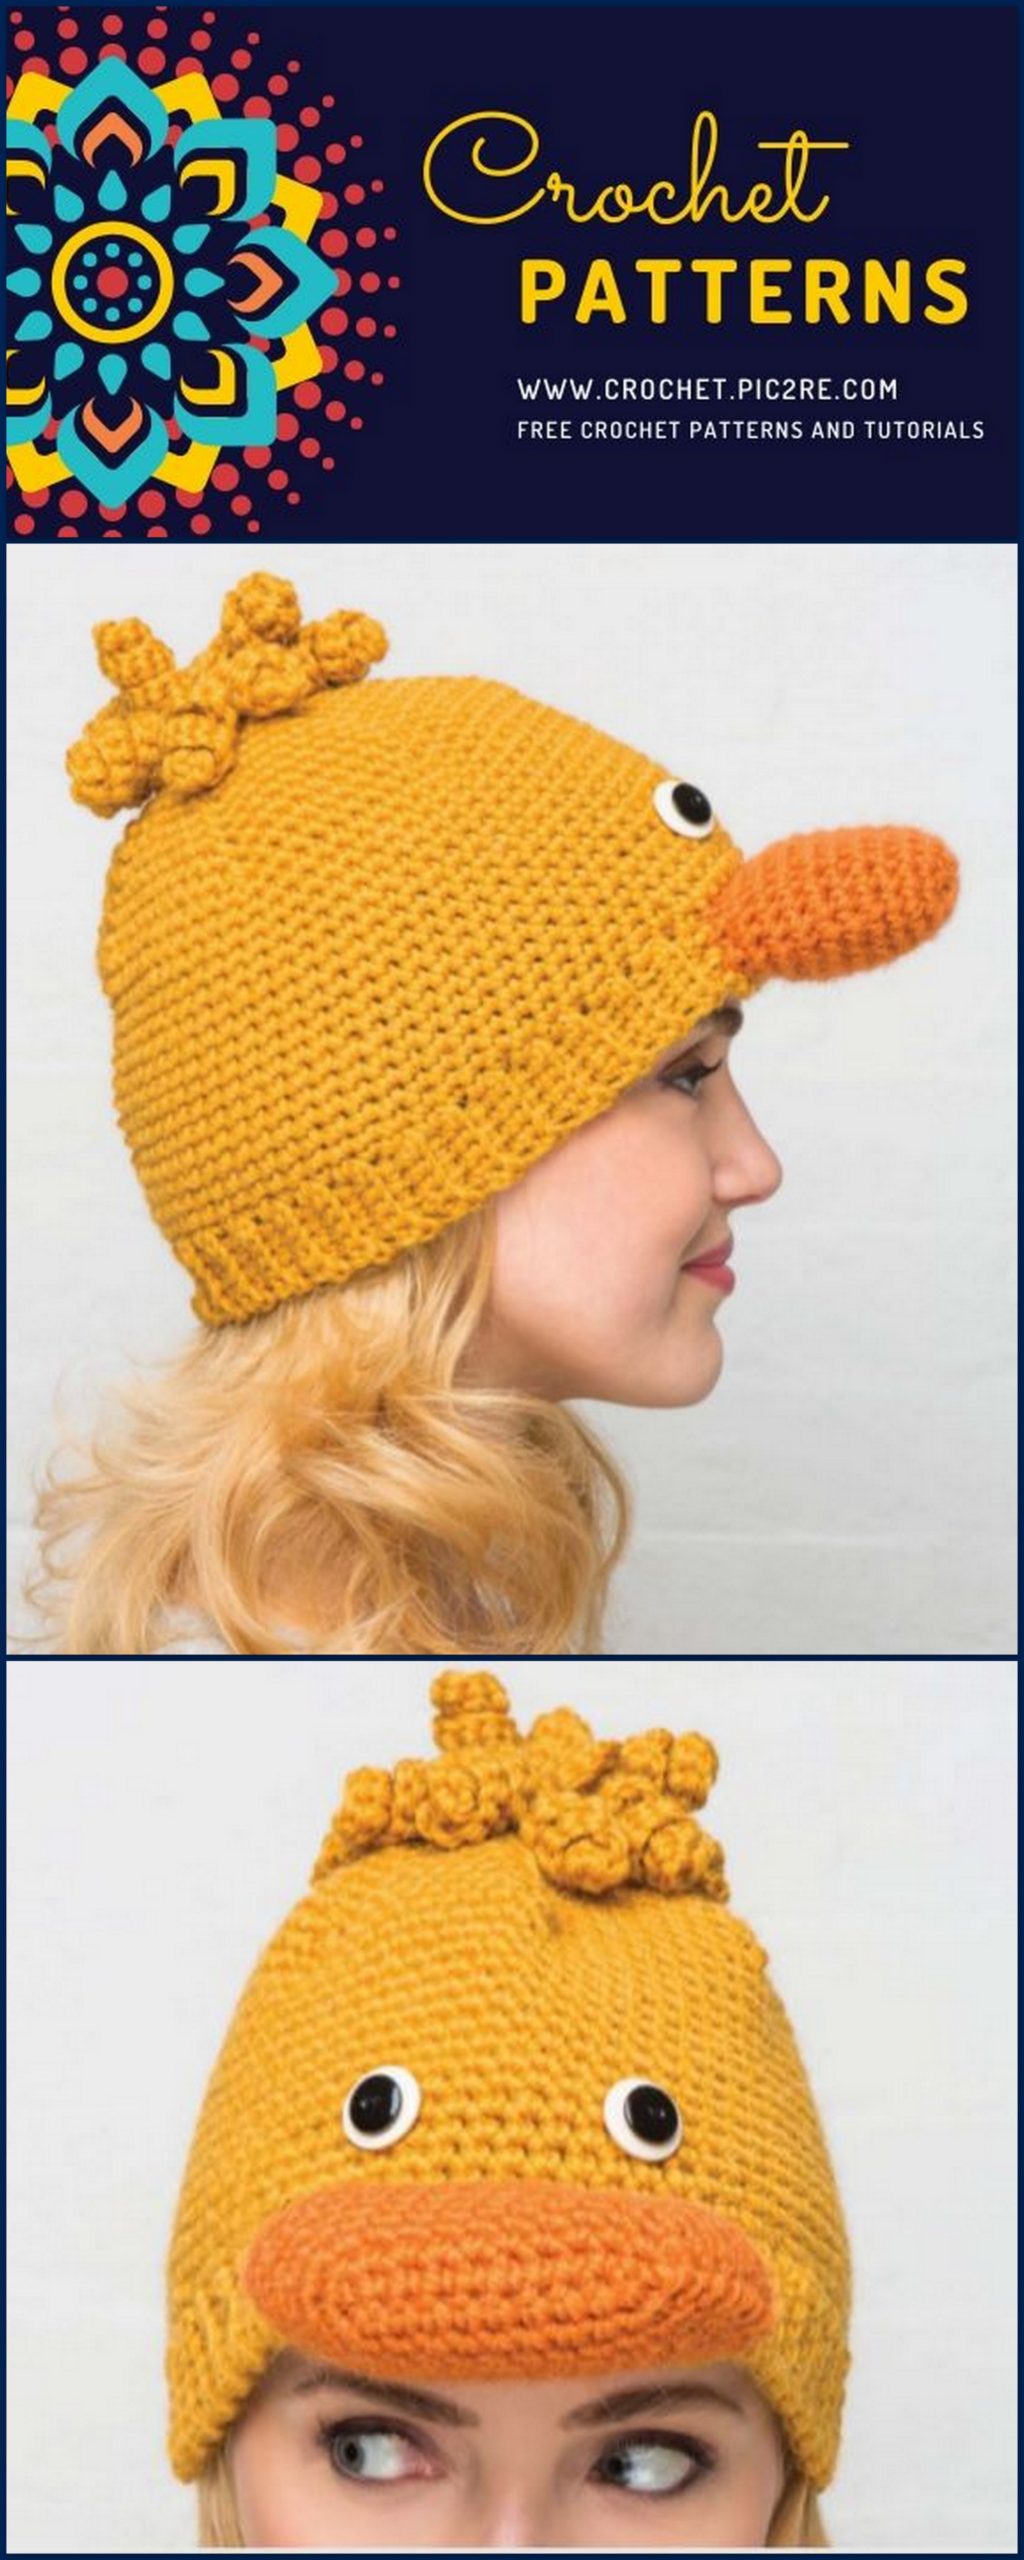
Amigurumi Duck Beret Free Crochet Pattern
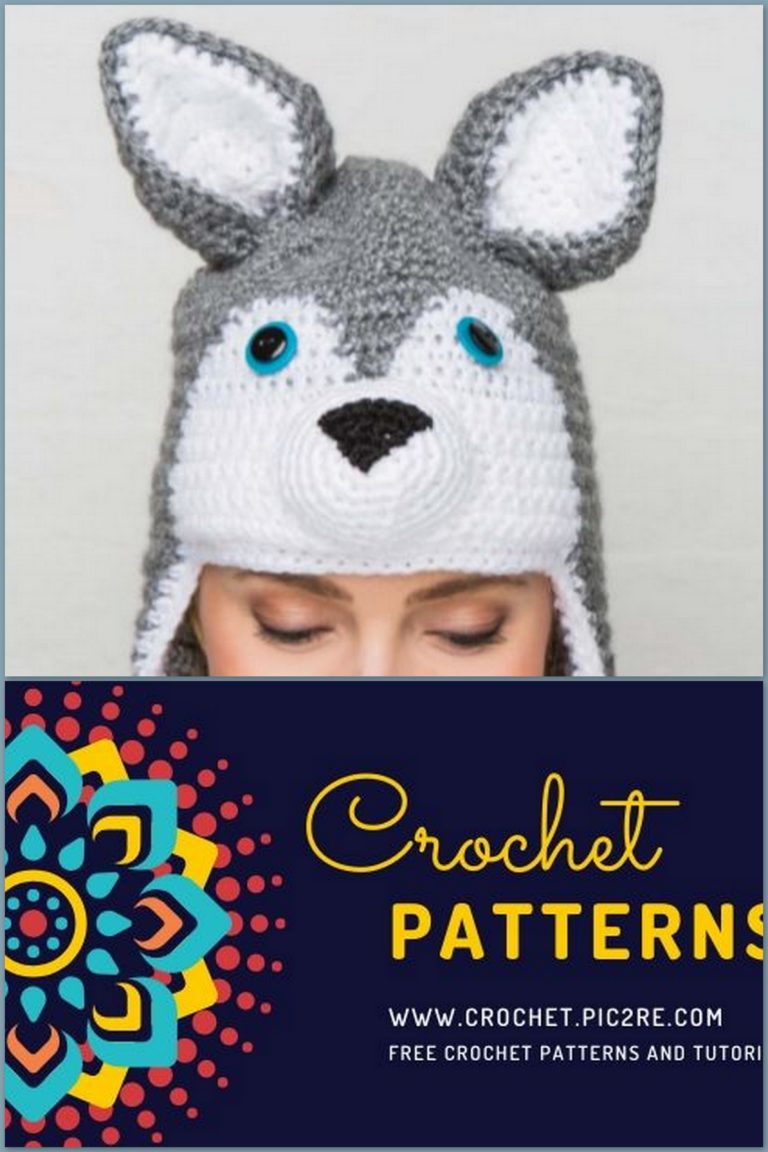
We share a beautiful beret pattern for both adults and children. It will protect your head and ears from the cold in winter. Follow us for Amigurumi leopard beret pattern and more patterns.
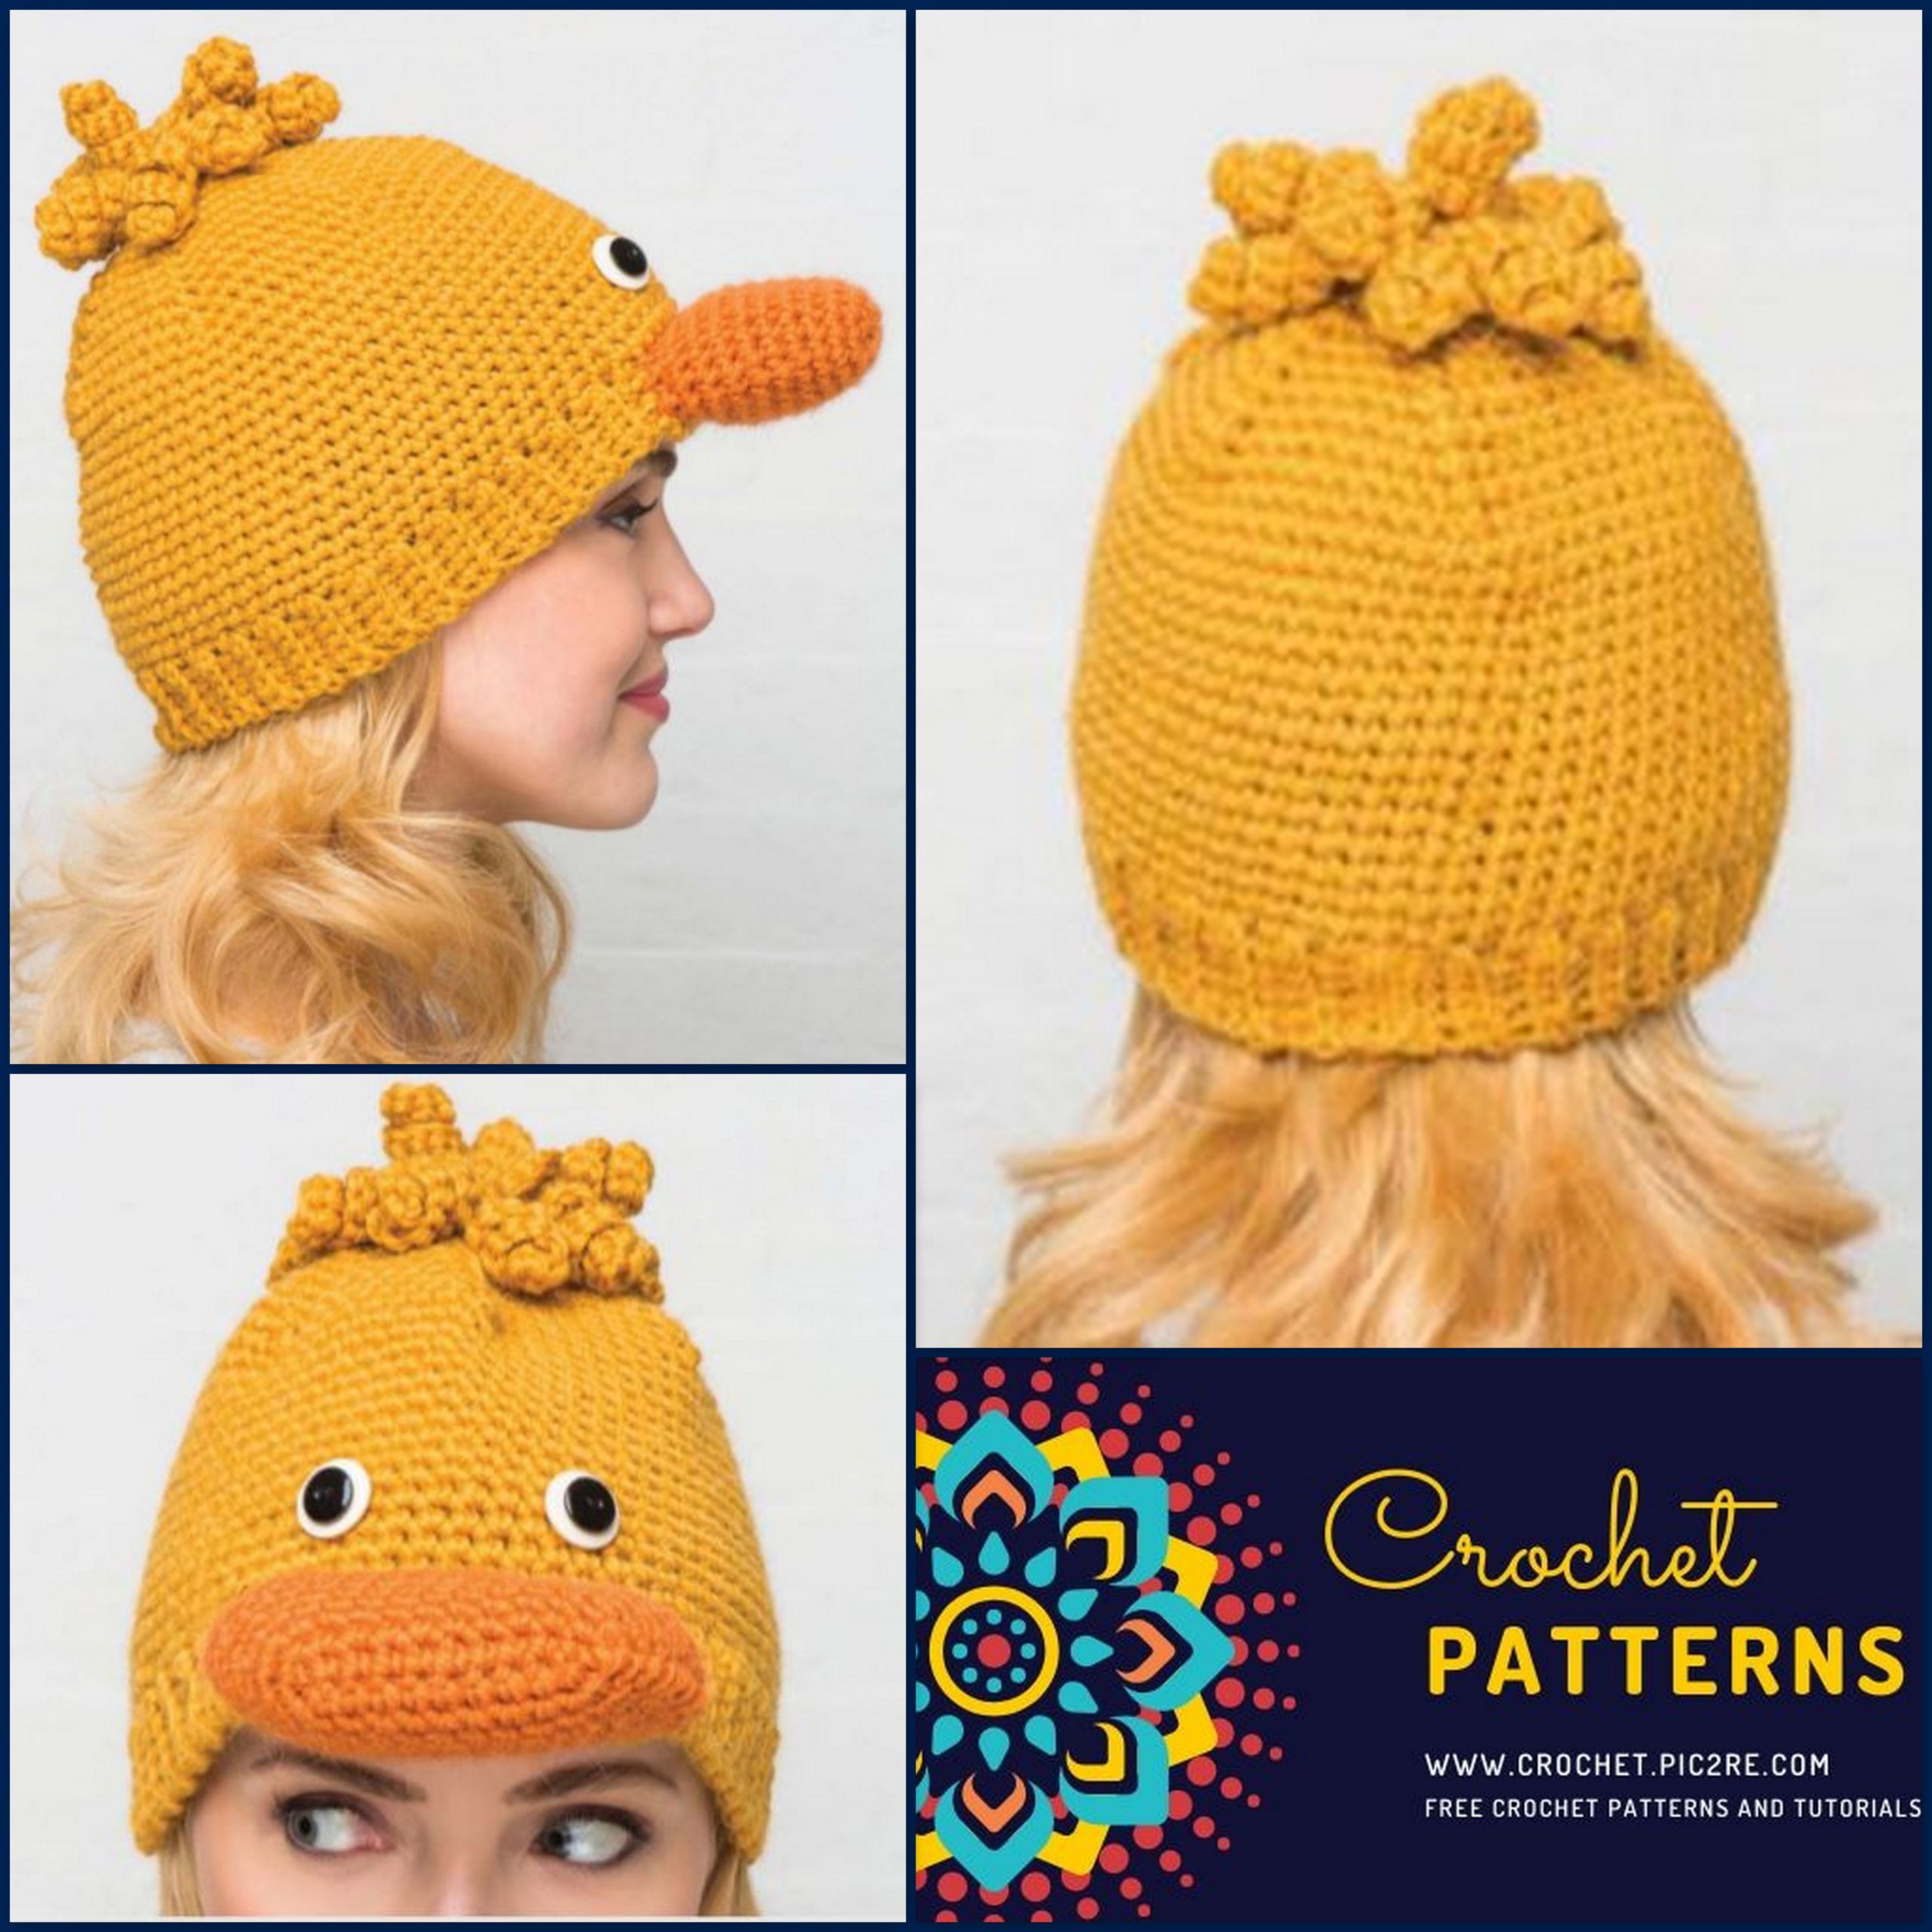
This cheery yellow hat is sure to make you feel spring-like even in the depths of winter. The duck’s bill forms a peak at the front of this beanie, while crocheted spirals produce a tuft of plumage to decorate the top.
MATERIALS
Katia Peru, 40% wool, 40% acrylic, 20% alpaca (116yd/106m per 100g ball)
2[2] x 100g balls in 021 (A)
1[1] x 100g ball in 022 (B)
5.5mm (UK5:USI/9) crochet hook
2 x white ¾[⅞]in (2[2.25]cm) diameter buttons
2 x black ½[⅝]in (1.25[1.5]cm) diameter buttons
Darning needle
Sewing needle
Black thread
Small amount of toy stuffing
SIZES
To fit: child, up to 20in (51cm) head circumference [adult, up to 22in (56cm) head circumference]
TENSION
13 sts and 14 rows to 4in (10cm) over double crochet on 5.5mm hook. Use larger or smaller hook if necessary to obtain correct tension.
METHOD
This hat begins with the rib, which is worked in rows of double crochet through the back loops of the stitches. The short edges are joined by slip stitching the stitches together to form a ring, which is turned on its side to produce the ribbed eff ect. The fi rst round of stitches of the crown is worked evenly around the stitches at the edge of the rib. The crown shaping is achieved by decreasing the stitches, and the main part of the hat is fi nished with spirals worked into the last round of stitches. These are made with a length of chain stitches. Two double crochet stitches are worked into each chain to make it twist. The duck’s bill starts off with a foundation of chain stitches and then is crocheted in rounds, increasing the stitches to shape the piece. At the end, a round of decreasing is worked into the back loops of the stitches. The bill is stuff ed and the opening stitched together. This forms a fl at surface at the back. The bill is stitched to the hat through the front loops of the decrease row, creating a neat finish.

RIB
Both sizes
Starting at the side of the rib, with 5.5mm hook and A, make 6 ch.
Row 1: Work 1 dc in second ch from hook, 1 dc into the next 4 ch, turn (5[5] sts).
Row 2: 1 ch (does not count as a st), work 1 dc into the back loop only of each dc, turn.
The last row forms the rib pattern. Rep row 2 until work measures 18[20]in (46[51]cm).
Next: With the short edges together, make 1 ch, sl st into the back loop of the fi rst dc and the reverse side of the fi rst chain stitch at the same time to join. Continue working a sl st into both stitches at the same time to the end of the row to join the seam. This will create a ridge at the centre back of the hat, which will form part of the rib. Do not turn.
The following is worked in rounds: Follow the chart for the crown of the frog hat on page 28.
Crown
Round 1 (RS): 1 ch (does not count as a st), work 60[66] dc evenly around the edge of the ribbed band, sl st to the fi rst dc (60[66] sts).
Round 2: 1 ch (does not count as a st), work 1 dc in each dc, sl st to fi rst dc.
Next: Rep the last round 11[14] more times.
Shape crown
Work as for the crown shaping in the frog pattern on page 29. Do not fasten off at the end.
Spirals
*Make 11[13] ch, 2 dc into second ch from hook, 2 dc into each of the next 9[11] ch, sl st into the same dc from the last round of crown shaping; rep from * once more, sl st into next dc.
Next: Rep from * to make 2 spirals in each of the remaining 5 dc (12 spirals). Fasten off , leaving a long length of yarn. Weave the yarn through the 6 dc of the last round of crown shaping and draw up to gather and close the hole at the top of the hat.
BILL
Both sizes
With 5.5mm hook and B, make 9[11] ch.
Round 1 (RS): Work 1 dc in second ch from hook, 1 dc into the next 6[8] ch, work 2 dc into the end ch, work 1 dc into the reverse side of the remaining 7[9] ch, sl st into fi rst dc (16[20] sts).
Round 2 (inc): 1 ch (does not count as a st), dc2inc, 1 dc in next 6[8] dc, (dc2inc) twice, 1 dc in next 6[8] dc, dc2inc, sl st into fi rst dc (20[24] sts).
Round 3 (inc): 1 ch (does not count as a st), dc2inc, 1 dc in next 8[10] dc, (dc2inc) twice, 1 dc in next 8[10] dc, dc2inc, sl st into fi rst dc (24[28] sts).
Round 4: 1 ch (does not count as a st), work 1 dc into each dc, sl st into fi rst dc.
Round 5 (inc): 1 ch (does not count as a st), dc2inc, 1 dc in next 10[12] dc, (dc2inc) twice, 1 dc in next 10[12] dc, dc2inc, sl st into fi rst dc (28[32] sts).
Round 6: As round 4.
Round 7 (inc): 1 ch (does not count as a st), dc2inc, 1 dc in next 12[14] dc, (dc2inc) twice, 1 dc in next 12[14] dc, dc2inc, sl st into fi rst dc (32[36] sts).
Round 8: As round 4. Rep last round 0[2] more times.
Next (dec): 1 ch (does not count as a st), working into the back loop only of each stitch, (dc2dec) twice, 8[10] dc, (dc2dec) 4 times, 8[10] dc, (dc2dec) twice (24[28] sts). This will help to keep the back of the bill fl at, making it easier to sew it to the hat. Fasten off , leaving a long length of yarn at the end.
MAKING UP
Bill Stuff the bill, keeping a fl attened shape. Sew together the 12[14] sts from each side of the opening. Attach the bill, positioning it over the rib and stitching the front loops of the decrease row to the main part.
Finishing touches
Weave in the ends of the yarn. Place the small black buttons over the larger white buttons and sew in place for the eyes.
LINING
See pages 142–5 for how to make and attach a cosy fl eece or crocheted lining.