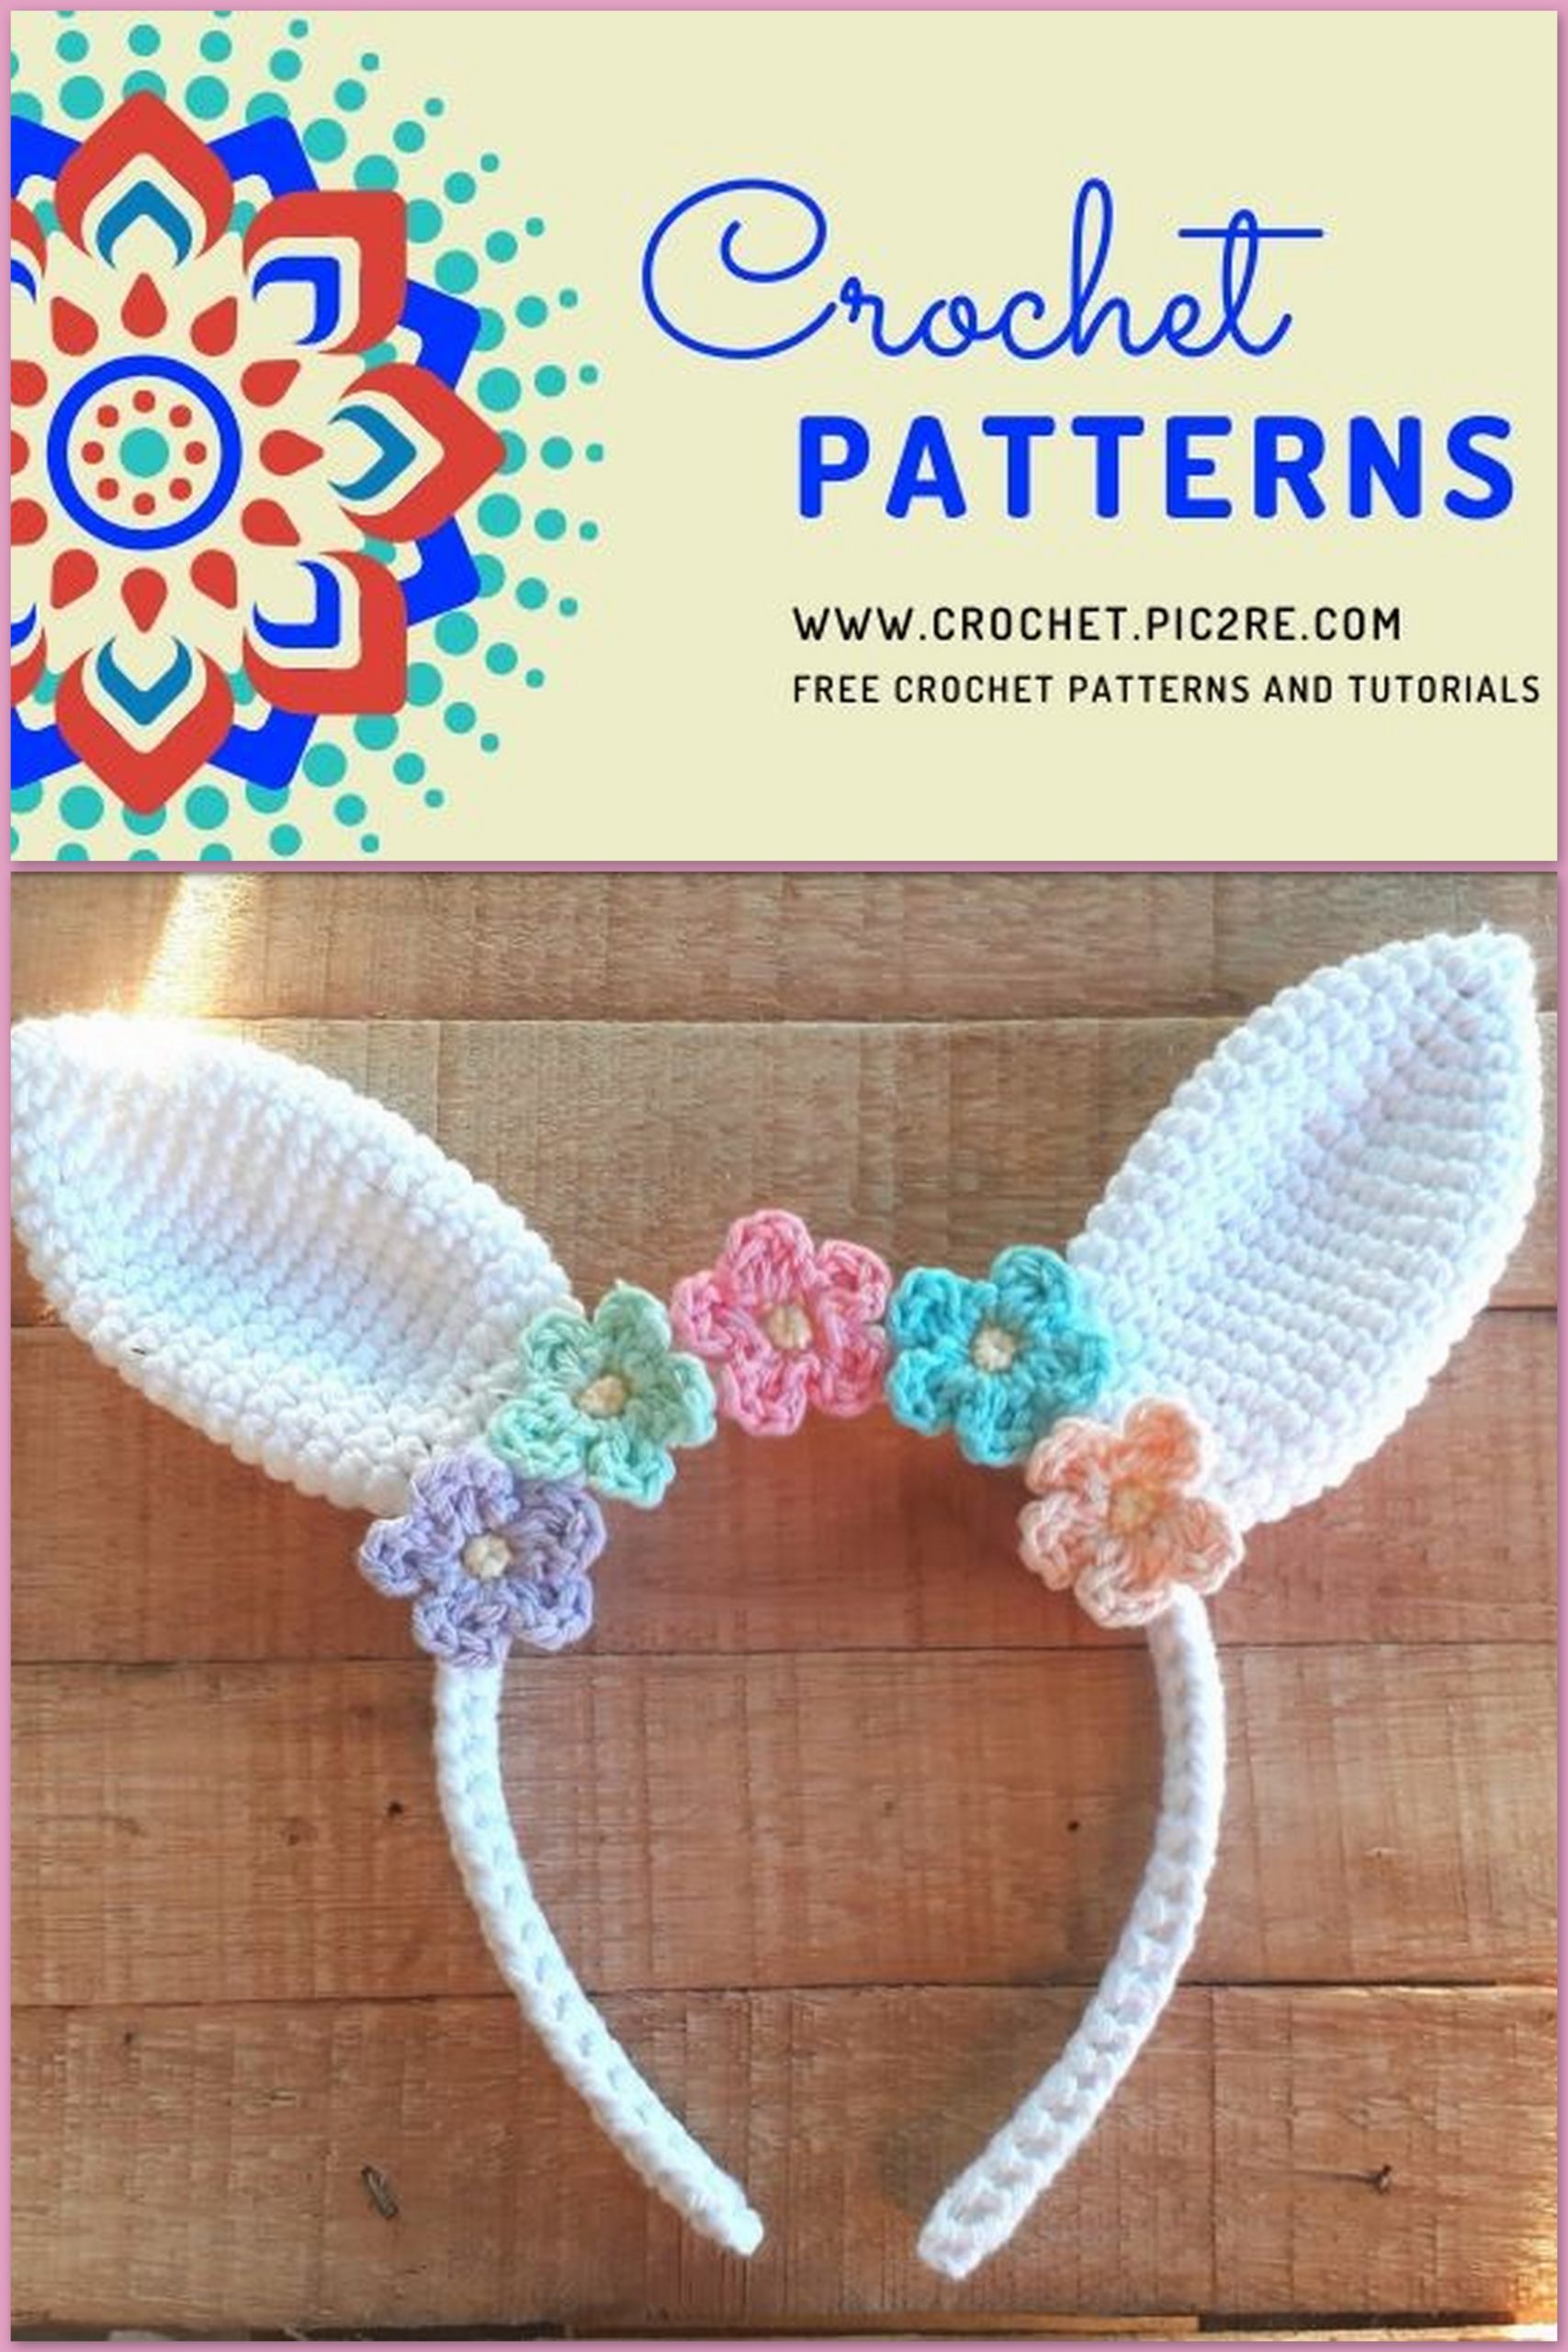
Amigurumi Easter Bunny Headband Free Crochet Pattern
RABBIT EARS FOR EVERYONE!
VINCHA BUNNY
Pattern: MARICARMEN ARCE DE MARIGURUMI CROCHET
Materials:
Plastic headband
Cotton thread of a main color and several colors for the flowers
40cm of sheathed cable
Abbreviations:
Ch: chain
Sc: single crochet
İnc: increase
Dc: double crochet
To line the headband:
V1: We make 60 chains + 1 raise.
V2-5: we knit 60sc × 4 laps.
We leave a very long thread to sew.
We are going to fold in half and sew to form a
pocket.
We wrap the headband and sew to the ends.
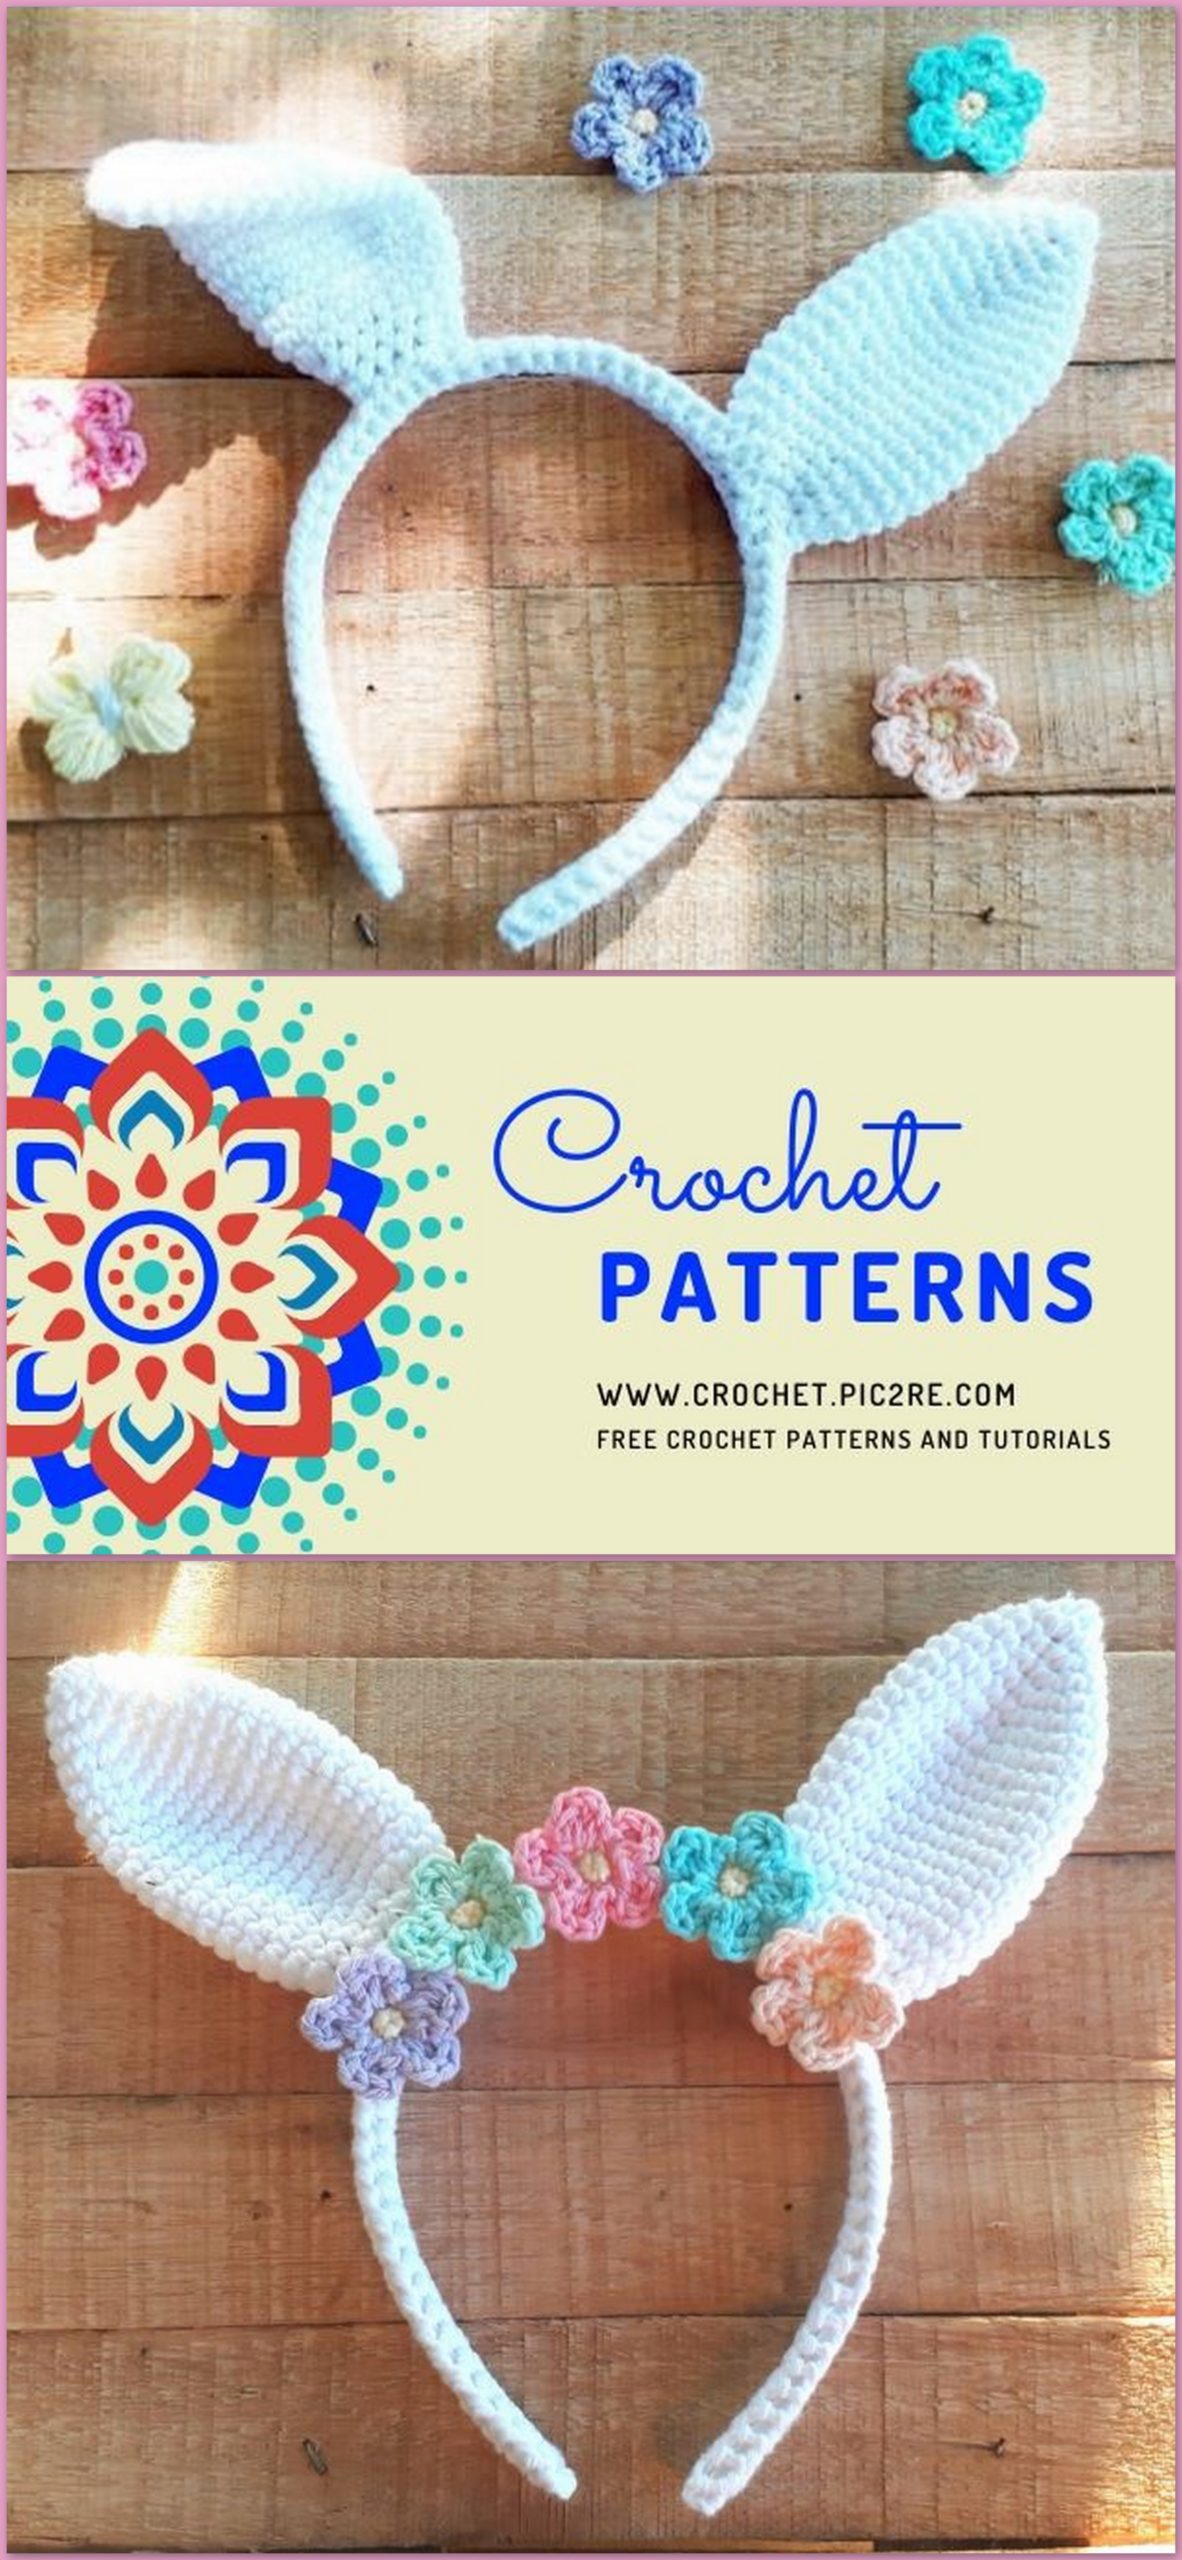
Ears (make 2)
With base color
V1: 6sc into magic ring
V2: 1sc 1inc (3 times) (9sc)
V3: 2sc 1 inc (3 times) (12sc)
V4: 3sc 1inc (3 times) (15sc)
V5: 4sc 1inc (3 times) (18sc)
V6: 5sc 1inc (3 times) (21sc)
V7: 6sc 1inc (3x) (24sc)
V8-17: 24sc 10 laps
V18: 6sc 1dec (3 times) (21sc)
V19: 5sc 1dec (3 times) (18sc)
V20: 4sc 1dec (3 times) (15sc)
V21: 3sc 1dec (3 times) (12sc)
V22: 2sc 1dec (3 times) (9sc)
Close and leave long strand for
sew to the headband.


Flowers (make 5)
With the color chosen for the center.
V1: 5sc in a magic ring.
Change to the color chosen for the flower:
V2: at each of the base points raise 2ch, 2dc, 2ch,
1pd.
Close and leave long strand to sew to the headband
Assembly and termination
Line the headband.
Cut the cable in half. Each half is folded in half and
inserted into one of ears (cut the excess, if any).
The cable is optional, but it gives a firmness to the ears and allows
fold them to your liking or leave them upright.
Ears are sewn on either side of the headband, making sure
make them firm, give more stitches until you succeed.
Sew the flowers in front of the ears on the front of the headband.
And you’re done!
Thank you very much for knitting it.