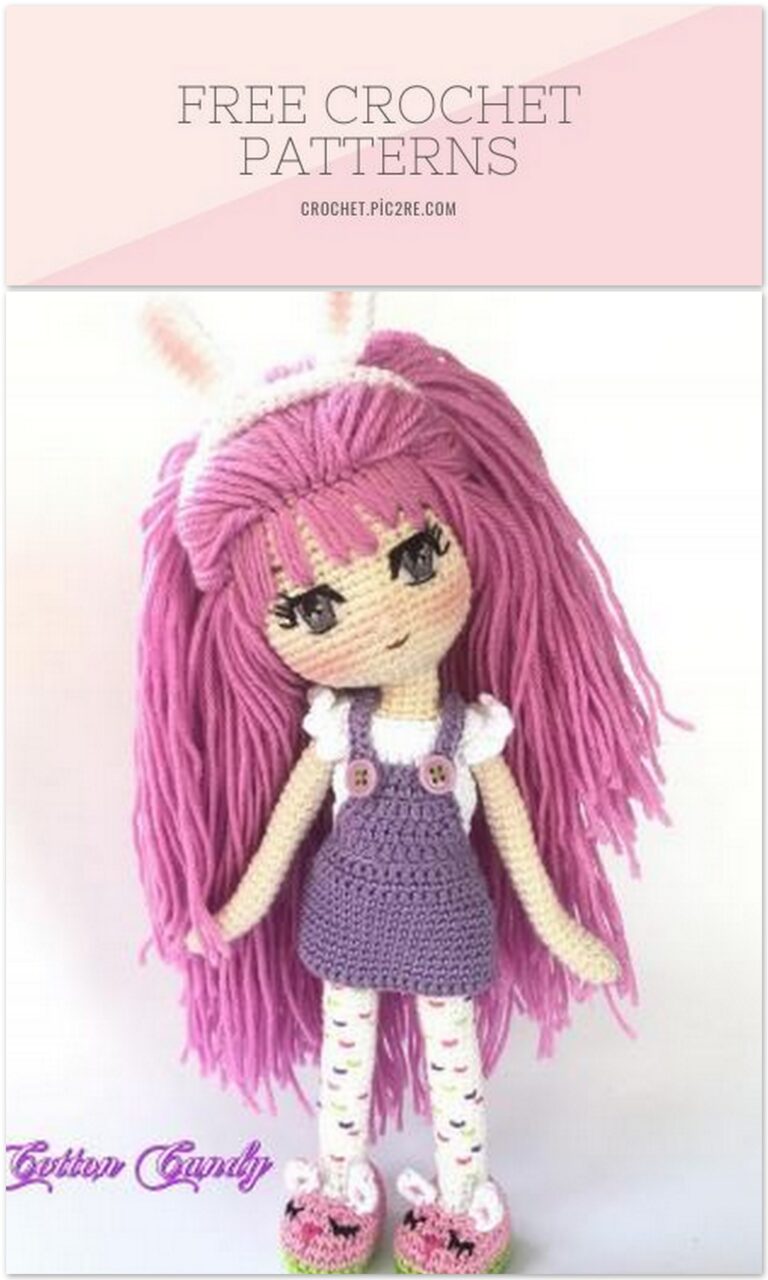
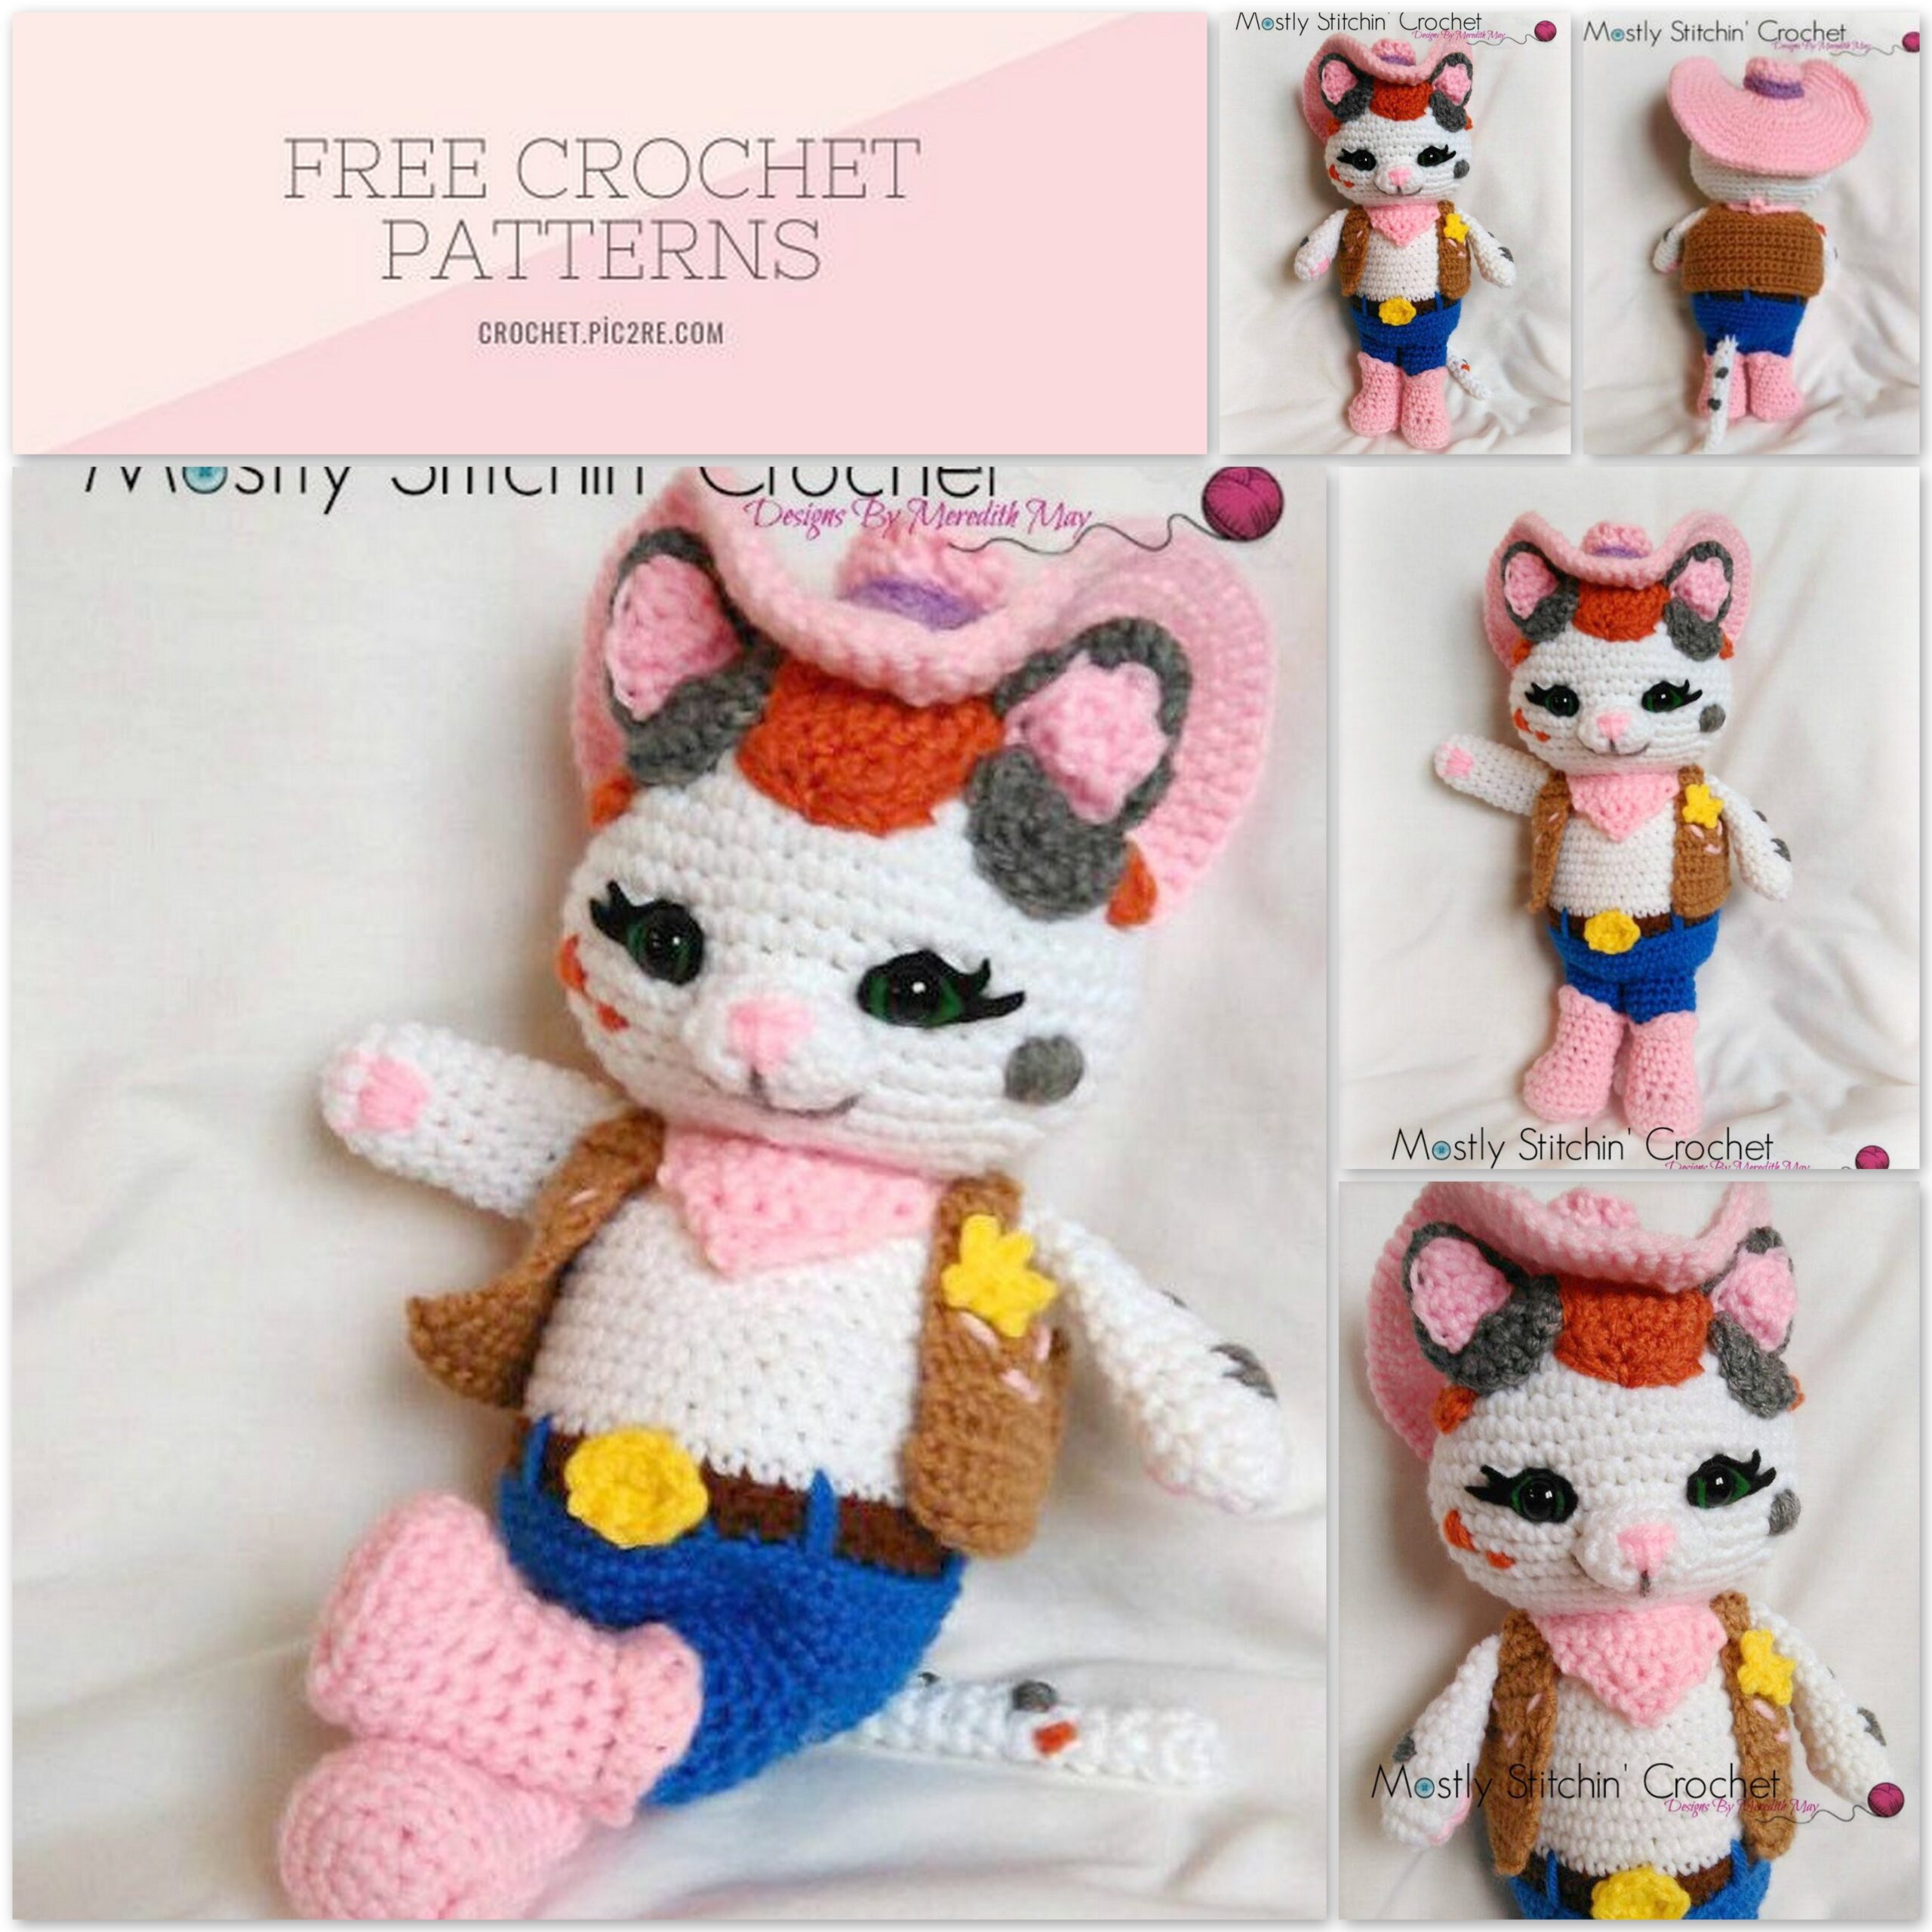
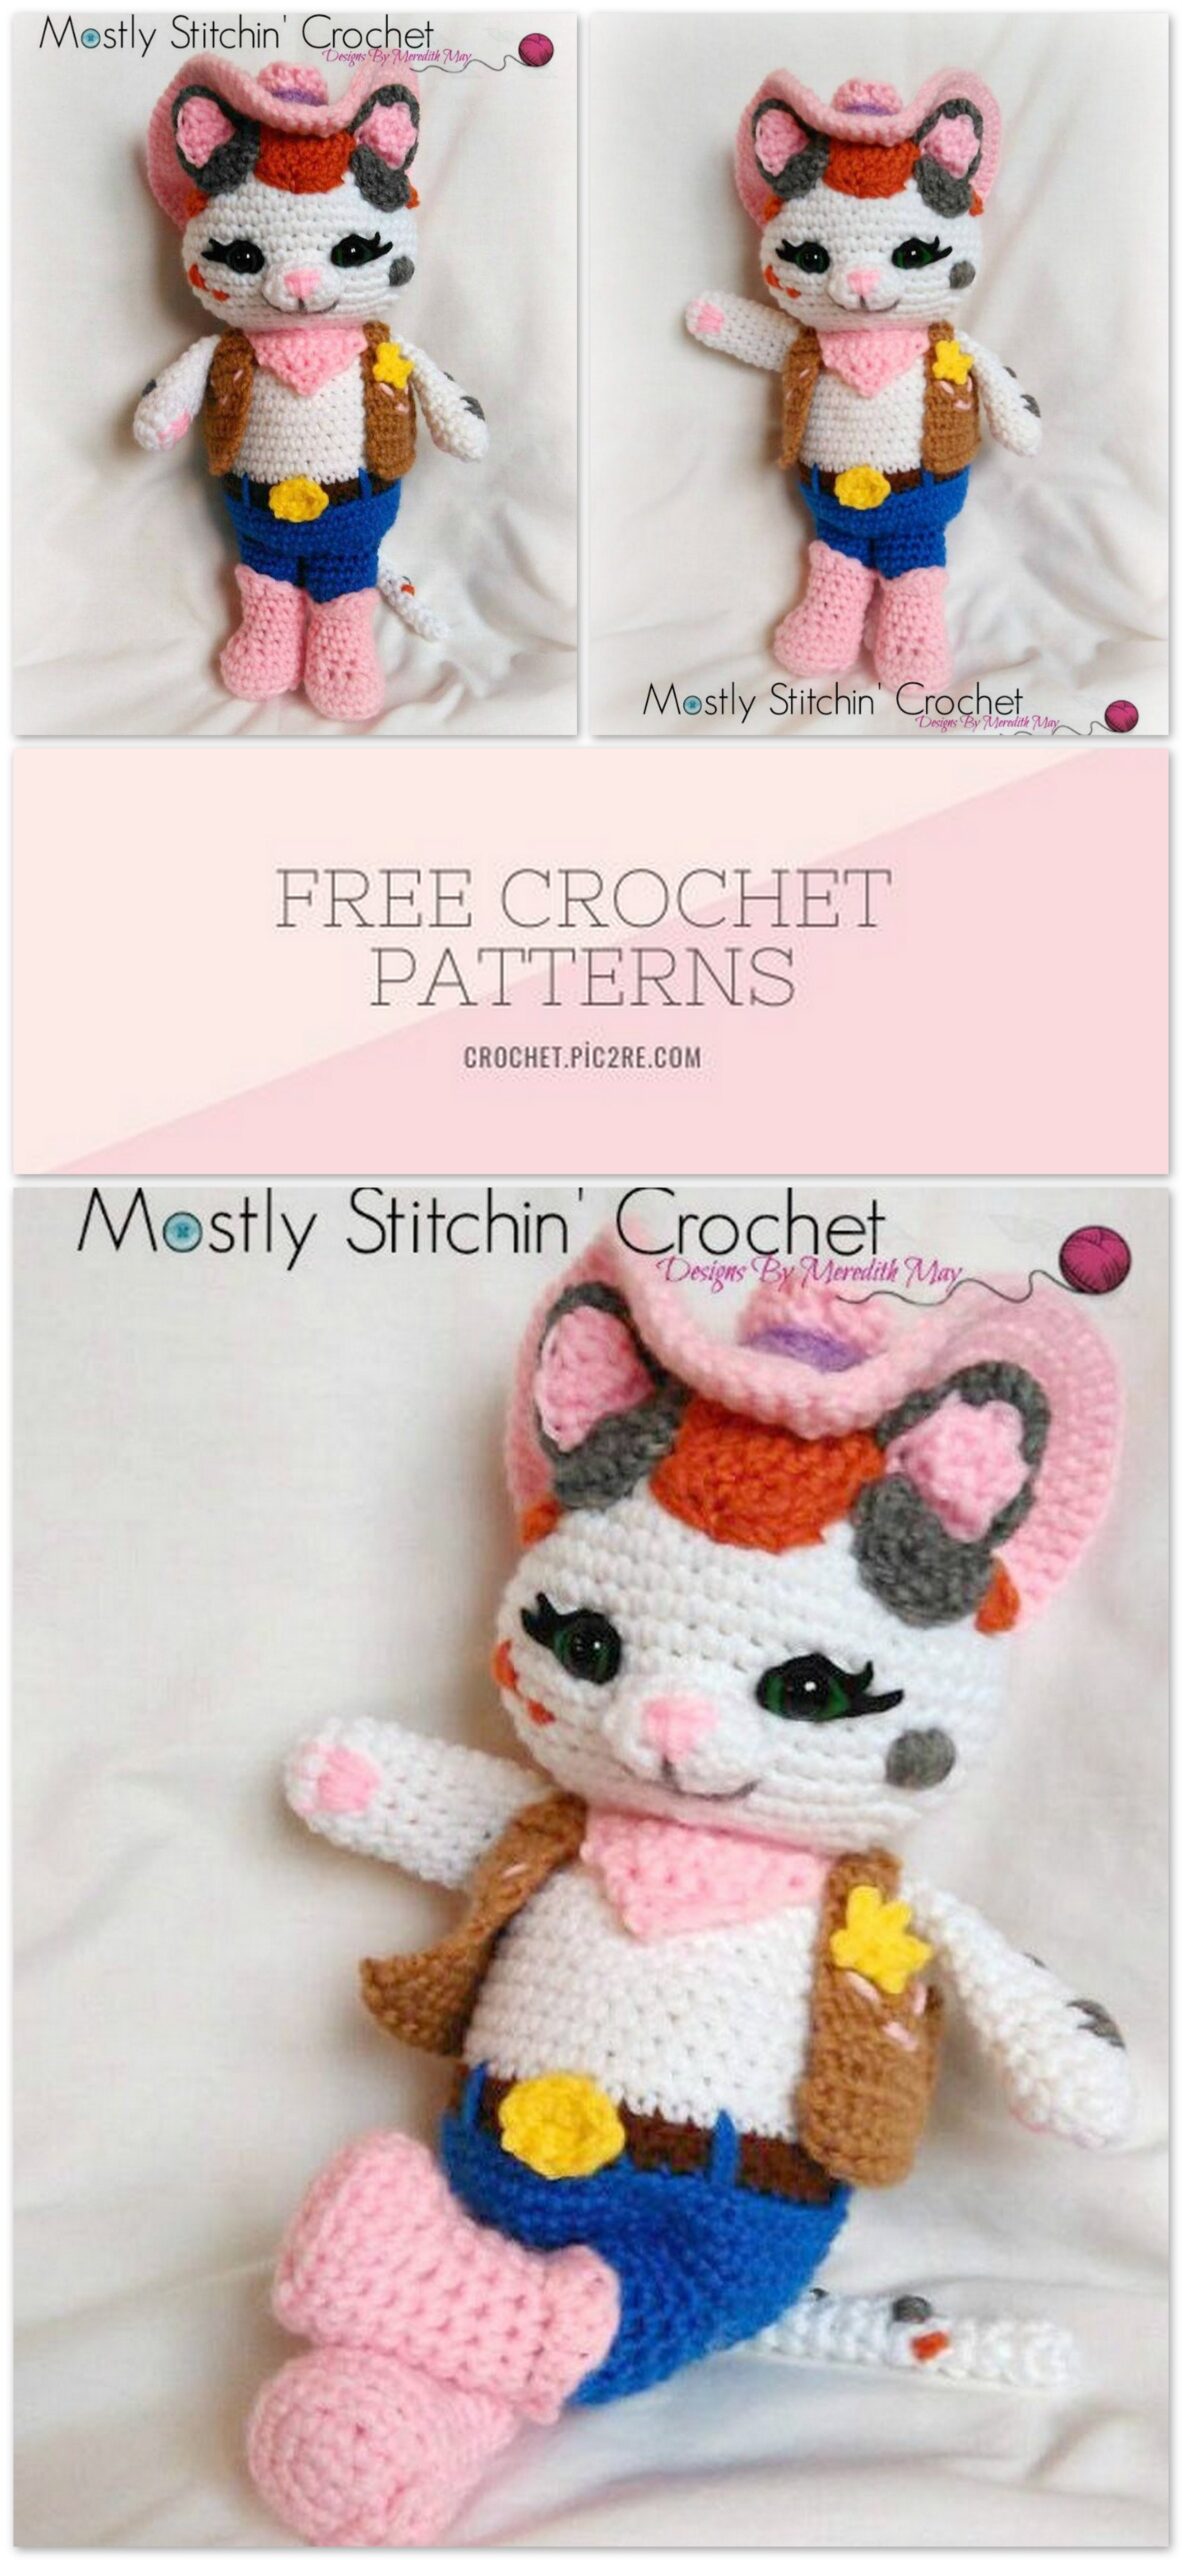
Amigurumi Sheriff Callie Free Crochet Pattern
Sheriff Callie
Inspired Crochet Pattern
Size: 13.5 inches
Materials:
H Hook (5.0mm)
F Hook (3.75mm)
(2) 12mm black eyes
Yarn Needle
Worsted Weight Yarn: White, Baby Pink, Blue, Walnut, Bright Yellow, Warm
Brown, Grey, Carrot, Lavender
Small amount of felt in both Green and Black
Fiberfill
Optional 4 flat marbles or similar weights
Abbreviations:
Ch-chain
FO- fasten off (slst into the next st (does not count as a st) cut and tie
off)
Hdc- half double crochet
LTFS- Leave Tail for sewing
Sc- single crochet
Sc2tog- one single crochet over 2 stitches (also known as a decrease)
Slst –slip stitch
Sk- Skip a stitch
St- Stitch
Tips:
Keep in mind that personality is created through the placement on the
facial features. Set the pieces into place before pushing the eyes
washer on; to make sure your features create the look you are trying to
accomplish.
Few more tips:
Notes are included to help you along the way. Read the notes before
making each piece.
I like working with an H hook, and pull tightly on my decreases (sc2tog),
the hook can be switched with a smaller hook, this will make the holes in
the crochet smaller, but will also decrease the size of your finished work.
I always work into a 2ch instead of a magic circle (this is a preference);
but magic circle can be used instead.
You will notice that in some areas of this pattern you are asked to work in
the back loops. This will help to create a smoother edge in colors that
stripe horizontally.
Head:
H Hook
White
Working in continuous rounds
Ch2
R1: 6sc into the second chain from the hook.
R2: 2sc in each sc around (12)
R3: (1sc in the first 1sc, 2sc in the next sc) 6 times (18)
R4: (1sc in the first 2sc, 2sc in the next sc) 6 times (24)
R5: (1sc in the first 3sc, 2sc in the next sc) 6 times (30)
Head Continued:
R6: (1sc in the first 4sc, 2sc in the next sc) 6 times (36)
R7: (1sc in the first 5sc, 2sc in the next sc) 6 times (42)
R8: (1sc in the first 6sc, 2sc in the next sc) 6 times (48)
R9- 18: 1sc in each sc around (48)
R19: (1sc in the first 6sc; sc2tog) 6 times (42)
R20: (1sc in the first 5sc; sc2tog) 6 times (36)
R21: (1sc in the first 4sc; sc2tog) 6 times (30)
R22: (1sc in the first 3sc; sc2tog) 6 times (24)
R23: (1sc in the first 2sc; sc2tog) 6 times (18)
R24: (sc in the first sc; sc2tog) 6 times (12) FO; LTFS; Stuff
Eyes:
Using these pictures as a guide, cut green and black felt
Cut or poke a hole in the center and place safety eyes through
The eyes are set between R14 and R15, with 6sc between them
Muzzle:
H Hook
White
Ch5
Muzzle Continued:
R1: Starting in the second ch from the hook; 1sc in the first 3ch; 3sc in the last ch;
continue to work in the back of the ch, (this will create a long round or oval
shape) 1sc in the next 2sc; 2sc in the last sc (10)
R2: 1sc in each sc around (10)
Notes:
Embroider nose over R2 using yarn needle and Baby pink
Pin between the eyes with the top of the muzzle at R16
Lightly stuff the muzzle and sew in place
Using yarn needle and Heather Gray embroider mouth starting below the
nose and making the grin under the muzzle as shown in the picture.
Ears:
Inner section
Make 2
H Hook
Baby Pink
Ch5
R1: Starting in the second ch from the hook, make 1sc in each sc across; Ch1,
Turn (4)
R2: 1sc in the first sc; sc2tog; 1sc in the last sc; Ch1; Turn (3)
R3: Sc3tog (This is worked the same as a sc2tog, except you will pick up 3sc
instead of 2sc); FO; LTFS
Outer Section:
Make 4
H Hook
Heather Grey
Ch7
R1: Starting in the second ch from the hook, make 1sc in each sc across; Ch1,
Turn (6)
R2: Sc2tog; 1sc in the next 2sc; sc2tog; Ch1, Turn (4)
R3: 1sc in the first sc; sc2tog; 1sc in the last sc Ch1, Turn; (3)
R4: 1sc in each sc across; Ch1, Turn (3)
R5: Sc3tog (This is worked the same as a sc2tog, except you will pick up 3sc
instead of 2sc); FO; LTFS
Notes:
Placing two outer sections together; sew together around the edge
Sew inner section to the front of the ear
Pin ear in place and sew
Spots: Follow the picture for spot placement
A
Make 2
H Hook
Carrot Yarn
Ch2
R1: 4sc in the second ch from the hook; FO; LTFS
Spots Continued:
B
Make 2
H Hook
Heather Yarn
Ch2
R1: 6sc in the second ch from the hook; Ch1; Turn (6)
R2: 2sc in each sc around (12)FO; LTFS
C
H Hook
Carrot Yarn
Ch 6
R1: 1sc in the first 4ch; 3sc in the last ch; continue to work in the back of the ch,
(this will create a long round or oval shape) 1sc in the next 3sc; 2sc in the last
(12)
R2: 2sc in the first 6sc; 1sc in the next 6sc (18)
R3: 2sc in the first 10sc; 1sc in the next 8sc (28) FO; LTFS
D and E
Embroider; use the picture as reference
Belt buckle
F Hook
Bright yellow
Ch 4
R1: Starting in the second ch from the hook; 1hdc in the first 2ch; 3hdc in the last
ch; continue to work in the back of the ch, (this will create a long round or oval
shape) 1hdc in the next sc; 2hdc in the last. Attach with a slst to the first stitch
made; FO; LTFS (8)
Body:
H Hook
Starting with blue
Working in continuous rounds; from the bottom up
Ch2
R1: 6sc into the second chain from the hook.
R2: 2sc in each sc around (12)
R3: (1sc in the first 1sc, 2sc in the next sc) 6 times (18)
R4: (1sc in the first 2sc, 2sc in the next sc) 6 times (24)
R5: (1sc in the first 3sc, 2sc in the next sc) 6 times (30)
R6: (1sc in the first 4sc, 2sc in the next sc) 6 times (36)
R7: (1sc in the first 5sc, 2sc in the next sc) 6 times (42)
R8-11: 1sc in each sc around (42) At the end of R11FO; Attach Walnut
Body Continued:
R12: Working in the back loops only; 1sc in each sc around (42)
R13: 1sc in each sc around (42) FO; Attach White
R14: Working in the back loops only; 1sc in each sc around (42)
R15- 21: 1sc in each sc around (42)
Notes: Once you have worked a few Rounds in White, double over Blue yarn
and use your yarn needle to embroider belt loops and sew belt buckle in place
R22: (1sc in the first 5sc; sc2tog) 6 times (36)
R23: (1sc in the first 4sc; sc2tog) 6 times (30)
R24: (1sc in the first 3sc; sc2tog) 6 times (24)
R25: (1sc in the first 2sc; sc2tog) 6 times (18)
R26: 1sc in each sc around (18) FO; LTFS; Stuff
Arms:
Make 2
H Hook
White
Ch2
R1: 6sc into the second chain from the hook.
R2: (2sc in the first sc; 1sc in the next 2sc) two times (8)
R3: (2sc in the first sc; 1sc in the next 3sc) two times (10)
R4-13: 1sc in each sc around (10) FO at the end of R13; LTFS
Notes:
Stuff the bottom of the arm or the paw area lightly; Do NOT over stuff
Using yarn needle and Baby Pink embroider paw pads on the underside
of the hand
Using yarn needle and Carrot and Heather yarns embroider spot on the
arms as shown in picture.
Notes Continued:
Sew arms closed
Pin to body and sew (Make sure the arms are even before sewing.
Legs:
Make 2
H Hook
Starting with Baby Pink
Ch4
R1: Starting in the second ch from the hook; 1sc in the first 2ch; 3sc in the next
ch; Continue working into the back of the ch; 1sc in the next st; 2sc in the last;
(8)
R2: 1sc in the first 3sc; 3sc in the next sc) 2 times (12)
R3: (2sc in the first sc; 1sc in the next) 6 times (18)
R4: Working in the back loops; 1hdc in each sc around (18)
R5: 1sc in each sc around (18)
R6: 1sc in the first 4sc; sc2tog 5 times; 1sc in the remaining 4sc (13)
R7: 1sc in the first 4sc; sc2tog; 1sc; sc2tog; 1sc in the remaining 4sc (11)
R8-11: 1sc in each sc (11)
R12: Working only in the front loops; Slst in the first sc; 1sc in the next sc; 1hdc in
the next sc; 3dc in the next sc; 1hdc in the next sc; 1sc in the next sc; slst in the
next sc; 1sc in next sc; (hdc, dc, hdc) in the next sc, sc in the next sc; join with a
slst to the first slst made. (15 not counting the last slst) FO; LTFS, this tail will be
used to sew down the top of the boot to the leg, so it will not fold over; Attach
Blue to the inner ring or back loops of R11
Legs Continued:
R13: Using only the Back Loops of R11; 1sc in each sc around (11)
R14: (1sc in the first sc; 2sc in the next sc) 5 times; 1sc in the last sc (16)
R15-17: 1sc in each sc around (16) FO; LTF;
Notes:
Place 2 flat marbles at the bottom of each boot (This step is optional, the
marbles are used as a weight, and help the doll to stand)
Using yarn needle and the pink tail, sew around the top of the boot so
that R12 will not fold down
Stuff
Sew the legs together in the center, as shown in the picture
Pin to the body in a standing postion and sew


Boot Heel:
Make 2
H Hook
Baby Pink
Worked Flat
Ch2
R1: Starting in the second ch from the hook; 4sc; ch 1 turn
R2: (2sc in the first sc, 1sc in the next) 2 times (6) FO; LTFS
Notes:
Pin the bottom back of the boots and sew.
Tail:
Hook
Starting with White
Ch2
R1: 4sc in the second ch from the hook
R2-14: 1sc in each sc around (4) FO; Attach Blue
R15: 1sc in each sc around (4) FO; LTFS
Notes:
Using the picture as a guide embroider small spots on the tail
Pin the center back of the bottom and sew in place
Hat:
H Hook
Baby Pink
Ch6
Hat Continued:
R1: 1sc in the first 4ch; 3sc in the last ch; continue to work in the back of the ch,
(this will create a long round or oval shape) 1sc in the next 3sc; 2sc in the last
(12) join to the first st with a slst; Ch1
R2: 1sc in the first 4sc; 2dc in the next 4sc; 1sc in the last 4sc (16) join to the first st
with a slst; Ch1
R3: Working in the Back Posts only; 1hdc in each stitch around (16) join to the first
st with a slst; Ch1
R4: 1hdc in each hdc around (16) join to the first st with a slst; Ch1
Hat Continued:
R5: 1sc in each hdc around (16) join to the first st with a slst; Ch1
R6: Working in the Front Posts only; 1hdc in the first 6sc; 2dc in the next 5sc; 1hdc
in the next 5sc; (21) join to the first st with a slst; Ch1
R7: 1sc in the first 4st; (2sc in the first st; 1sc in the next) 6 times; 2sc in the next st;
1sc in the next 4st (28) join to the first st with a slst; Ch1
R8: 1sc in the first 7sc; (1sc in the next sc; 2sc in the next sc) 7 times; 1sc in the last
7sc (35) join to the first st with a slst; Ch1
Notes:
Now working in continuous rounds
R9: (1sc in the first sc; 2sc in the next) 17 times (52)
R10: (1sc in the first 3sc; 2sc in the next) 13 times (65)
R11: 1sc in each sc around (65)
R12: (1sc in the first 4sc, 2sc in the next sc) 13 times; Do not ch 1 (78)
R13: 1slst in each sc around (78) FO; LTFS
Notes:
Weave tail in towards the center of the hat
Using this tail sew to the head
Band for Hat:
H Hook
Lavender
Ch21; join the last ch to the first ch with a slst.
R1: 1sc in each sc around (21) slst to the first st made; FO; LTFS
Notes:
Slip over the top of the hat, use tail to sew.
Handkerchief:
H Hook
Baby Pink
Ch39
R1: 1slst in the first 14ch; 1sc in the next 10sc; leave the remaining 14ch
unworked, Ch1; Turn
R2: Sc2tog; 1sc in the next 6sc; sc2tog (8) Ch1; Turn
R3: Sc2tog; 1sc in the next 4sc; sc2tog (6) Ch1; Turn
R4: Sc2tog; 1sc in the next 2sc; sc2tog (4) Ch1; Turn
R2: Sc2tog 2 times; (2) Ch1; Turn
R2: Sc2tog; (1) FO; LTFS
Vest:
H Hook
Warm Brown
Back:
Ch25
R1: Starting in the second ch from the hook; 1sc in each sc across (24); Ch1; turn
R2-6: 1sc in each sc across (24); Ch1; turn
R7: 1slst in the first 3sc; 1sc in the next 18sc; leave the remaining sc unworked(21)
Ch1; turn
R8: 1sc in each sc across (18) Ch1; turn
R9: Sc2tog; 1sc in the next14sc; sc2tog (16) Ch1; turn
R10: Sc2tog; 1sc in the next12sc; sc2tog (14) Ch1; turn
R11-14: 1sc in each sc across (14) at the end of R14 continue on and slst around
the entire piece; FO; LTFS
Front:
Make 2
Ch9
R1: Starting in the second ch from the hook; 1sc in each sc across (8); Do not
Ch1; turn
R2-7: 1sc in each sc across (8) Do not ch1; turn
R8: Sc2tog; 1sc in the next 6sc (7) Do not ch1; turn
R9: 1sc in the first 5sc; sc2tog (6) Do not ch1; turn
Front Continued:
R10: Sc2tog; 1sc in the next 4sc (5) Do not ch1; turn
R11: 1sc in the first 3sc; sc2tog (4) Do not ch1; turn
R12: Sc2tog; 1sc in the next 2sc (3) Do not ch1; turn
R13-16: 1sc in each sc across (3) Do not ch1; turn; at the end of R16 FO; LTFS
Notes:
Place the two front pieces so that the flat edges are facing each other
and place the back piece so that the right side is down (the slst edges are
out)
Pin the vest front tops to the back and pin along the sides so that the
bottom of the front and the bottom of the back match up.
Sew along the pinned edges and weave in tails
Using Baby Pink embroider a dashed “v” line on each vest
Star:
F Hook
Bright Yellow
Ch3
R1: Turn working into the second ch from the hook; 1slst in each ch; (Ch2;
working in the second chain from the hook slst in the ch made and the center) 4
times (there will be 5 points on the star). FO; LTFS
Notes:
Sew to the upper right side of the vest.
Place vest on the body and make stitches around the top and bottom of
the vest if you would like the vest to stay attached to the doll.
ENJOY!