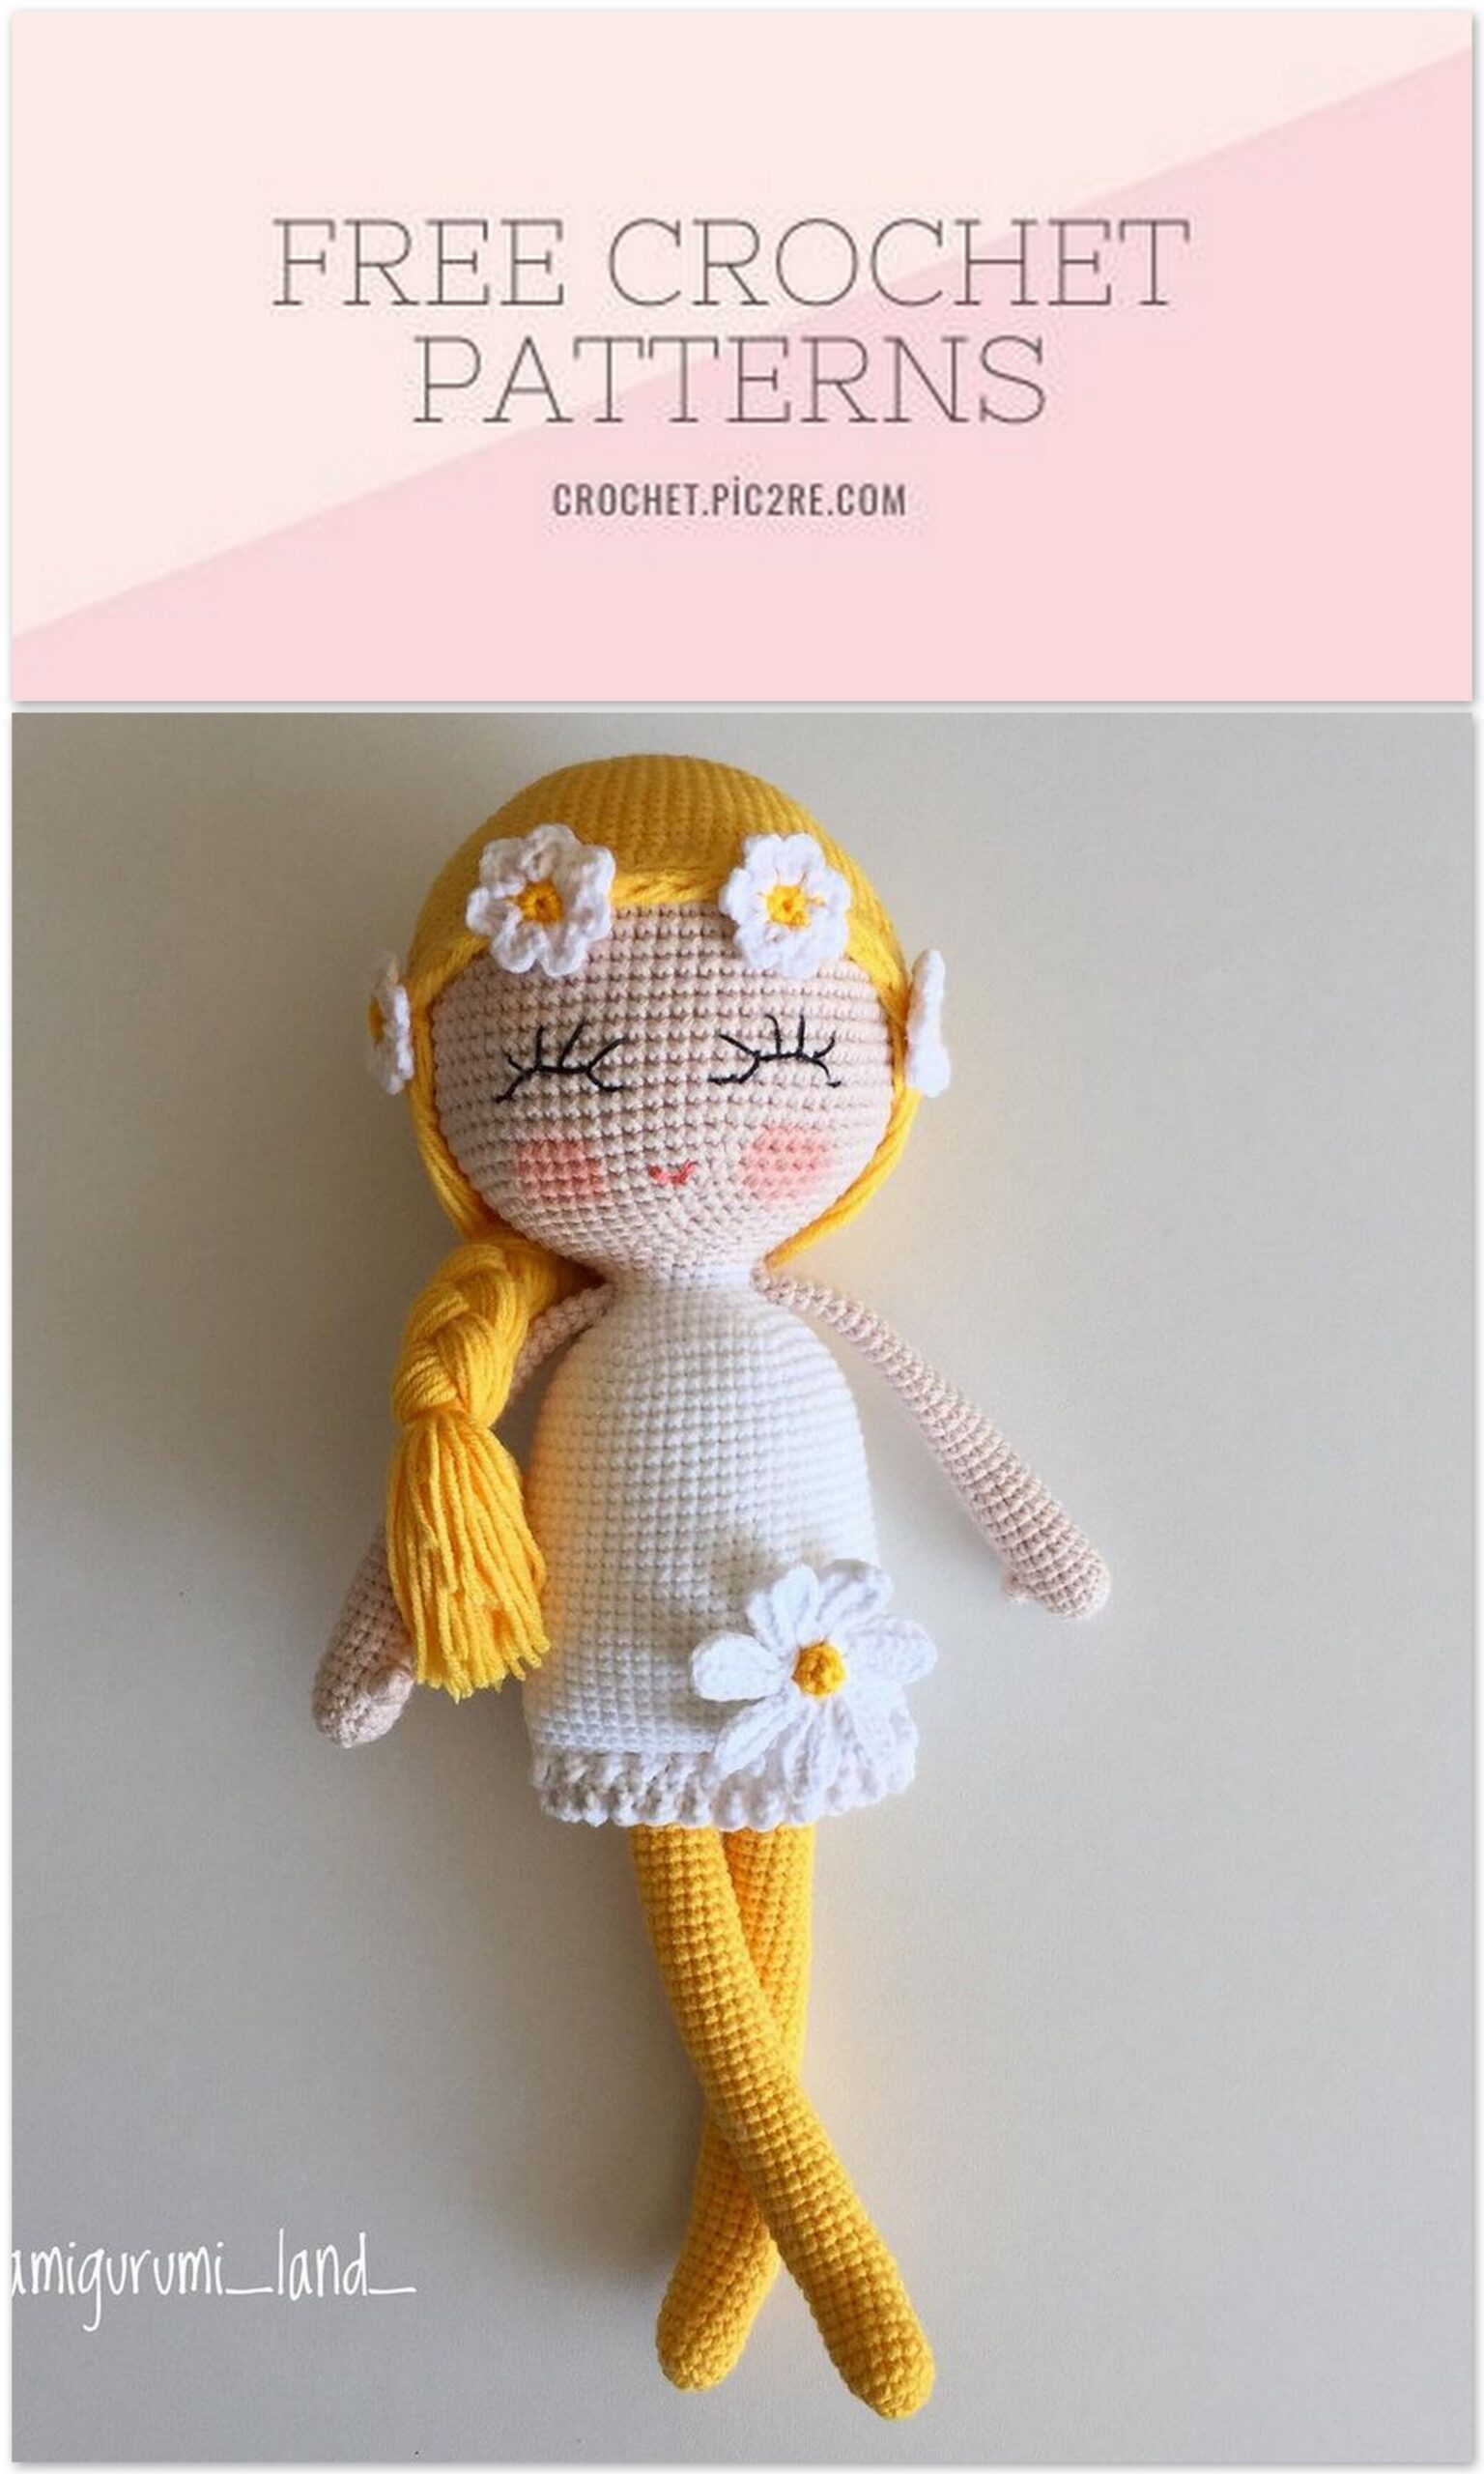
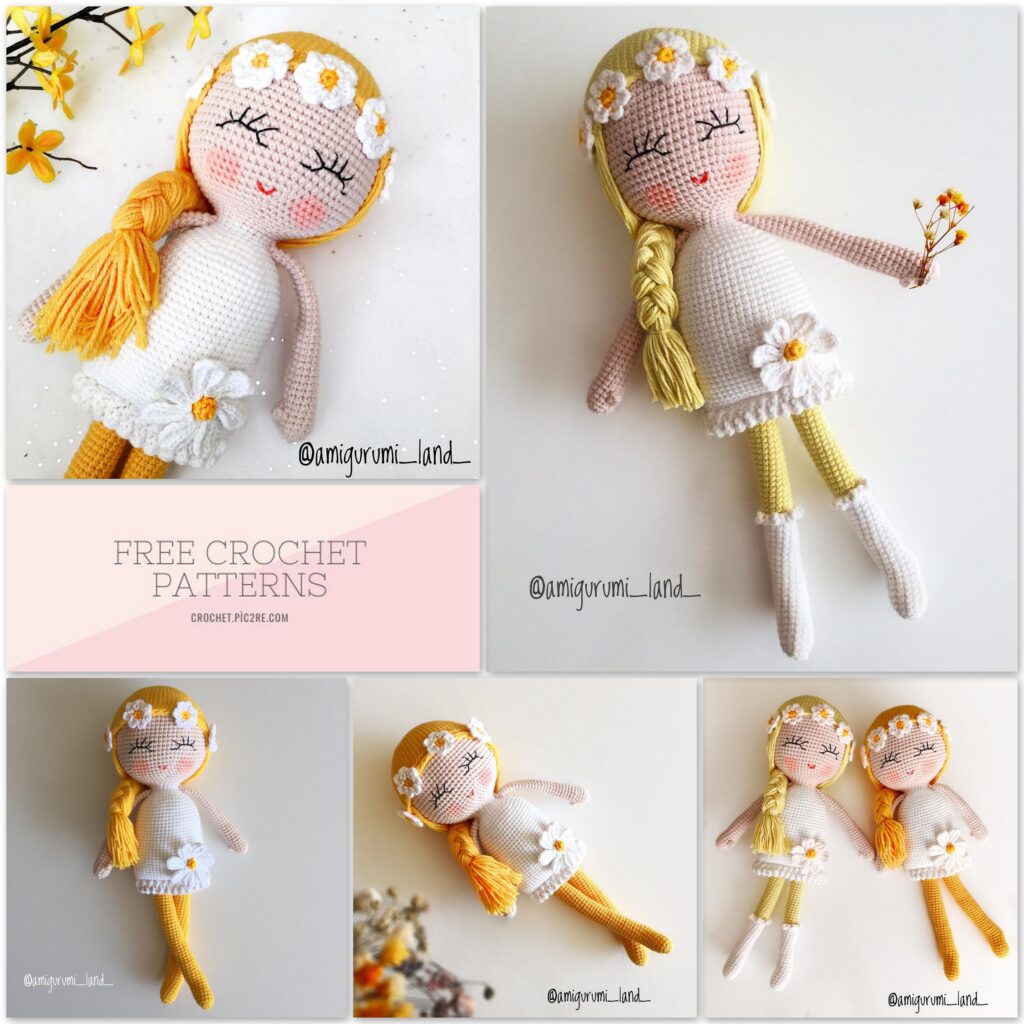
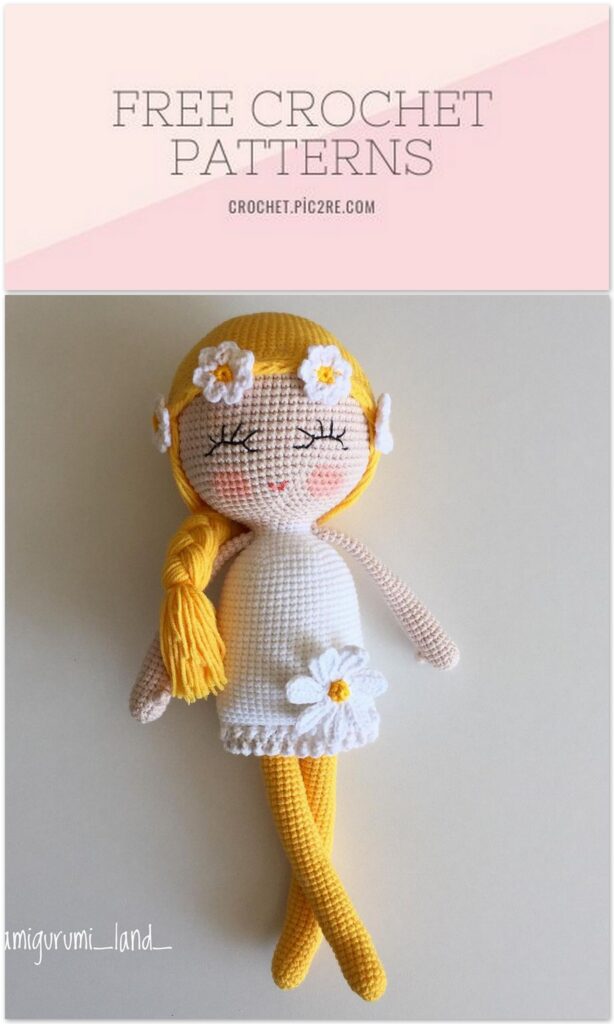
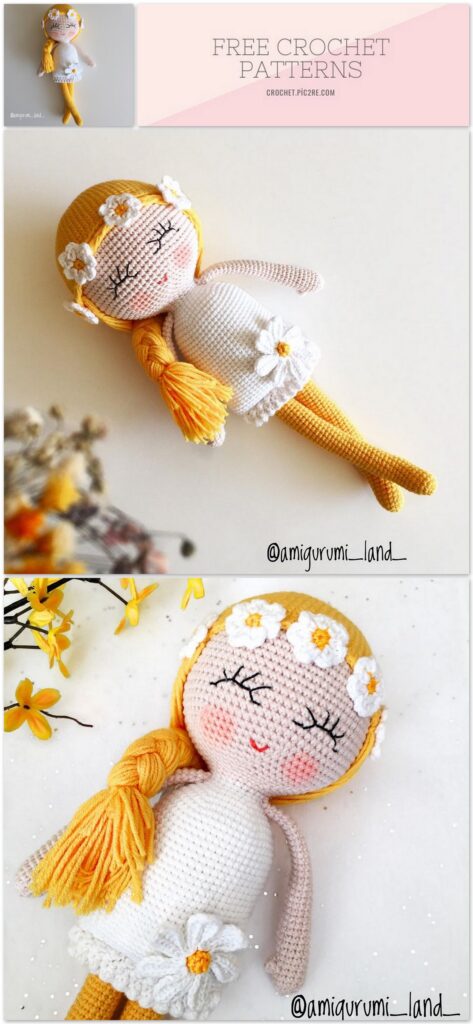
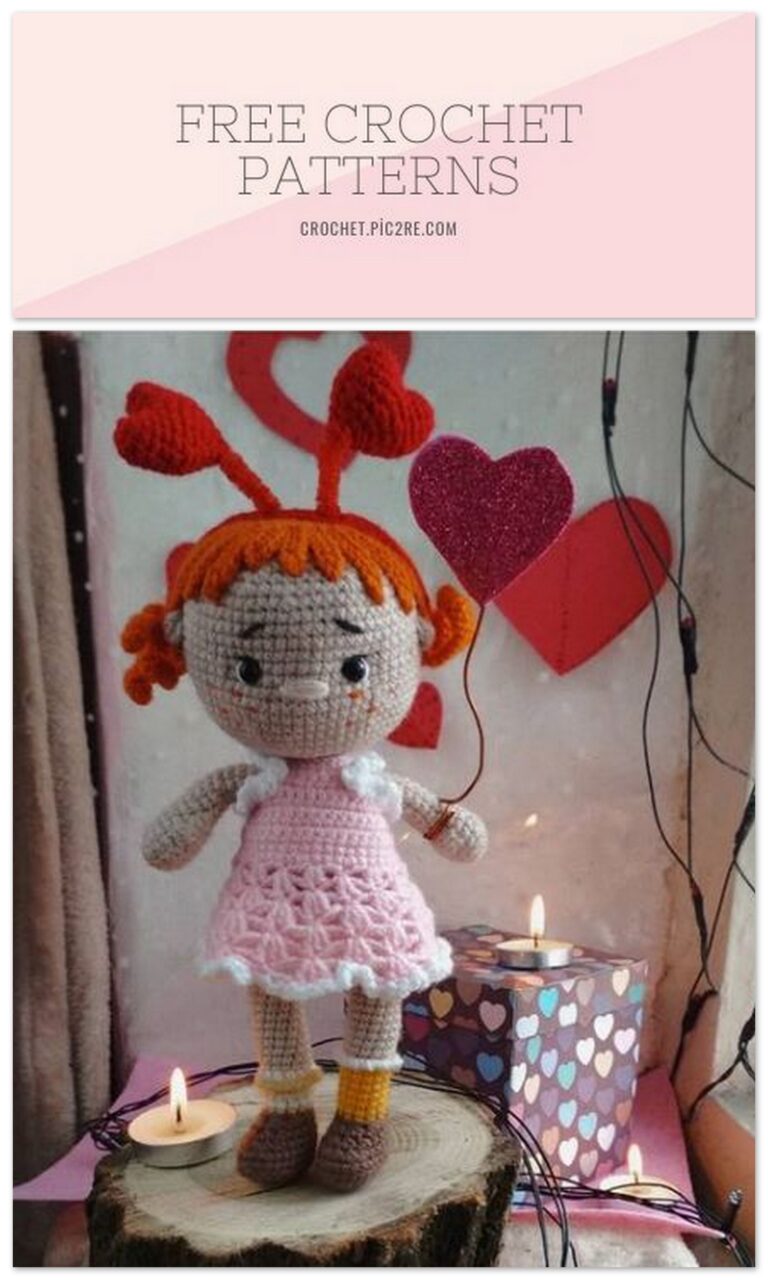
Amigurumi Daisy Girl Free Crochet Pattern
You can browse our website for Amigurumi Daisy doll and more free patterns.
ABBREVIATIONS
Mr: Magic ring
Sc: Single crochet
inc: Increase (make 2 sc in 1 st)
dec: Decrease (crochet 2 sts together)
BLO: Back Loop Only
FLO: Front Loop Only
Hdc: Half double crochet
Dc: Double crochet
Tr: Treble/triple crochet
Fpslst: Front post slip stitch
Ch: Chain
Slst: Slip stitch
(…) * x times: Repeat instruction between parantheses x times
(…): Indicates the number of sts you should have at the end of each round or row.
MATERIALS
*Skin color: Alize Cotton Gold 382
*Light yellow: Smc Catania 00403
*Dark yellow: Alize Cotton Gold 216
*White: Alize Cotton Gold
* 2.20 mm or a hook that fits your yarn
*Fiberfill
*Embroidery thread to form mouth and eyes
FOOT AND LEG
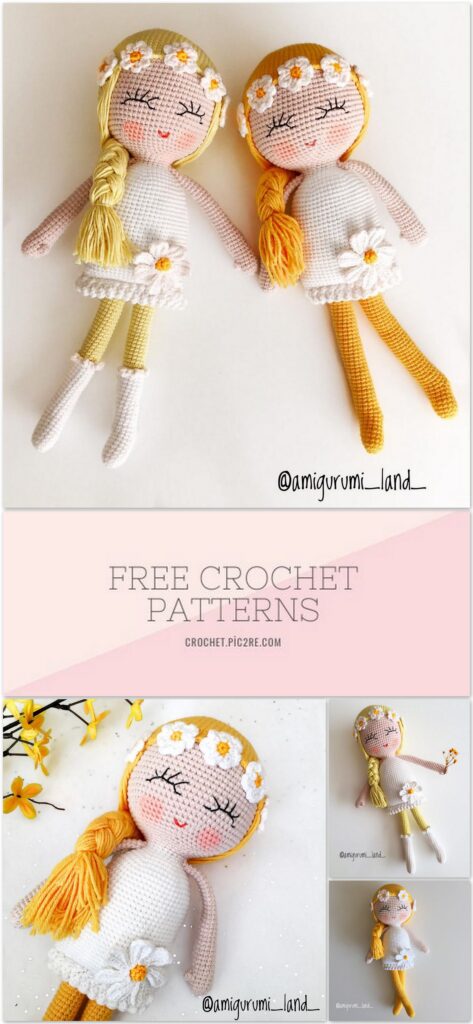
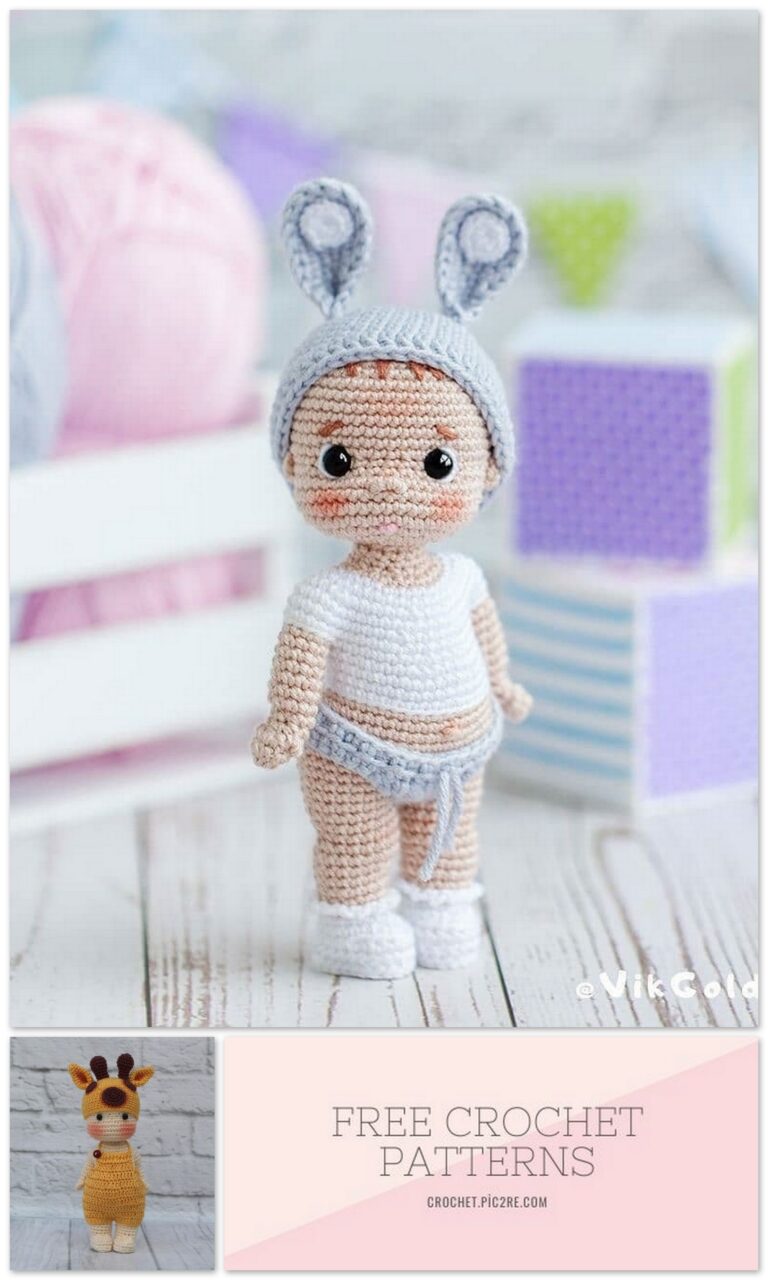
Note: Both dolls on the cover page are formed using the same pattern, but there is a sock detail on one of them. The pattern instructions are for the detailed sock pattern but you can crochet without this detail if you desire.
Start with sock color (white).
1- 6 sc in a mr (6)
2- (inc)* 6 times (12)
3- (5 sc, inc)*2 times (14)
4-8(5 rnds) Sc around (14)
9- Ch 1, turn, 7 sc (7)
10- Ch 1, turn, skip 1 st, 4 sc, skip 1 st (5)
11- Ch 1, turn, skip 1 st, 2 sc, skip 1 st (3)
12- Ch 1, turn, skip 2 sts,1 sc (1)
13- Do not turn. Sc 3 into side sts, sc 7 into front sts, sc 3 into the sts of other side. Place the stitch marker here. (14)
14-27(14 rnds)- Sc around (14)
28- Work FLO: 14 sc (14)
To form the ruffles on socks: Join your yarn into the first st of Round 28 and, work (1 Tr, 1 sc)- until the end of the round. Break yarn and hide the yarn tail inside.
Keep crocheting the legs. Join your yarn into the first remaining loop of Round 28. Use light yellow color:
29-50(22 rnds)- Sc around (14)
Flatten the end of the legs and work 7 sc through both layers of sts around, break the yarn and weave in the end.
Crochet the second leg in the same way.
ARM (MAKE 2)
1- 6 sc in a mr (6)
2- (inc)* 6 times (12)
3-5-(3 rnds) Sc around (12)
6- Work a bobble stitch to form the finger; Work 3 dc sts in the same st, insert your hook into the top of the first dc and sl st. Work 1 sc in the same st. 11 sc (12)
7-33(27 rnds)- Sc around (12)
Crochet the second arm in the same way. Stuff the hand section only.
Count 31 rounds up from the end of the body (the round we will work the border of the skirt) and sew the arms between 31st and 32nd rounds on each side of the body.
HEAD
1- 6 sc in a mr (6)
2- (inc)* 6 times (12)
3- (1 sc, inc)*6 times (18)
4- (2 sc, inc) *6 times (24)
5- (3 sc, inc)*6 times (30)
6- (4 sc, inc)*6 times (36)
7- (5 sc, inc)*6 times (42)
8- (6 sc, inc)*6 times (48)
9- (7 sc, inc)*6 times (54)
10- (8 sc, inc)*6 times (60)
11- (9 sc, inc)*6 times (66)
12- (10 sc, inc)*6 times (72)
13-26(14 rnds)- Sc around (72)
27- (10 sc, dec)*6 times (66)
28- (9 sc, dec)*6 times (60)
29- (8 sc, dec)*6 times (54)
30- (7 sc, dec)*6 times (48)
31- (6 sc, dec)*6 times (42)
32- (5 sc, dec)*6 times (36)
33- (4 sc, dec)*6 times (30)
34- (3 sc, dec)*6 times (24)
35-37(3rnds)- Sc around (24)
BODY
Change to body color (white).
38- Sc around (24)
39- (3 sc, inc)*6 times (30)
40- (4 sc, inc)*6 times (36)
41- (5 sc, inc)*6 times (42)
42- (6 sc, inc)*6 times (48)
43- (7 sc, inc)*6 times (54)
44-69(26 rnds)- Sc around (54)
70- Work BLO: Sc around (54)
Flatten the piece and start joining each side by working sl sts.
Inserting your hook through both layers of sts (one st facing you and the other placed at the back of it) work 6 sl st, place the first leg here (the last two rounds of the leg should be placed into the body), (insert your hook into the next st of the body and the corresponding leg st and sl st 1) * 7 times to fix the leg into the body, sl st into the next st, place the second leg in the same way with the first one, 6 sl st. Do not forget to add some more fiberfill before closing the gap.
SKIRT BORDER
Join your yarn into the first st of Round 70 on the body. Work (1 tr, 1 sc)- until the end of the round. Work 54 sc over the sts of the previous round. Work (1 tr, 1 sc)- until the end of the round one more time.
HAIR CAP
Repeat rounds 1-12 of the head.
13-24(12 rnds) Sc around (72)
25- 27 sc, 45 hdc
26- 27 sc, 45 hdc
27- 27 sc, 45 hdc, 27 sl st. Break yarn leaving a
long tail for sewing.
** The 27 sl st we we worked will be placed in front of the head. Place the cap as in the pictures and sew it on the head.
** Cut strands of yarn in 40 cm long in adequate number. Attach them using your hook around the head (do not attach them over the 27 sl sts). Braid and form them.
EYE EMBROIDERY
After sewing the hair cap, embroider eyes between Round 23 and 24 of the head.There should be 6 hair cap sts on the left or right (depending on the eye side) of your starting point. Embroider the eyes with a distance of 4 sts between them. Please look through the pictures above to follow the steps.
MOUTH
Embroider them out between Round 27 and 29 as in the pictures.
SMALL DAISIES
Start with yellow color. 6 sc in a mr. Change to white color. Ch 2, 1 dc in the next st, ch 2 and sc in the same st. (Ch 2, 1 dc in the next st, ch 2 and sc in the same st)- repeat until the end of the round. There will be 7 petals at the end of the round. Make 5 small daisies in total. Sew them in the front and on each side of the hair cap.
BIG DAISY
Make 1. Please look through the pictorials while working on it.
1- 7 sc in a mr (7)
2- Sc around (7)
3- Sc around (7)
Change to white color. Join your yarn into the first front loop. (Ch 6, starting from the second st from your hook; 1 sc, 2 hdc, 1 sc, 1 sl st over the ch sts, sl st into the same loop. Sl st in the next front loop)- repeat until the end of the round. At the end of the round sl st into the first st of the round.From now on, we will be working around the petals, (Keep working on the other side of the ch sts; 1 sl st, 1 sc, 2 hdc, 2 sc in the next st, 1 sl st. Now you are at the top of the petal.
(fpslst)* 6 times.)-repeat these steps for all the petals. There will be 7 petals in total. Place and sew the big daisy as in the pictures.
Congratulations!
You have a very lovely Daisy Doll! 🙂
